About an year ago I was contacted by someone who tried to use my script on MP4 files generated by their camera, only to get garbage data out. It appeared that the camera was obfuscating the coordinates stored in MP4 (the speed and heading was recorded correctly). It was not a bug because provided player was decoding them correctly.
As of writing this I already had complete solution (as far as getting tracking data is concerned), a multi-process TCP server with a mysql database back-end. The server code itself is not pretty thus I am cautious about sharing it at this stage (I will “open-source” it once I cleaned it up).
One caveat: my solution does not support batch mode (where the payload contain multiple concatenated location and other packets).
The assumption is that the reader is somewhat familiar with python and sockets.
Below I will describe how I got rid of ads on my android phone without rooting it. It is very easy to get rid of ads on an android smart phone if you have root access. Unfortunately pesky manufacturers insist on declining warranty if the phone is rooted. I will probably one day test this is in small claims court for a cheaper phone. I digress…
The requirements:
Some linux box/container/VM. In this post I used Ubuntu 16.04 LTS
Public IP on the box from above
Some linux/cli/unix experience
How does it work?
Smart phone connects to the Linux box via OpenVPN
Linux box is running Pi-hole which acts as a selective DNS server
I had a need for a simple IMAP to IMAP sync tool, yet the only useful things I could find were offlineimap and imapsync.
The offlineimap is too complex and does not exactly do what I want; while the latter went commercial and not is not a clean install (requires messing with CPAN/perl libraries).
It logs in into both IMAP servers and basically copies (with optional source deletion) the messages across. It also avoids duplication by checking Message-ID header. It should be stable enough to “daemon”-ify.
Here is a systemd unit for it (if one wants it to run all the time):
No, I am not suggesting to hammer the knock sensor ;).
Recently I was diagnosing a very intermittent error code 52 (knock sensor open/closed circuit) on a 4AFE powered Toyota Corolla.
I needed a way to test the actual functionality of the knock sensor in a garage.
From my understanding a typical knock sensor is pretty much a condenser microphone. So measuring resistance of it pretty much meaningless beyond finding a completely stuffed one. The repair manual suggest that the resistance of one should be above 1 MOhm, as it should be, as it is a capacitor.
One requirement for this kind of crude testing is having a multimeter that does capacitance testing in the nF range.
The particular knock sensor I was testing measured at about 6-7nF (temperature dependant) sensor alone, or ~7.5nF with the wiring.
The test is very simple, I have unplugged the sensor from the ECU, plugged one probe form the multimeter (set to Capacitance range) to the pin for the knock sensor on the ECU plug, and another on chassis/earth/ground. Then I knocked on a random bolt on the engine block and watch the measurment:
This resulted an increase of the capacitance for each knock (to over 8nF).
Another test that is not on the video, is basically using rattle gun on a bolt. This produced over 1.5nF increase.
I have also tested the sensor outside in a vice while heating it up with heat gun to 120 degrees C. The capacitance increased by ~2nF during heating. The sensor responding in similar way as above to light knocks on the vice anvil.
Alternative and more sophisticated way of testing is hooking up sensor to the microphone input on a cellphone/Laptop/PC but that would involve butchering a 3.5mm jack.
As an experiment I bought a relatively cheap GPS tracker that supported 3G (most of them at the time were 2G only).
After quick google search I found a suitable model GT06E from Concox.
The idea was I would implement my own server, as I do not trust 3rd party GPS tracking services (who would?), especially free ones ;).
I did not realise at the time what a mess the protocol is.
The “engineers” who wrote the spec for the protocol are crazy! They reinvented the wheel, which instead of tyre utilizes boots.
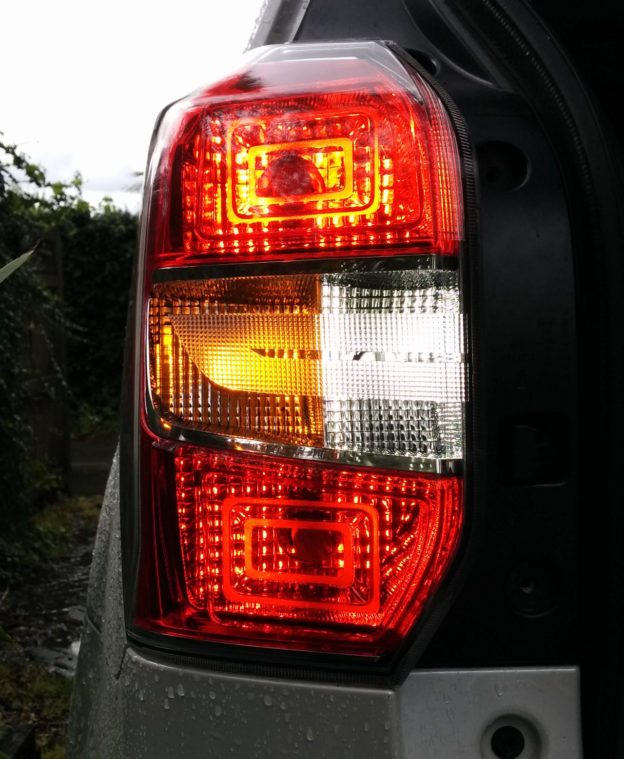
For some silly reason a JDM Forester XT (SJG) comes with a single rear fog light on right side (and a dummy on left side).
I am amazed that these rear fog lights are not disabled during compliance. They are useless, annoying and illegal in NZ.
Too many times I was stuck behind an oblivious BMW driver in rain only to be blinded by their rear fog lights.
In my opinion these people who drive with rear fog lights should be fined.
I decided to replace the 6300k HID bulbs on one of my cars, with more sensible 4300k OEM solution.
I came across reasonably priced Toyota Genuine Bulbs on trademe.co.nz (NZ ebay type of thing).
The particular bulbs I was after were D4R, or Toyota Genuine Part 90981-20015 (alternatively Philips 42406).
They were priced (~$80NZD) similar to Genuine Philips 42406 in USA (~$50USD), so seemed to be reasonable. The Toyota Genuine are after all Philips 42406 in TGP box.
When I tried to fit the bulbs I noticed they were extremely tight. Then I looked closely and did some googling.
Since day one of our ownership of this particular 1NZFE powered Toyota IST the engine was a bit on louder side.
Previously all my other cars had timing belts and I put it down to simply being a “feature” of chain.
After more family and friends upgraded their cars to xNZFE, it was clear that this engine was slightly louder in chain department then the rest (especially in the mornings).
One day after coming back from a holiday I started the car only to be greeted by loud chain slapping noise.
OMG! My wife’s car turned into a Nissan!
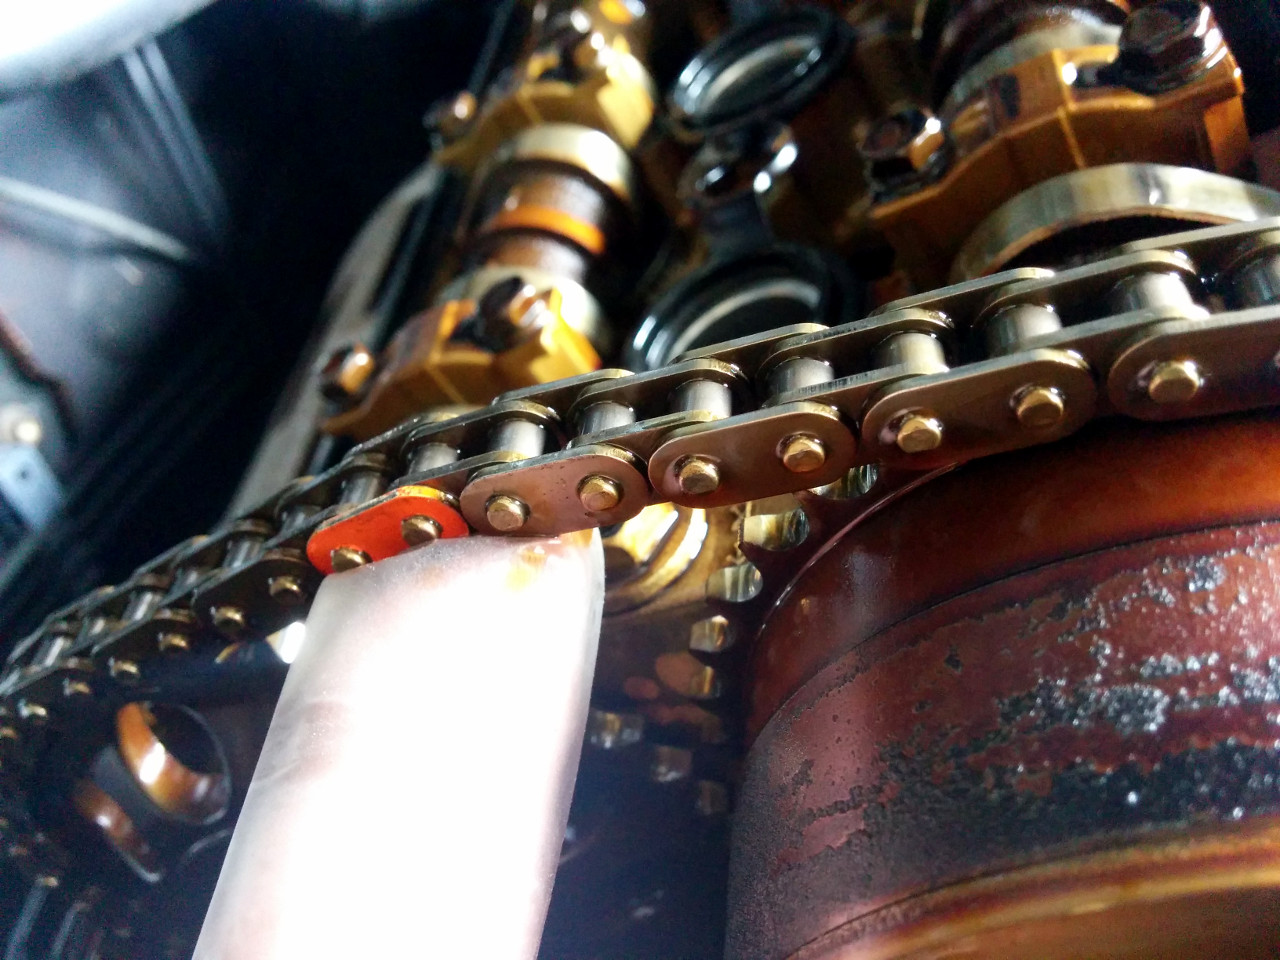
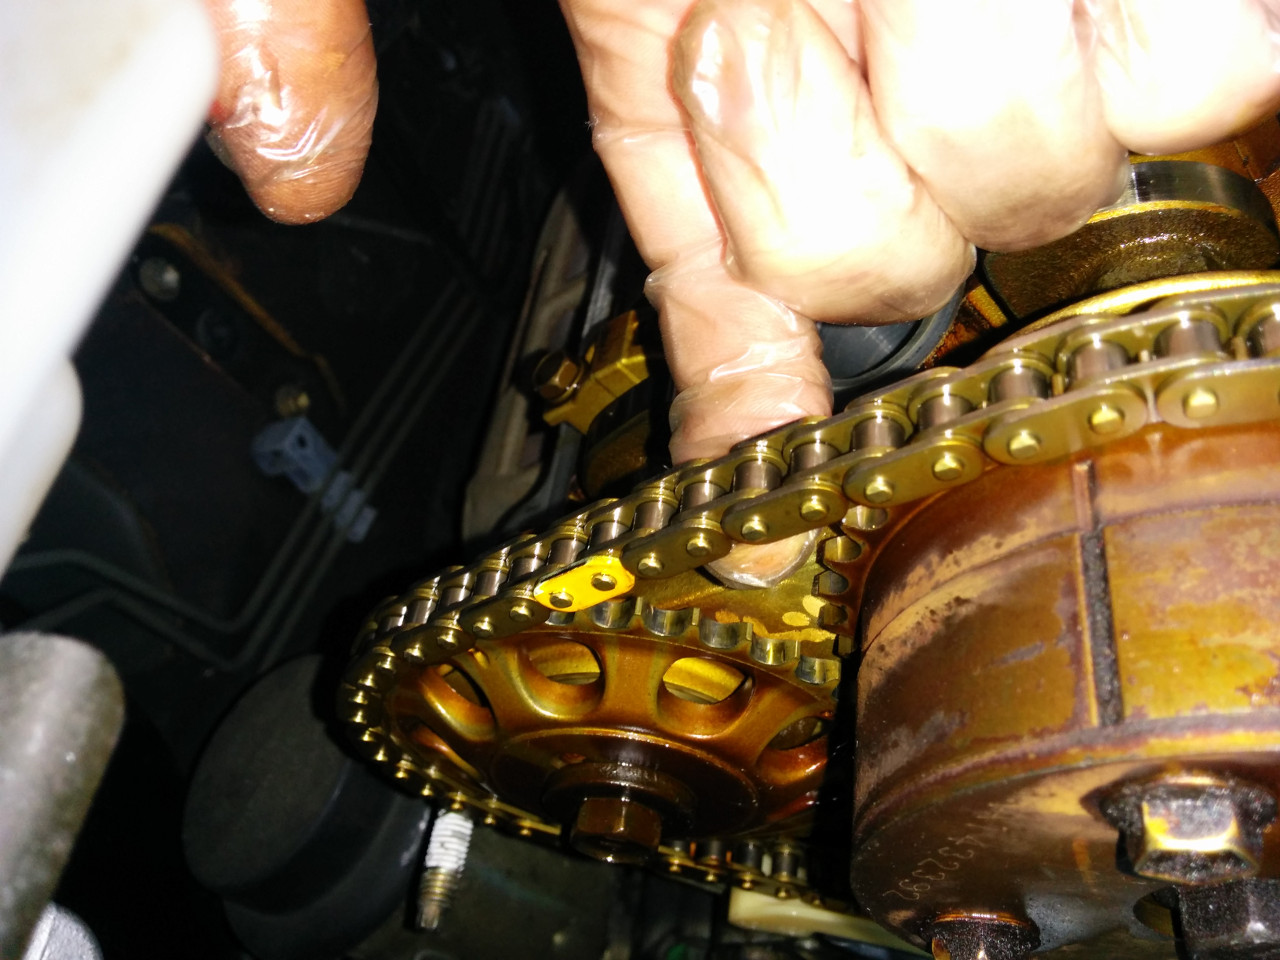
I decided to exorcise the Nissan out of it by replacing the chain tensioner and guides.
Below is how I did it, not necessary the “correct” way. This process took about 6 hours, good chunk of it was spent on cleaning the surfaces.
It was pretty much like replacing timing belt, except with way more RTV.
Over all I replaced two oil pump O-rings, front crank seal, valve cover gasket, both chain guides and chain tensioner.
In retrospect I prefer timing belts as opposed to timing chains, especially considering that the tensioners still fail on chains occasionally.
Interesting notes:
Old guides were PA66, new guides are PA46 (improved)
Old tensioner had larger oil hole than the new tensioner.
In hand old tensioner functioned correctly, but while fitted it would skip.
For some reason Toyota decided it is great idea to incorporate water pump flange into front cover. This creates a potential of RTV failure and leakage of coolant into sump. It also requires pump removal when removing front cover. It would saved me 2 hours if the pump was not part of the front cover.
The oil pump is mounted on front cover, thus requiring two O-rings for inlet and outlet.
One of those O-ring was completely flat, possibly leaking oil. It is hard to tell if the O-rings seated properly when fitting the cover.
For the crank pulley Toyota gone away from woodruff key in favour of tiny hollow pin.
The 10mm cover bolts and water pump bolts torqued at 11Nm. The 12mm cover nut and bolts torqued at 24Nm. The crank pulley went in hella-tight with crappy rattle gun and on top with some hammer on spanner action (It should be 128Nm). The tensioner and guides bolts are torqued to 9Nm.
I used Threebond grey RTV. The manual specified two kinds of RTVs for water pump and the rest of the cover, good luck buying two Toyota genuine RTV tubes ;).