ILDVR – and their lack of professionalism

It all started with me purchasing ILDVR INC-MH40D06 IP Camera. I decided to poke at it and discovered some interesting and blatant security flaws.

About a year ago I contacted ILDVR (Arnold and Marika Wei) regarding the security issues, which got no response.
After about a year of the camera sitting on a shelf, I decided to poke at it again.
Which prompted me to send them this email:

For which I got a friendly response from Marika:

To which I replied, asking for firmware update (which I thought was reasonable to expect firmware updates for products with serious security flaws):

The only response I got is this peculiar email from sales@ildvr.com:

So, it seems that:
1) ILDVR.com/ILDVR does not care about security
2) ILDVR.com/ILDVR does not care about PR
3) ILDVR.com/ILDVR does not care about customers

Perhaps they should adopt the following motto:

“GO TO HELL! – ILDVR (where security does not matter)”.

To be honest, I would probably let go this whole thing if they simply not responded. It would have taken them less effort to not to respond either. Instead they chose to send me email with “GO TO HELL!”. I find this thing very hilarious.

It is even more hilarious if you look at google search results:

ILDVR INC-MH40D06 security nightmare part 2

I have put off the ILDVR camera, as I kind of lost interest.
For previous posts see here, here and here.

I was bored so I decided to poke at again.

I was interested where does the camera store users and in what format. What I found out is an atrocious mocking of security.
The camera stores local users and their passwords (in plain text) in following file:

/mnt/flash/data/OwnUserInfo.txt

Yep: the same directory which is accessible without auth via port 10081. So if you forgot password (and forgot the silly hardcoded HANKVISION), then you can get a reminder what it is by simply going here:

http://${CAMERA_IP}:10081/OwnUserInfo.txt

There is also another “binary” file that contains interesting references to HANKVISION and local users:

/mnt/flash/data/UserInfo

strings that and you get following:

HANKVISION
e82f5af1f39f021b44e78089b5a40a8e0aa8d2768c705e8f139bec04d87d5a54
8f081b5a8e0685ca975a01d4159930f9
0d9a1f80bcc7a1e4a00f04588062ed67
admin
8c6976e5b5410415bde908bd4dee15dfb167a9c873fc4bb8a81f6f2ab448a918
21232f297a57a5a743894a0e4a801fc3
76eb00c6458e9b2755b570ae565ba0a6

Changing the password to HANKVISION reveals that this string is “encoded” “HANKVISION”:

e82f5af1f39f021b44e78089b5a40a8e0aa8d2768c705e8f139bec04d87d5a54
8f081b5a8e0685ca975a01d4159930f9

Not sure if the obfuscation is worth spending time on, especially when we already know HANKVISION is hardcoded in web server binary and OwnUserInfo.txt already contains passwords in clear texts.

strace-ing ‘webs’ process during certain conditions opens the /tmp/umconfig.txt, which contains following:

TABLE=users
ROW=0
name=HANKVISION
password=0d9a1f80bcc7a1e4a00f04588062ed67
group=Administrator
prot=1
disable=0
ROW=1
name=admin
password=76eb00c6458e9b2755b570ae565ba0a6
group=Administrator
prot=1
disable=0
ROW=2
name=adminadmin
password=5ca1e16e4fa3fa58b6656b9ad547fa0f
group=Normal
prot=0
disable=0
TABLE=groups
ROW=0
name=Administrator
priv=4
method=2
prot=0
disable=0
ROW=1
name=Normal
priv=4
method=2
prot=0
disable=0
TABLE=access
ROW=0
name=/browse/
method=2
secure=0
ROW=1
name=/jpgimage/
method=2
secure=0
ROW=2
name=/mjpgstreamreq/
method=2
secure=0
ROW=3
name=/form/
method=2
secure=0
group=Administrator
ROW=4
name=/cgi/
method=2
secure=0

The “hashes” correlate to /mnt/flash/data/UserInfo…

Looking firmware upload function (in browse/javascript/sysInf.js) I found this bit:

function fileUpload(){
...
		var typeAllow = [".ifu", "macaddr.txt", "deviceid.txt", "sn.txt", "audio.dat", ".bin", ".png", ".ifc", ".lib", ".uid", ".pid","logo.gif","whitelist.txt"];
		var fileType = ["ifu", "mac", "deviceid", "sn", "audio", "bin", "png", "ifc", "lib", "uid", "pid","gif","wlst"];
....

I have tested the upload function with logo.gif and that worked: the logo on top got replaced, so it brings a possibility of doing something more (sneaking in a binary?).

Looking at ‘webs’ binary I decided to google for strings in case someone leaked the source or these bastards stole somebody else’s work.
Here what I found:
The string:

webs: websWrite lost data, buffer overflow

Matches suspiciously named file here:
https://github.com/socoola/yhrouter/blob/master/user/goahead/src/webs.c

Same could be said for these strings:

webs: Listening for HTTP requests at address %s
webs: accept request

What is surprising is that they avoided doing execve calls where they could. IP addresses, routes, all set via ioctl, even time is set via settimeofday function. This removed possibility of command injection.

Here is what I believe is going on with this firmware:

The video side and core functionality has been lifted off SDK by Hisilicon. The web server stuff has been implemented by actual Hankvision people, most likely low paid undergraduate Chinese students. The core web server functionality has been lifted off the internet (see above).

What could have been done better without spending much on development:

Remove hard coded passwords!
Throw away all activeX crap (use MJPEG stream for “preview”).
Turn off telnet and leave ssh on with configurable password (perhaps make it a separate user?).
Do not store plain passwrods anywhere
Throw away all the dyndns and cloud nonsense.
Add actual off checkbox for FTP, Mail and SIP stuff (and possbly throw away SIP stuff).
Add VLC plug-in functionality.
Remove web server that listens on port 10081 exposing whole bunch of private data.

I am not sure what they are trying to achieve by not allowing SSH/Telnet access, but this is counter productive. I will not buy a security product to which I do not have control! Besides if I wanted to get access to your firmware, I don’t need SSH or Telnet, when I have RS232 and soldering iron.

For those who purchased this camera, if you really have to use it do the following:

Hexedit webs binary and change the HANKVISION bit to something else

And

Remove gateway setting (set it the same IP as camera) and preferably isolate camera from rest of the network (separate VLAN and port forwarding to recorder).

Or

Just chuck it in the bin and never purchase anything from ILDVR again.

Shame on you ILDVR for not responding to me when I contacted you almost a year ago about hard coded passwords. Shame on you ILDVR for not providing root password or firmware updates.

python OpenCV basic motion detection

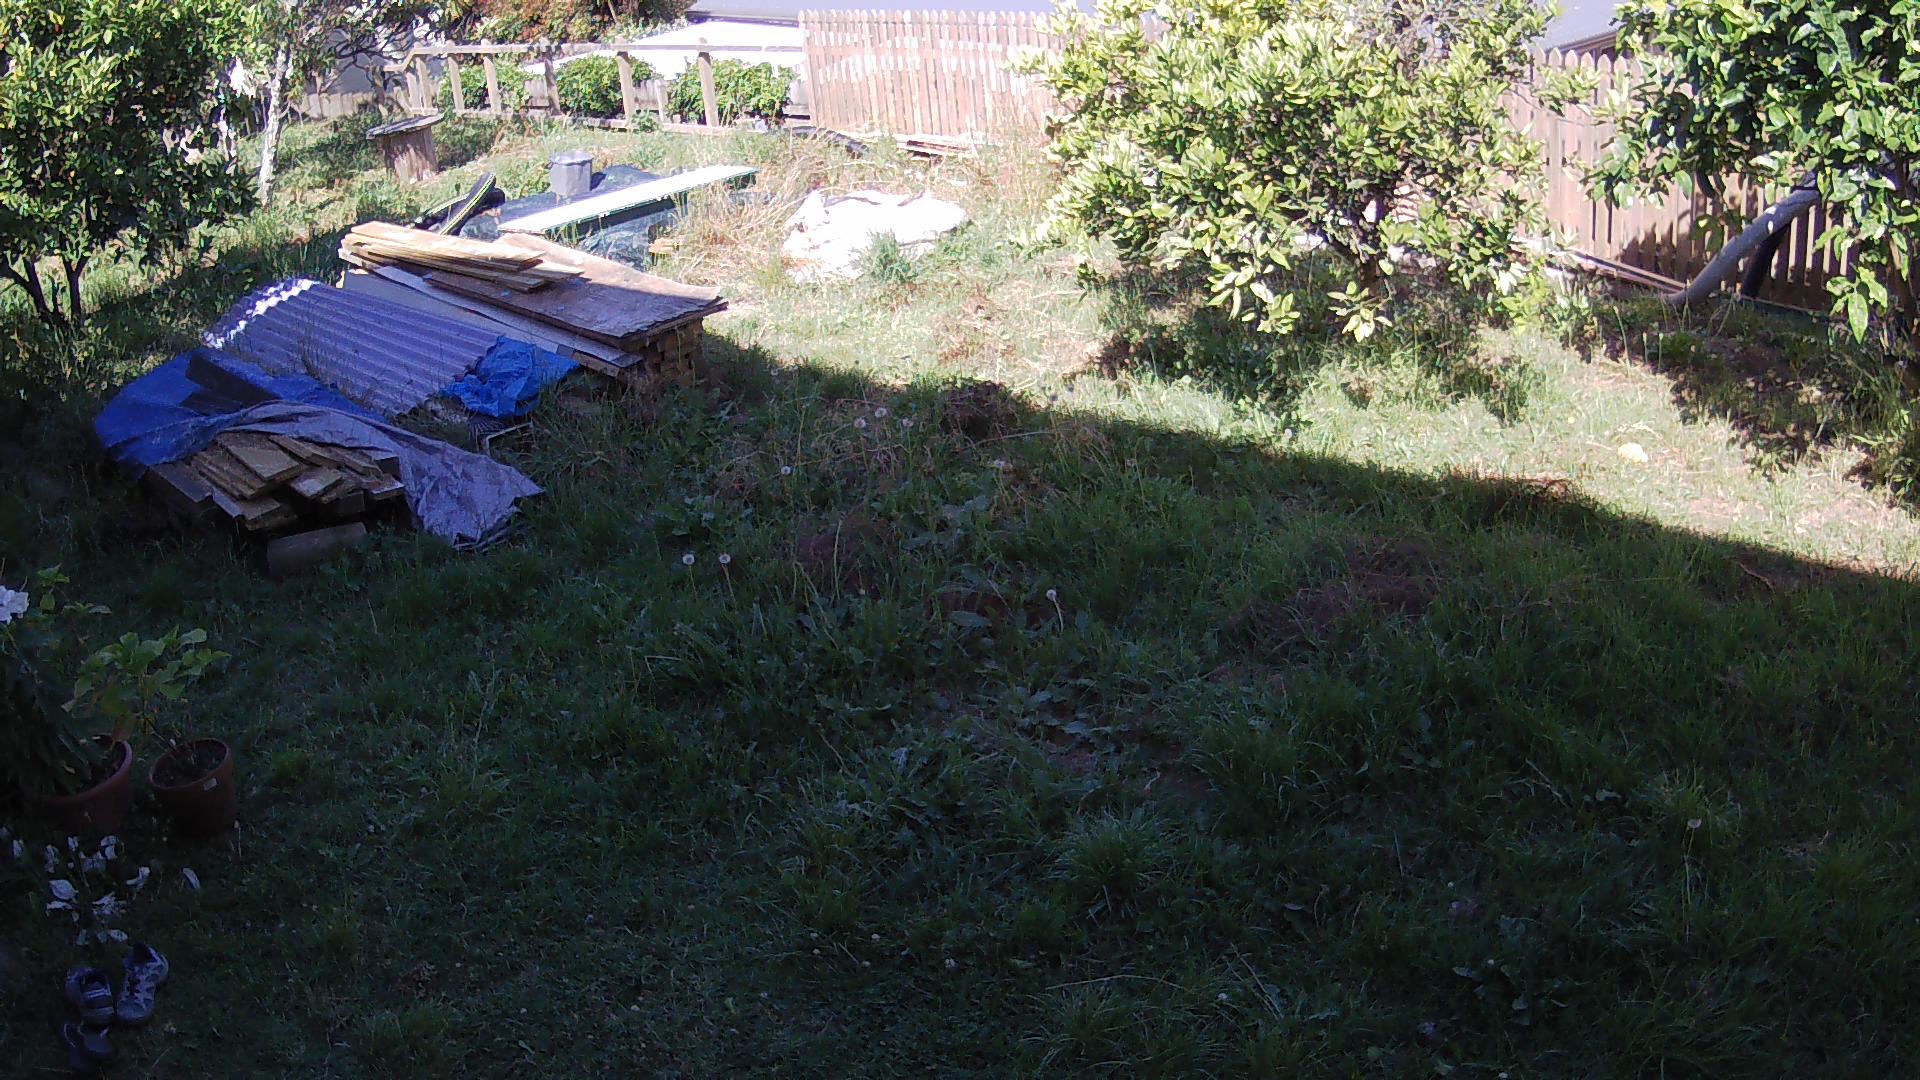
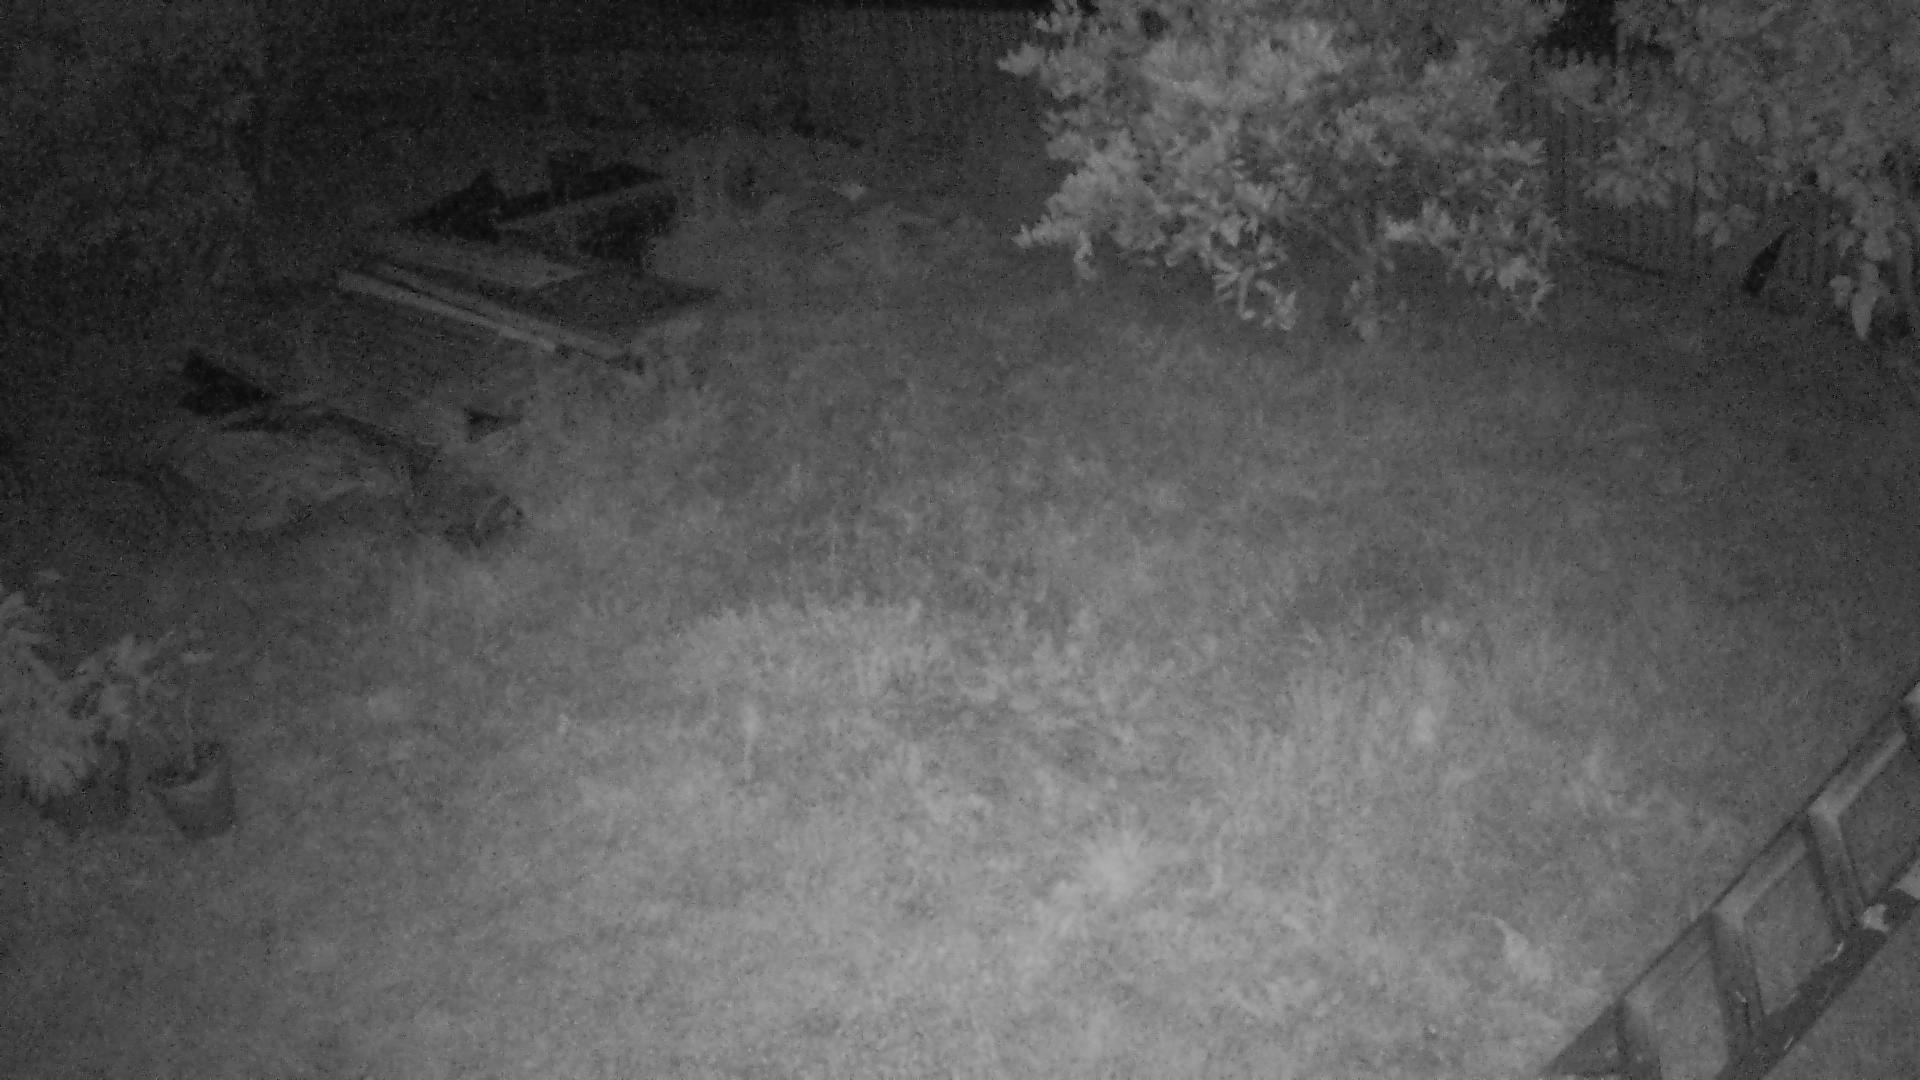
Here I will describe how I use OpenCV for capturing RTSP streams, with purpose of motion detection.

For basic OpenCV I use these two libraries:

import cv2
import numpy as np

cv2 is OpenCV library (second version), and numpy is python numeric lybrary (useful for manipulating matrices among other things).

To initiate capture one simply does following:

cap = cv2.VideoCapture('rtsp://192.168.1.69:554/Streaming/Channels/2')


In this example I use second stream (of lower resolution) for motion detection.

From there you can get heigh and width of the frame (this will be useful later):

width = cap.get(3)
height = cap.get(4)

I use BackgroundSubtractorMOG for motion detection (somewhat cheating ;)):

bg = cv2.BackgroundSubtractorMOG(100,3,0.6,30)

The magic is in parameters, I used following:
100 – history
3 – number of Gaussian mixtures
0.6 – background ratio
30 – noise strength
The numbers above are not necessarily “correct” but I came to them with error and trial (and “guestimation”).
Here is document in detail describing this algorithm: http://personal.ee.surrey.ac.uk/Personal/R.Bowden/publications/avbs01/avbs01.pdf

The actual capture loop looks something like this:

while(True):
    ...
    ret, frame = cap.read()
    motion = bg.apply(frame, learningRate=0.005)
    kernel = np.ones((3, 3), np.uint8)
    motion = cv2.morphologyEx(motion, cv2.MORPH_CLOSE, kernel, iterations=1)
    motion = cv2.morphologyEx(motion, cv2.MORPH_OPEN, kernel, iterations=1)
    motion = cv2.dilate(motion,kernel,iterations = 1)
    contours, hierarchy = cv2.findContours(motion, cv2.RETR_EXTERNAL,cv2.CHAIN_APPROX_SIMPLE)
    ...
ret, frame = cap.read()

captures a single frame

motion = bg.apply(frame, learningRate=0.005)

extracts a black and white image with the background removed (learnignRate value has been chosed by error and trial).

Next four lines simply manipulate extracted image in such that it does following:
MORPH_CLOSE: removes small holes (up to 3×3 pixel, defined by kernel) within the object (“white”) in the extracted motion matrix.
MORPH_OPEN: removes small dots within the “background” (black) in the extracted motion matrix.
dilate: is making sure there all adjacent islands are joined together, so when we extract contours we get small amount of contours as result.

The “3×3 pixel” block comes from here:

kernel = np.ones((3, 3), np.uint8

The last step from processing frame is extracting the contours:

contours, hierarchy = cv2.findContours(motion, cv2.RETR_EXTERNAL,cv2.CHAIN_APPROX_SIMPLE)

The extracted contours can then be iterated and hull drawn around them:

for cnt in contours:
    hull = cv2.convexHull(cnt)

The hull points then can be checked against the mask if motion is inside of the area of interest:

Lets define the mask as the whole frame (I am pretty sure there is a better way;)):

mask_points = [
( 0 , 0 ),
( 1 , 0 ),
( 1 , 1 ),
( 0 , 1 ),
]

mask_array=[]
for point in mask_points:
    mask_array.append([[int(point[0] * width ), int(point[1] * height )]])
mask = np.array(mask_array, np.int32)

This looks cumbersome, but what I am achieving here is converting mask_points list of human readable relative coordinate tuples (eg: centre will be at (0.5,0.5)). Mask can be defined as a polygon with relative positioning of each corner to the frame (independent from pixel size).

We check if hull point is inside our mask

for point in hull:
    distance = cv2.pointPolygonTest(mask,tuple(point[0]),1)
    if distance > 0:
        it_is_inside()

and vice-versa (in case if mask is smaller than the frame):

for point in mask:
    distance = cv2.pointPolygonTest(hull,tuple(point[0]),1)
    if distance > 0:
        it_is_inside()

The above will tell if the motion contour extracted is within of area interest.
In addition to the checking if the motion happens withing of area of interest the severity/size of motion can be calculated by calculating the area of the hull via the following:

area += cv2.contourArea(hull)

which then can be compared with the total area:

surface = cv2.contourArea(mask)

The ratio can be converted to a percentage value and thus be used to trigger the recording if the value is above certain threshold:

relative = area * 100.0 / surface

I use ffmpeg for actual recording (it is way more efficient than dumping frames from HD OpenCV capture). I simply launch an ffmpeg subprocess when motion is detected and send a SIGTERM when motion is over:

p=subprocess.Popen(record_cmd,shell=False) # motion start
....
p.terminate() # motion stop

Note: the ffmpeg will cleanly close the recording if it sent the SIGTERM (opposed to SIGKILL).

For debug and entertainment purposes the image could be displayed via following:

To draw contours and hulls:

for cnt in contours:
    hull = cv2.convexHull(cnt)
    cv2.drawContours(f, [cnt], 0, (0,255,0),1)
    cv2.drawContours(f,[hull],0,(0,0,255),1)

Note: The colour is defined by this tuple: (0,255,0)

Then do display the whole thing insert this inside of the while(True):

cv2.imshow('motion',frame)
k = cv2.waitKey(30) & 0xff
if k == 27:
    break

The above is basic idea behind my motion detection scripts. I have omitted a lot of glue logic and arithmetic due to my script is not ready for public display ;).

Reverse engineering Hikvision SADP Tool

I got couple of Hikvision cameras that needed to have their passwords reset.

Instead of reset-to-factory default button these cameras have very elaborate password reset process.

Officially one must download SADP tool, get the serial number off the camera, fetch it to the Hikvision support, then they generate you a reset code that you plug in into the camera.

The unreliable Hikvision support can be bypassed with this tool (more details here).

I feel very dirty because I had to install the SADP in a Windows virtual machine (it does not work under Linux).
Interesting that the tool is build around QT and libpcap so technically it should not be too difficult to port it to Linux.

Looking at traffic captures the tool discovers the camera via multicast (239.255.255.250, udp port 37020) with this payload:

<?xml version="1.0" encoding="utf-8"?><Probe><Uuid>13A888A9-F1B1-4020-AE9F-05607682D23B</Uuid><Types>inquiry</Types></Probe>

The camera responds to with this:

<?xml version="1.0" encoding="UTF-8"?>
<ProbeMatch><Uuid>FC25924E-AFE2-49E6-ACC9-F84A6859054D</Uuid>
<Types>inquiry</Types>
<DeviceType>38930</DeviceType>
<DeviceDescription>DS-2CD2432F-IW</DeviceDescription>
<DeviceSN>DS-2CD2432F-IW20150126CCCH502126167</DeviceSN>
<CommandPort>8000</CommandPort>
<HttpPort>80</HttpPort>
<MAC>c0-56-e3-fe-42-92</MAC>
<IPv4Address>10.1.1.251</IPv4Address>
<IPv4SubnetMask>255.255.255.0</IPv4SubnetMask>
<IPv4Gateway>10.1.1.1</IPv4Gateway>
<IPv6Address>::</IPv6Address>
<IPv6Gateway>::</IPv6Gateway>
<IPv6MaskLen>64</IPv6MaskLen>
<DHCP>false</DHCP>
<AnalogChannelNum>0</AnalogChannelNum>
<DigitalChannelNum>1</DigitalChannelNum>
<SoftwareVersion>V5.2.5build 141201</SoftwareVersion>
<DSPVersion>V5.0, build 140714</DSPVersion>
<BootTime>2016-03-06 09:18:17</BootTime>
</ProbeMatch>

This is all nice and easy to replicate, except when discovering that when resetting the password the tool talks to camera directly via ethernet frames:

Reset packet:

12:14:16.063953 52:54:00:db:ae:e4 > XX:XX:XX:XX:XX:XX, ethertype Unknown (0x8033), length 80: 
        0x0000:  2102 0142 0000 173a 0604 0a00 ba54 5254  !..B...:.....TRT
        0x0010:  00db aee4 0a01 0102 XXXX XXXX XXXX 0a01  ........XXXXXX..
        0x0020:  01fb ffff ff00 5252 5364 5264 6572 6439  ......RRSdRderd9
        0x0030:  0000 a100 0000 0000 0000 0000 0000 0000  ................
        0x0040:  0000                                     ..

Response packet:

12:14:16.094857 XX:XX:XX:XX:XX:XX > 52:54:00:db:ae:e4, ethertype Unknown (0x8033), length 260: 
        0x0000:  2101 01f6 0000 173a 0604 0b01 8a3b XXXX  !......:.....;XX
        0x0010:  XXXX XXXX 0a01 01fb ffff ffff ffff 0000  XXXX............
        0x0020:  0000 ffff ff00 4453 2d32 4344 3234 3332  ......DS-2CD2432
        0x0030:  462d 4957 3230 3135 3031 3236 4343 4348  F-IW20150126CCCH
        0x0040:  XXXX XXXX XXXX XXXX XX00 0000 0000 0000  XXXXXXXXX.......
        0x0050:  0000 0000 0000 0000 9812 0000 1f40 0000  .............@..
        0x0060:  0001 0000 0000 5635 2e32 2e35 6275 696c  ......V5.2.5buil
        0x0070:  6420 3134 3132 3031 0000 0000 0000 0000  d.141201........
        0x0080:  0000 0000 0000 0000 0000 0000 0000 0000  ................
        0x0090:  0000 0000 0000 5635 2e30 2c20 6275 696c  ......V5.0,.buil
        0x00a0:  6420 3134 3037 3134 0000 0000 0000 0000  d.140714........
        0x00b0:  0000 0000 0000 0000 0000 0000 0000 0000  ................
        0x00c0:  0000 0000 0000 3230 3136 2d30 332d 3036  ......2016-03-06
        0x00d0:  2030 393a 3138 3a31 3700 0000 0000 0000  .09:18:17.......
        0x00e0:  0000 0000 0000 0000 0000 0000 0000 0000  ................
        0x00f0:  0000 0000 0000                           ......

Now looking further it appears that discovery as well as expected UDP communication there is also ethernet frame type of communication going on in parallel:

Broadcast:

12:13:29.539493 52:54:00:db:ae:e4 > ff:ff:ff:ff:ff:ff, ethertype Unknown (0x8033), length 80: 
        0x0000:  2102 0142 0000 1739 0604 0300 80b6 5254  !..B...9......RT
        0x0010:  00db aee4 0a01 0102 ffff ffff ffff 0000  ................
        0x0020:  0000 0000 0000 fe80 0000 0000 0000 889f  ................
        0x0030:  720d 7c8f 8429 0000 0000 0000 0000 0000  r.|..)..........
        0x0040:  0000                                     ..

Response:

12:13:29.555356 XX:XX:XX:XX:XX:XX > 52:54:00:db:ae:e4, ethertype Unknown (0x8033), length 416: 
        0x0000:  2101 01f6 0000 1739 0604 0400 8c42 XXXX  !......9.....BXX
        0x0010:  XXXX XXXX 0a01 01fb ffff ffff ffff 0000  XXXX............
        0x0020:  0000 ffff ff00 4453 2d32 4344 3234 3332  ......DS-2CD2432
        0x0030:  462d 4957 3230 3135 3031 3236 4343 4348  F-IW20150126CCCH
        0x0040:  XXXX XXXX XXXX XXXX XX00 0000 0000 0000  XXXXXXXXX.......
        0x0050:  0000 0000 0000 0000 9812 0000 1f40 0000  .............@..
        0x0060:  0001 0000 0000 5635 2e32 2e35 6275 696c  ......V5.2.5buil
        0x0070:  6420 3134 3132 3031 0000 0000 0000 0000  d.141201........
        0x0080:  0000 0000 0000 0000 0000 0000 0000 0000  ................
        0x0090:  0000 0000 0000 5635 2e30 2c20 6275 696c  ......V5.0,.buil
        0x00a0:  6420 3134 3037 3134 0000 0000 0000 0000  d.140714........
        0x00b0:  0000 0000 0000 0000 0000 0000 0000 0000  ................
        0x00c0:  0000 0000 0000 3230 3136 2d30 332d 3036  ......2016-03-06
        0x00d0:  2030 393a 3138 3a31 3700 0000 0000 0000  .09:18:17.......
        0x00e0:  0000 0000 0000 0000 0000 0000 0000 0000  ................
        0x00f0:  0000 0000 0000 029c 5648 0a01 0101 0000  ........VH......
        0x0100:  0000 0000 0000 0000 0000 0000 0000 0000  ................
        0x0110:  0000 0000 0000 0000 0000 0000 0000 0007  ................
        0x0120:  0000 0000 0000 0000 0000 0000 0000 0000  ................
        0x0130:  0000 0000 0000 0000 0000 0000 0000 0050  ...............P
        0x0140:  0000 0000 0000 0000 0000 0000 0000 0000  ................
        0x0150:  0000 0000 0000 0000 0000 0000 0000 0000  ................
        0x0160:  0000 4453 2d32 4344 3234 3332 462d 4957  ..DS-2CD2432F-IW
        0x0170:  0000 0000 0000 0000 0000 0000 0000 0000  ................
        0x0180:  0000 0000 0000 0000 0000 0000 0000 0000  ................
        0x0190:  0000

So theoretically it is possible to create a tool based on the reset password code generator to completely cut out middle man.
This is the way I see it working:

1) Discover camera and get serial number and camera ip
2) Get camera date/time via simple GET to port 80.
3) Generate reset code with camera serial number and date/time
4) send magic packet to reset camera.

I found some examples of the traffic that does not contain fe80 0000…XXXX…0000 bit at the end (looks like previous version of SADP Tool didn’t append that crap). I successfully replayed that packet.
I have noticed that the checksum does not include the source (header) of the packet, so as long as the MAC address matches in the body the header can be spoofed.

I have changed the mac address on VM where SADP Tool was running and looks like4 bytes between Source MAC and Destination MAC in the body changes. As well as 2x 2 bytes surrounding 06040300.

If I increment any number by one and decrement @ 0x0018 the packet gets response. This implies that the check sum is only 2 bytes long.

So far I figured out the check sum for older type of discovery packet (without crap at the end of the packet).

the check sum is located here:
0x0010: 00db aee4 0a01 0102 ffff ffff ffff 0000
In this example it is 0102.
Actually the check sum is 0201 (reversed order).
The check sum algorithm is 16-bit one’s complement.
The trick (which was given away by comparing sequential packets) is to ignore the header, and to reverse order in these two bytes:
0x0000: 2102 0142 0000 1739 0604 0300 80b6 5254
in example above they are check-summed as b680.

Next step is to see if I can apply the same method to the password reset packet….

At this stage I solved the following: discovery via frames, discovery via UDP, generate reset code and reset the camera via frame.

There is a potential problem to get camera time reliably (in case it is not configured in same subnet).

After poking around Sadp.dll I found these interesting XML strings:

<?xml version="1.0" encoding="utf-8"?><Probe><Uuid>%s</Uuid><Types>inquiry</Types></Probe>
<?xml version="1.0" encoding="utf-8"?><Probe><Uuid>%s</Uuid><Types>update</Types><MAC>%s</MAC><Password>%s</Password><IPv4Address>%s</IPv4Address><CommandPort>%d</CommandPort><HttpPort>%d</HttpPort><IPv4SubnetMask>%s</IPv4SubnetMask><IPv4Gateway>%s</IPv4Gateway><IPv6Address>%s</IPv6Address><IPv6Gateway>%s</IPv6Gateway><IPv6MaskLen>%d</IPv6MaskLen><DHCP>%s</DHCP></Probe>
<?xml version="1.0" encoding="utf-8"?><Probe><Uuid>%s</Uuid><MAC>%s</MAC><Types>reset</Types><Code>%s</Code></Probe>
<?xml version="1.0" encoding="utf-8"?><Probe><Uuid>%s</Uuid><MAC>%s</MAC><Types>reset</Types><Code>%s</Code><Password>%s</Password></Probe>
<?xml version="1.0" encoding="utf-8"?><Probe><Uuid>%s</Uuid><MAC>%s</MAC><Types>reset</Types><SyncIPCPassword>true</SyncIPCPassword ><Code>%s</Code><Password>%s</Password></Probe>
<?xml version="1.0" encoding="utf-8"?><Probe><Uuid>%s</Uuid><MAC>%s</MAC><Types>getcode</Types></Probe>
<?xml version="1.0" encoding="utf-8"?><Probe><Uuid>%s</Uuid><MAC>%s</MAC><Types>exchangecode</Types><Code>%s</Code></Probe>
<?xml version="1.0" encoding="utf-8"?><Probe><Uuid>%s</Uuid><MAC>%s</MAC><Types>activate</Types><Password>%s</Password></Probe>
<?xml version="1.0" encoding="utf-8"?><Probe><Uuid>%s</Uuid><MAC>%s</MAC><Types>getencryptstring</Types></Probe>

None of that proved to be useful of extracting local time (except inquiry).

See this post for actual script.

ILDVR INC-MH40D06 or hacking cheap chinese camera

Continuation of ILDVR INC-MH40D06

Since manufacturer will not divulge the super secret telnet password, and not having ability to turn off the telnet from web ui, I have decided to get access to camera via more brute method.

Continue reading ILDVR INC-MH40D06 or hacking cheap chinese camera

Dahua IPC-HDBW4300E

Dahua IPC-HDBW4300E with 2.8mm lens.

Bought on Aliexpress, initially came with Chinese firmware, but seller helped me resolve this (was advertised as English).

Reason why I went with dome vs bullet is because I needed wider angle camera.

Here it is:
IMG_20150601_093506

To adjust it one needs to remove the dome with Allen Key provided:

IMG_20150601_093933
(sorry about blurry photo).
IMG_20150601_093954

IMG_20150601_094002
Note: The 4 pin header (on the right) is for serial (RS232), while button next to it (not visible) is the reset button (press 5 seconds to reset).

From Firmware/System perspective it is no different to Dahua IPC-HFW4300S.

Day time image quality exactly the same, except of course the HFW4300S comes with 3.6mm lens minimum while HDBW4300E comes with 2.8mm.
Night time image quality is a bit worse (due to weaker IR, and wider lens).

Here is the angle comparison:

3.6mm (HFW4300S):
Dahua-IPC-HFW4300S-day

Dahua-IPC-HFW4300S-night

2.8mm (HDBW4300E):
2015-9-23-11-23-23-668869

2015-8-23-19-36-17-795868

Rebooting IP cameras remotely

Hikvision

Complete Hikvision API documentation is available here.

To reboot remotely a Hikvision IP camera, all one needs to do is ‘PUT’ /System/reboot:

curl -X PUT --user {USERNAME}:{PASSWORD} http://{CAMERA_IP}/System/reboot

Dahua

Complete Dahua API documentation is available here.

To reboot remotely a Hikvision IP camera, all one needs to do is 'GET' /cgi-bin/magicBox.cgi?action=reboot:

curl --user {USERNAME}:{PASSWORD} http://{CAMERA_IP}/cgi-bin/magicBox.cgi?action=reboot

inside of Dahua IPC-HFW4300S

I have decided to switch back from 8mm lens to 3.6mm lens (Mega brand, sold as 3.6mm, f2.3, M12, for 1/3″ sensor).

Disassembly is fairly straight forward.
dahua-ipc-hfw4300s-000
Note: there is no need to remove screw from the back of the camera. It looks like it is covering a breathing hole (the screw does not hold anything).

Unscrew the front half:
dahua-ipc-hfw4300s-001

The IR LED PCB is held by couple of screws:
dahua-ipc-hfw4300s-002

In case of lens change there is no need to disassemble further. But for curiosity I continued.
The SoC board is held by another couple of screws and two screw posts that IR LED PCB was screwed into. These posts can be unscrewed by flat screw driver.
dahua-ipc-hfw4300s-003
Interestingly enough the camera is mostly empty space, the raised part of the body inside is used as heat sink (covered by yellow heat sink pad). There was a bag of silica gel inside.

The SoC board with lens:
dahua-ipc-hfw4300s-004
Lens is simply threaded on the sensor body, secured by locking nut. Everything was finger tight. The locking nut is transferred to the new lens and then the whole thing is assembled back, except IR PCB and front cover. Focusing is done on live camera, preferably with a special pattern. The trick is slightly “over” focus, and then tighten the locking nut (while holding the lens).

Back of SoC board:
dahua-ipc-hfw4300s-005

dahua-ipc-hfw4300s-006

Here what states on the “CPU”:

Ambarella
A5s-CO-RH
A1407
N6WY4-AN3
1N1
A5s88

Here is the front of SoC with lens removed:

dahua-ipc-hfw4300s-007
The dust speckle on the sensor was courtesy of Chinese aliexpress seller (probably when they replaced the lens to 8mm).
EDIT: the unpopulated 4 pin header (top right) is for the Serial (RS232) connector, the unpopulated 2 pin header (bottom left, next to battery) is for the reset button.

I used a bit of sticky tape to remove the dust speckle without leaving anything else on the IR filter.

The screws were one time use only (made out of Chinesium) so I replaced them with nice stainless steel screws.