Since day one of our ownership of this particular 1NZFE powered Toyota IST the engine was a bit on louder side.
Previously all my other cars had timing belts and I put it down to simply being a “feature” of chain.
After more family and friends upgraded their cars to xNZFE, it was clear that this engine was slightly louder in chain department then the rest (especially in the mornings).
One day after coming back from a holiday I started the car only to be greeted by loud chain slapping noise.
OMG! My wife’s car turned into a Nissan!
I decided to exorcise the Nissan out of it by replacing the chain tensioner and guides.
Below is how I did it, not necessary the “correct” way. This process took about 6 hours, good chunk of it was spent on cleaning the surfaces.
It was pretty much like replacing timing belt, except with way more RTV.
Over all I replaced two oil pump O-rings, front crank seal, valve cover gasket, both chain guides and chain tensioner.
In retrospect I prefer timing belts as opposed to timing chains, especially considering that the tensioners still fail on chains occasionally.
Interesting notes:
- Old guides were PA66, new guides are PA46 (improved)
- Old tensioner had larger oil hole than the new tensioner.
- In hand old tensioner functioned correctly, but while fitted it would skip.
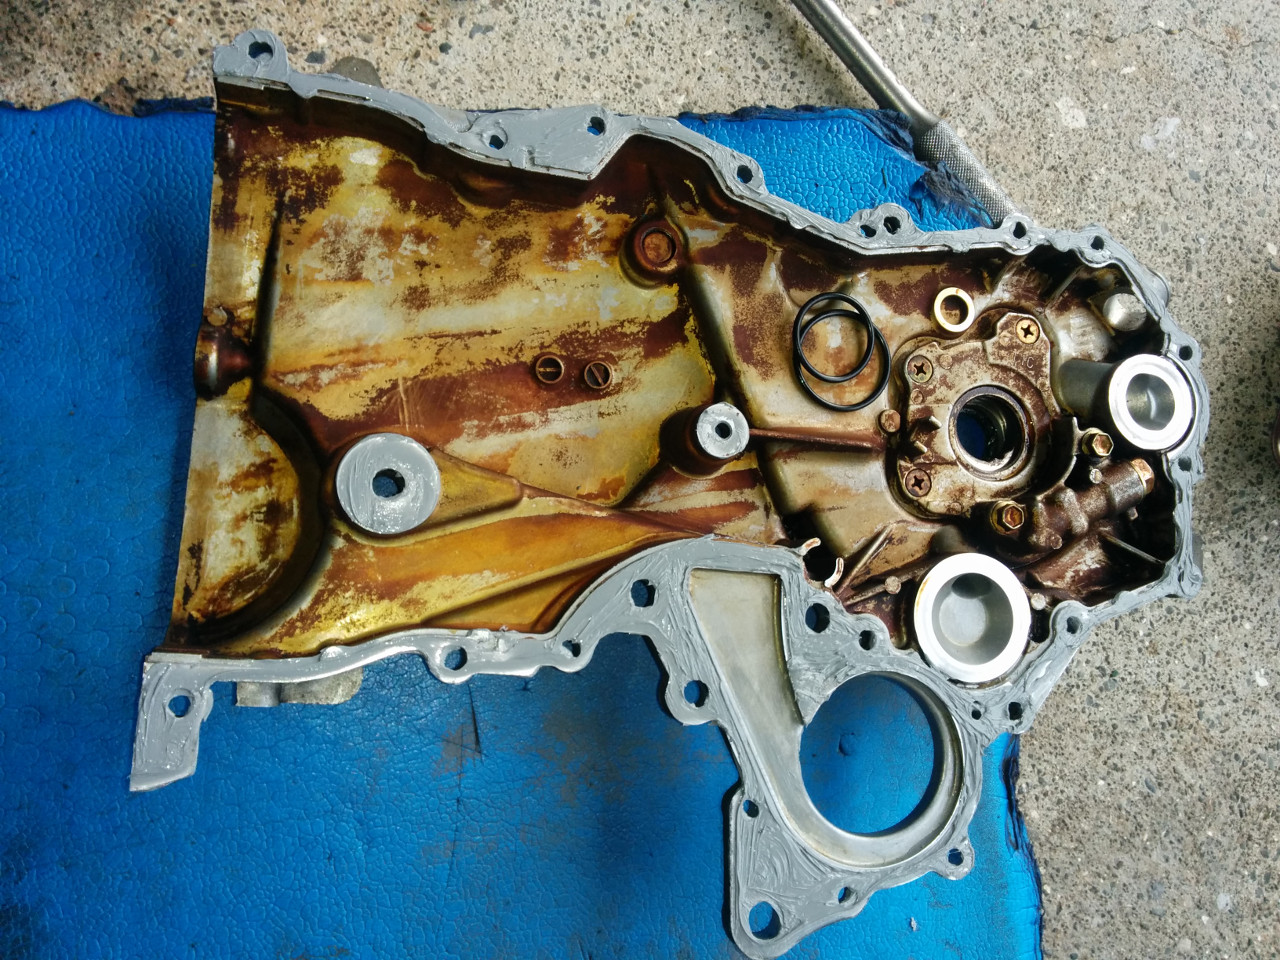
- For some reason Toyota decided it is great idea to incorporate water pump flange into front cover. This creates a potential of RTV failure and leakage of coolant into sump. It also requires pump removal when removing front cover. It would saved me 2 hours if the pump was not part of the front cover.
- The oil pump is mounted on front cover, thus requiring two O-rings for inlet and outlet.
- One of those O-ring was completely flat, possibly leaking oil. It is hard to tell if the O-rings seated properly when fitting the cover.
- For the crank pulley Toyota gone away from woodruff key in favour of tiny hollow pin.
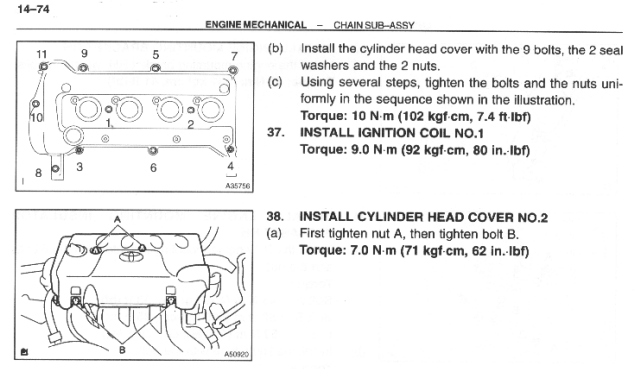
- The 10mm cover bolts and water pump bolts torqued at 11Nm. The 12mm cover nut and bolts torqued at 24Nm. The crank pulley went in hella-tight with crappy rattle gun and on top with some hammer on spanner action (It should be 128Nm). The tensioner and guides bolts are torqued to 9Nm.
- I used Threebond grey RTV. The manual specified two kinds of RTVs for water pump and the rest of the cover, good luck buying two Toyota genuine RTV tubes ;).
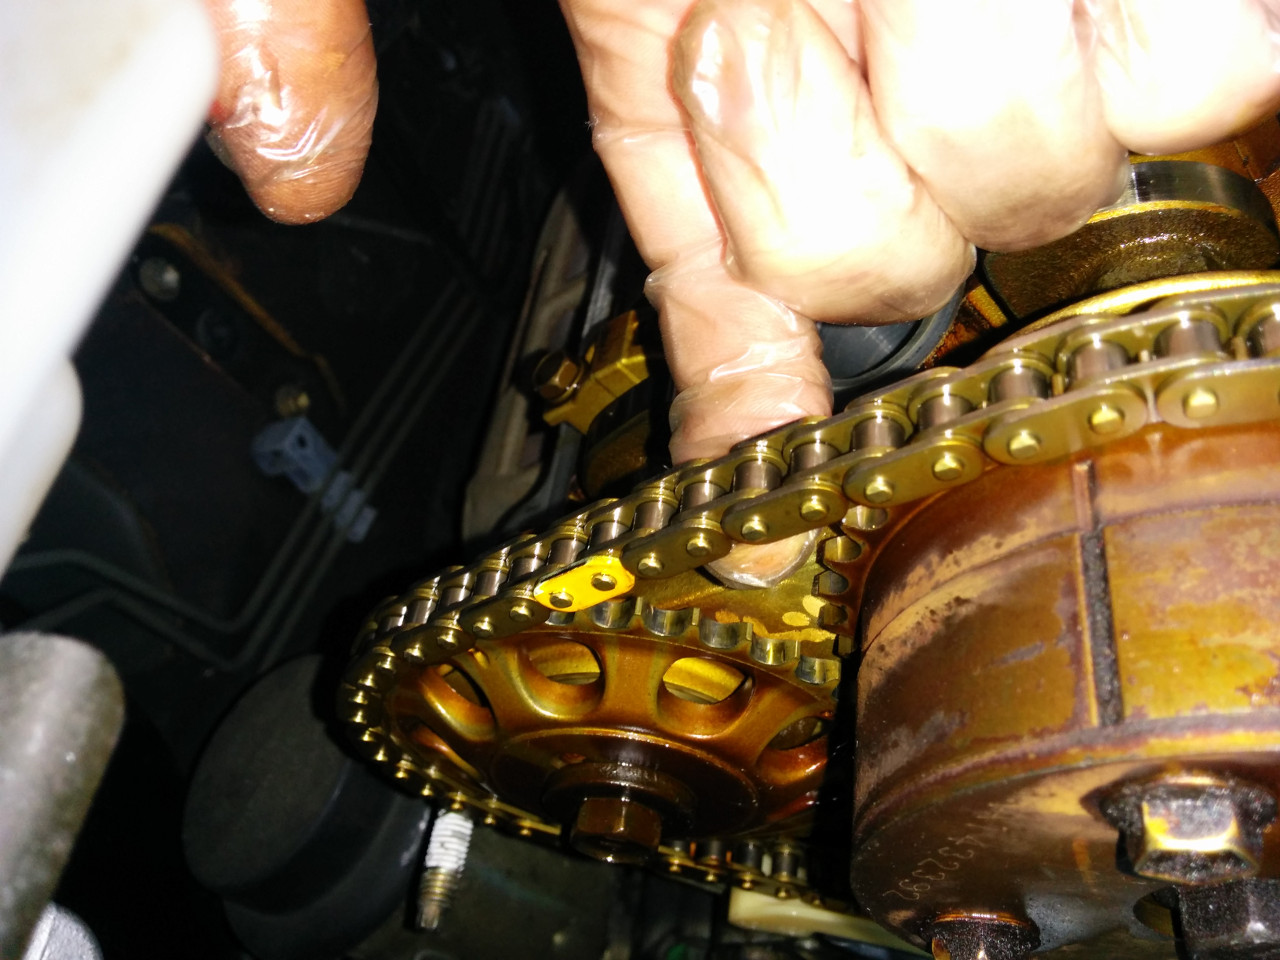
Slack Before and After:
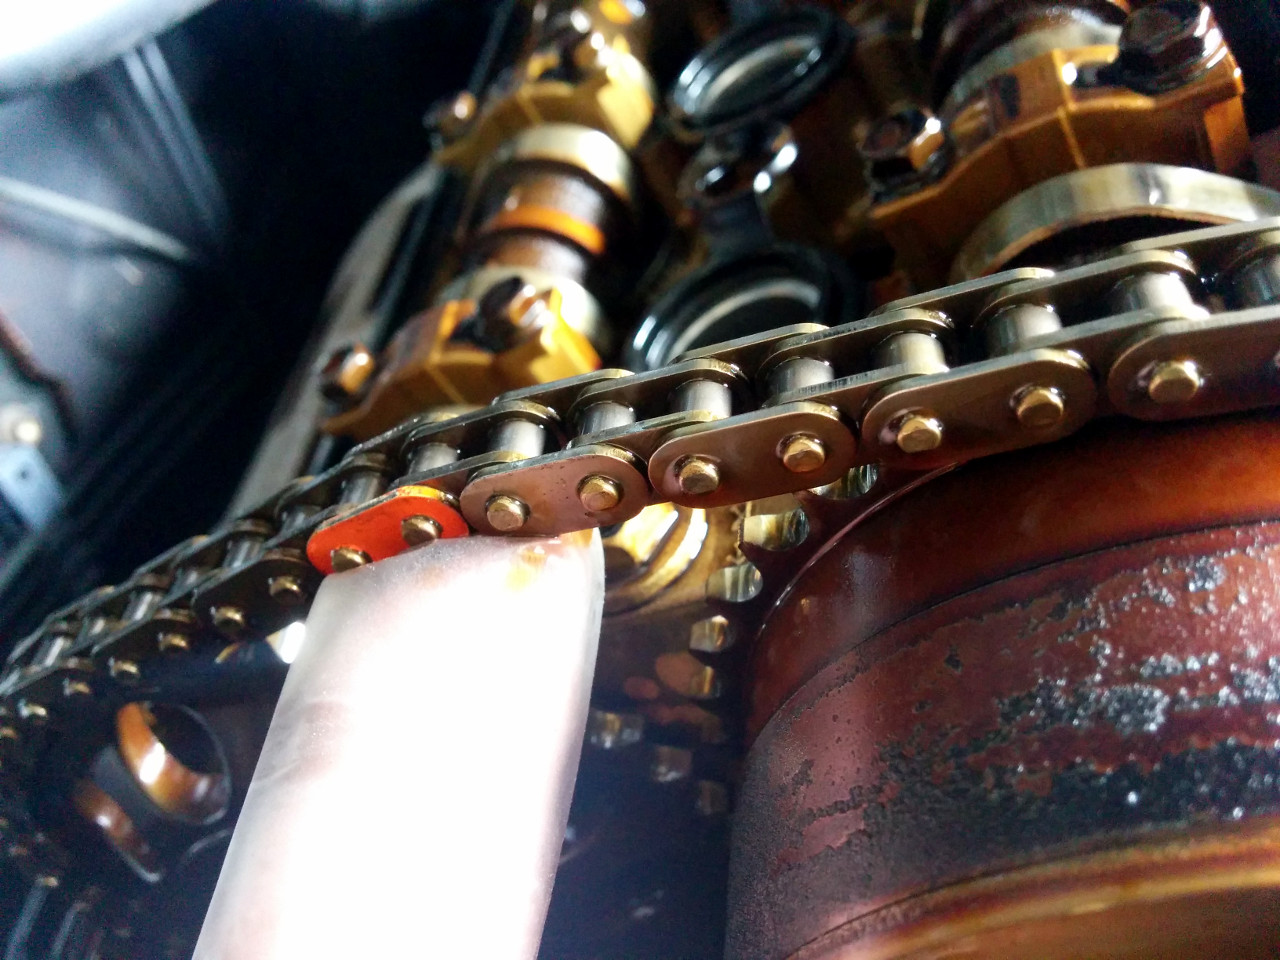
The chain tensioner and guides are located behind the front cover of the engine. To remove front cover all the stuff around it needs to be removed including the valve cover.
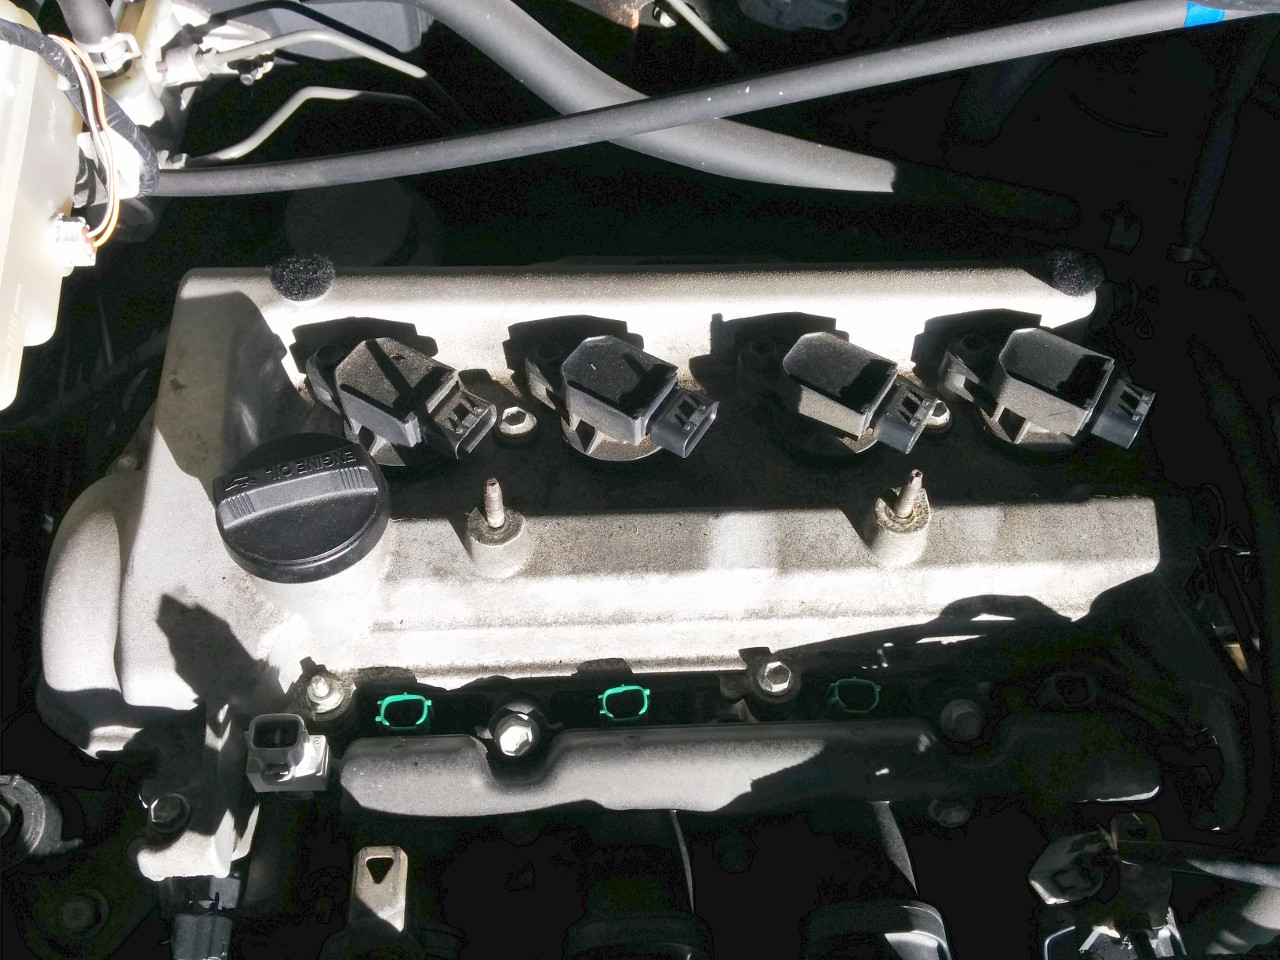
To remove the valve cover I disconnected coils and injectors (mainly so I can get the loom out of the way):
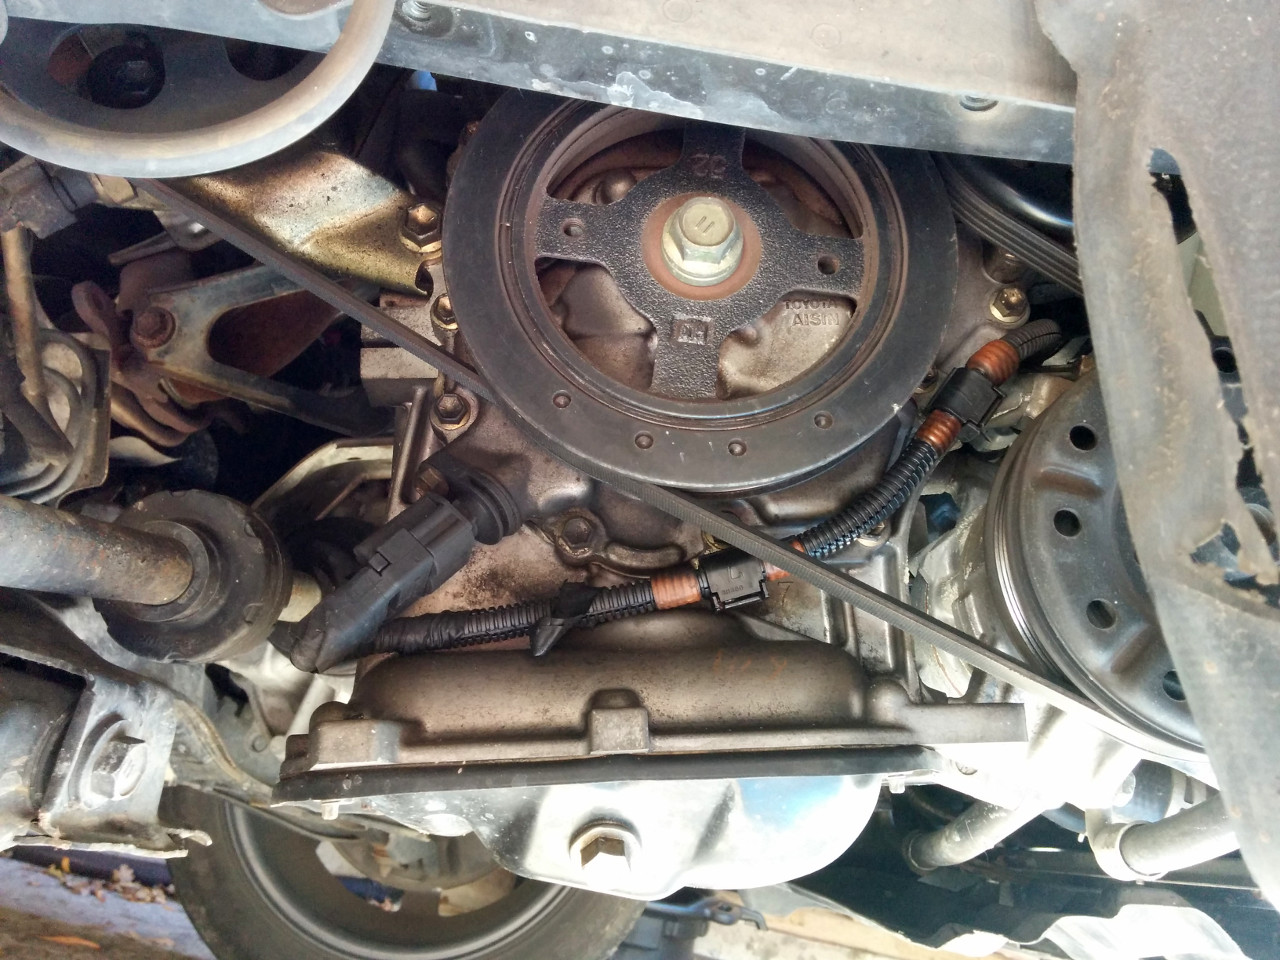
On the bottom of the car I removed the plastic mud guard to expose the crank pulley:

To remove the engine mount first support the engine with a good jack:
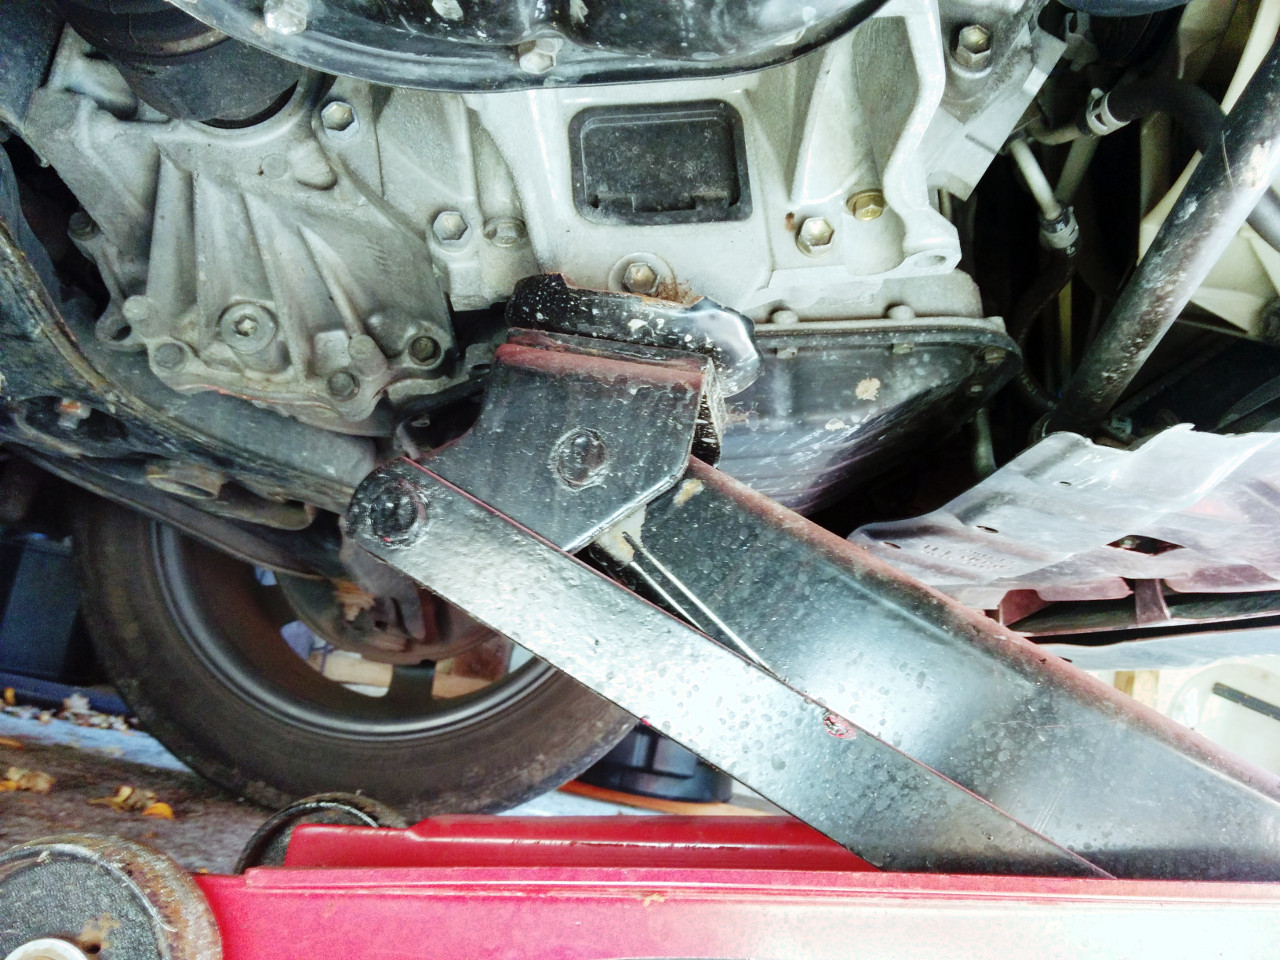
Undo the two bolts on top of the mount:
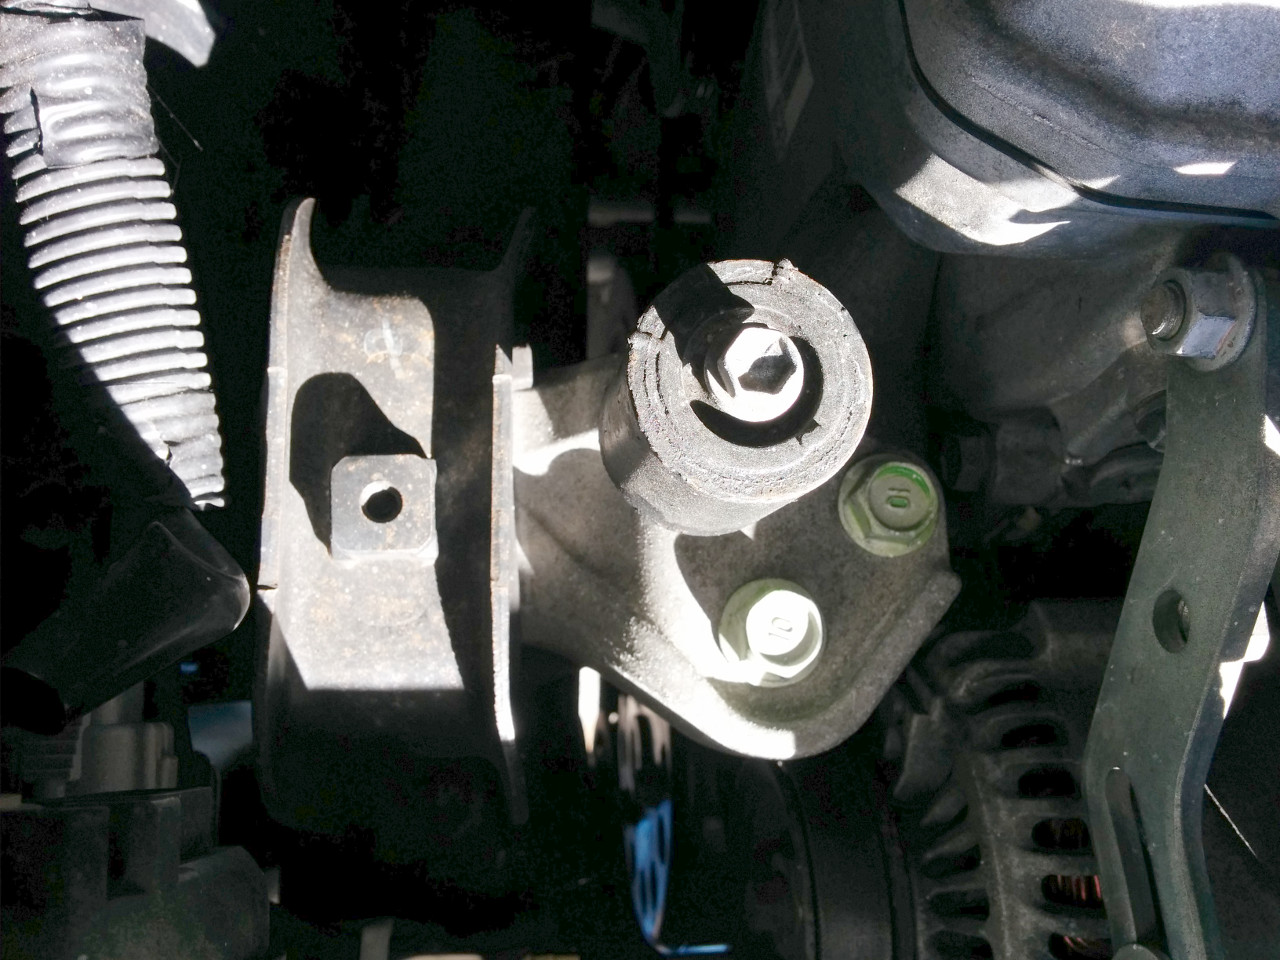
Undo the single nut on the bottom of the mount:

Then undo three more bolts that bolt the mount to the chassis:
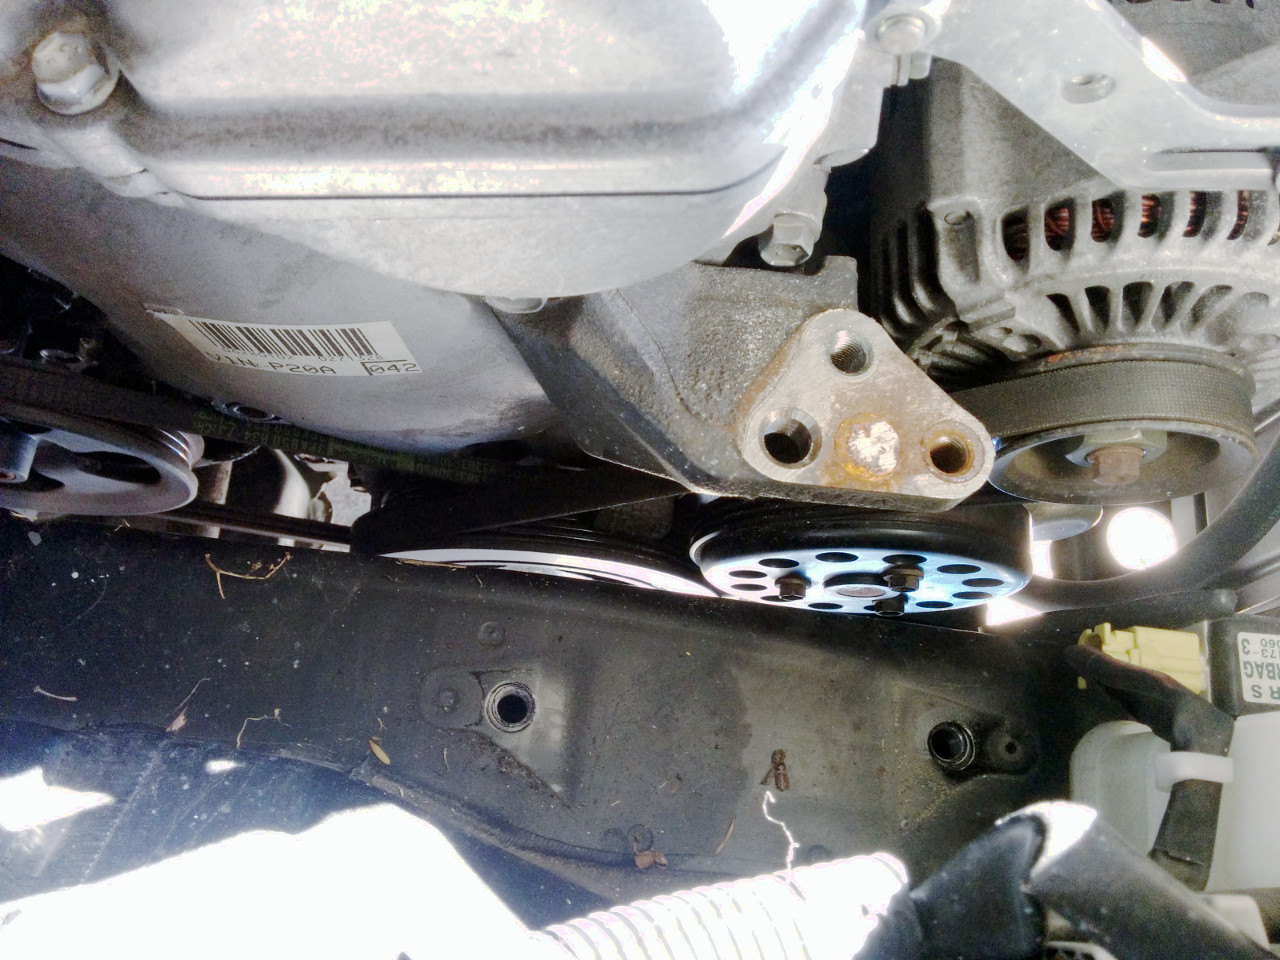
To get to the engine side mount bracket the water pump pulley must come off:
The mount bracket is held by 4 bolts, here is the bracket removed:
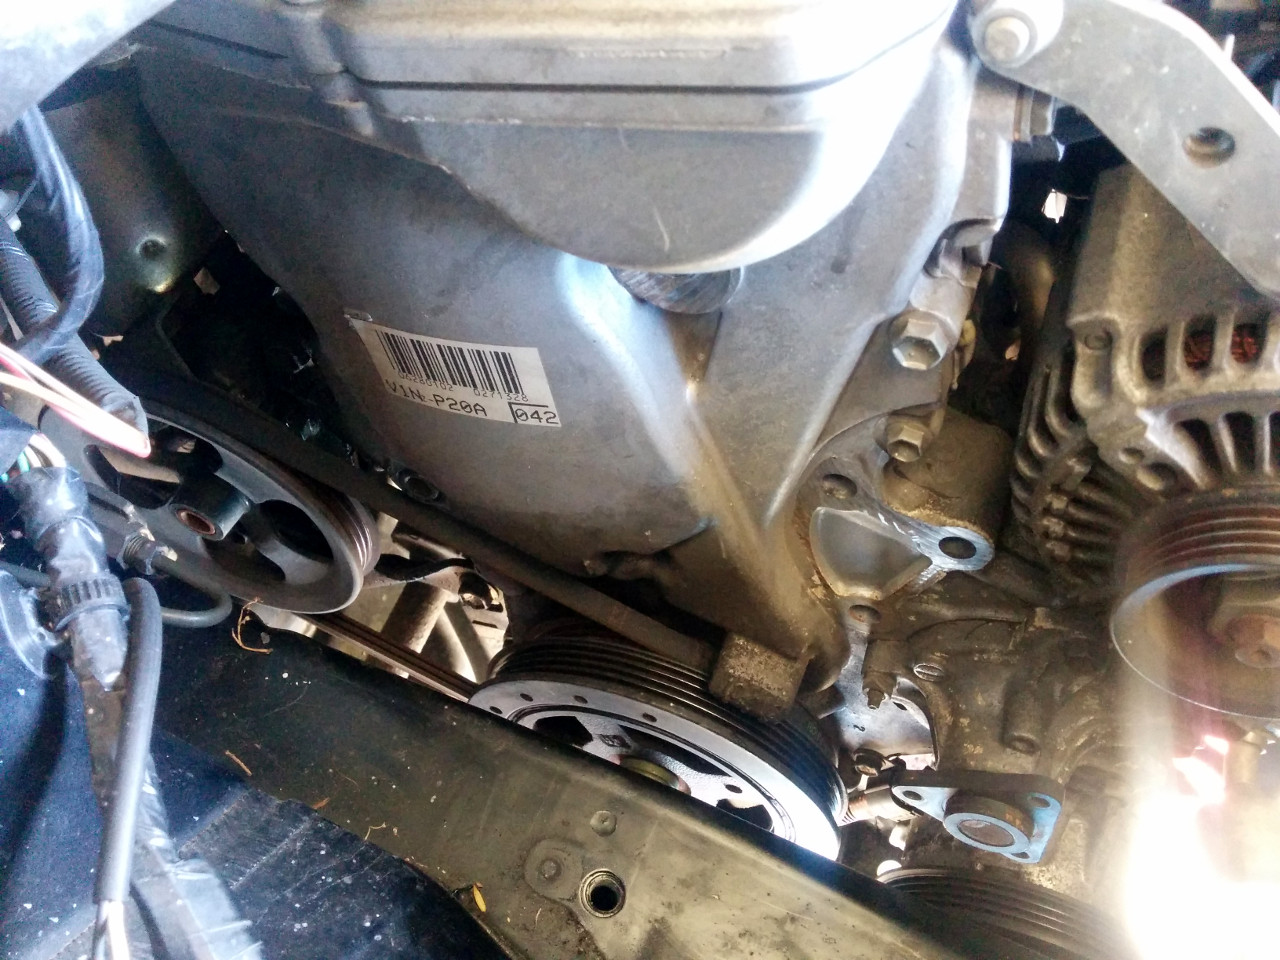
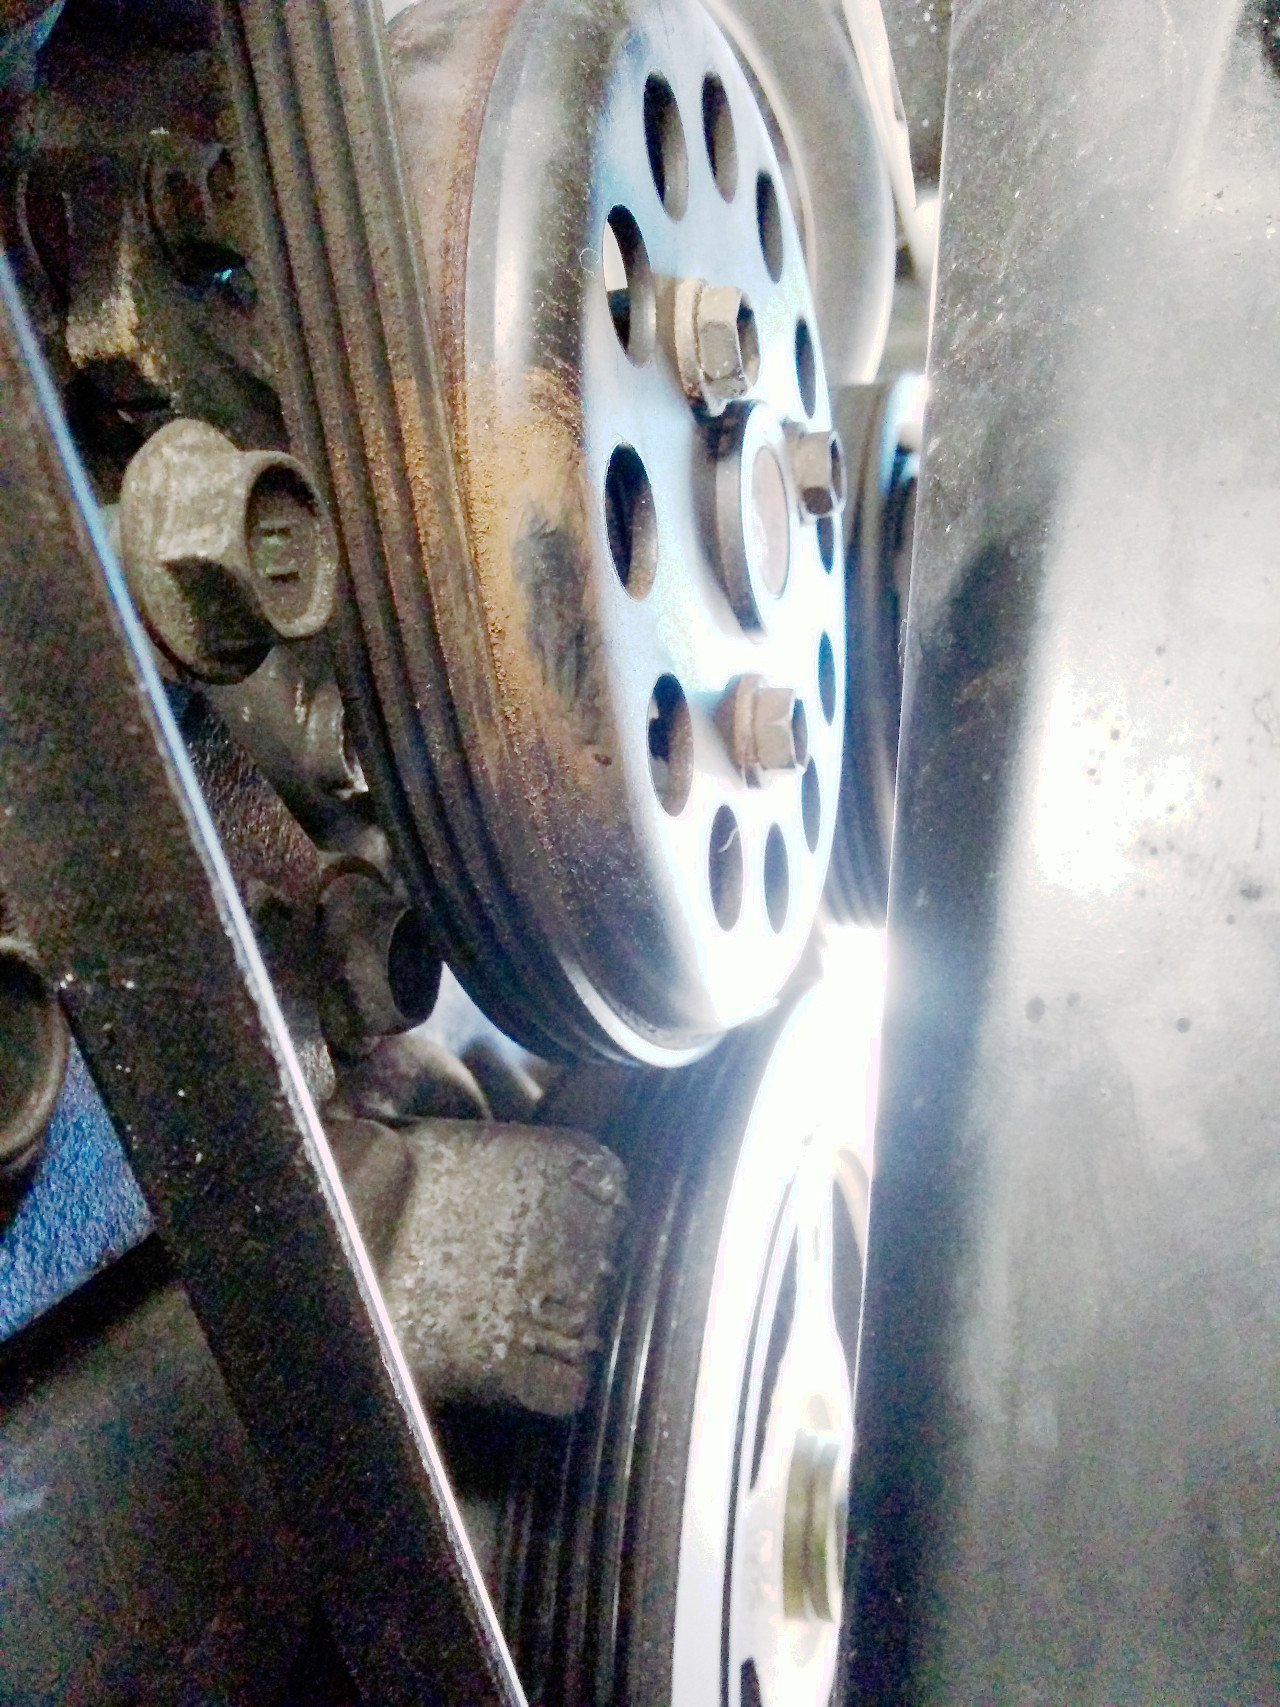
The crank pulley bolt came off with a regular compressed air rattle gun (to my surprise!). Alternative method would have been using starter and long breaker bar:
To remove the power steering pump belt one needs to undo this particular bolt:

I used my own crank pulley removal “tool”:

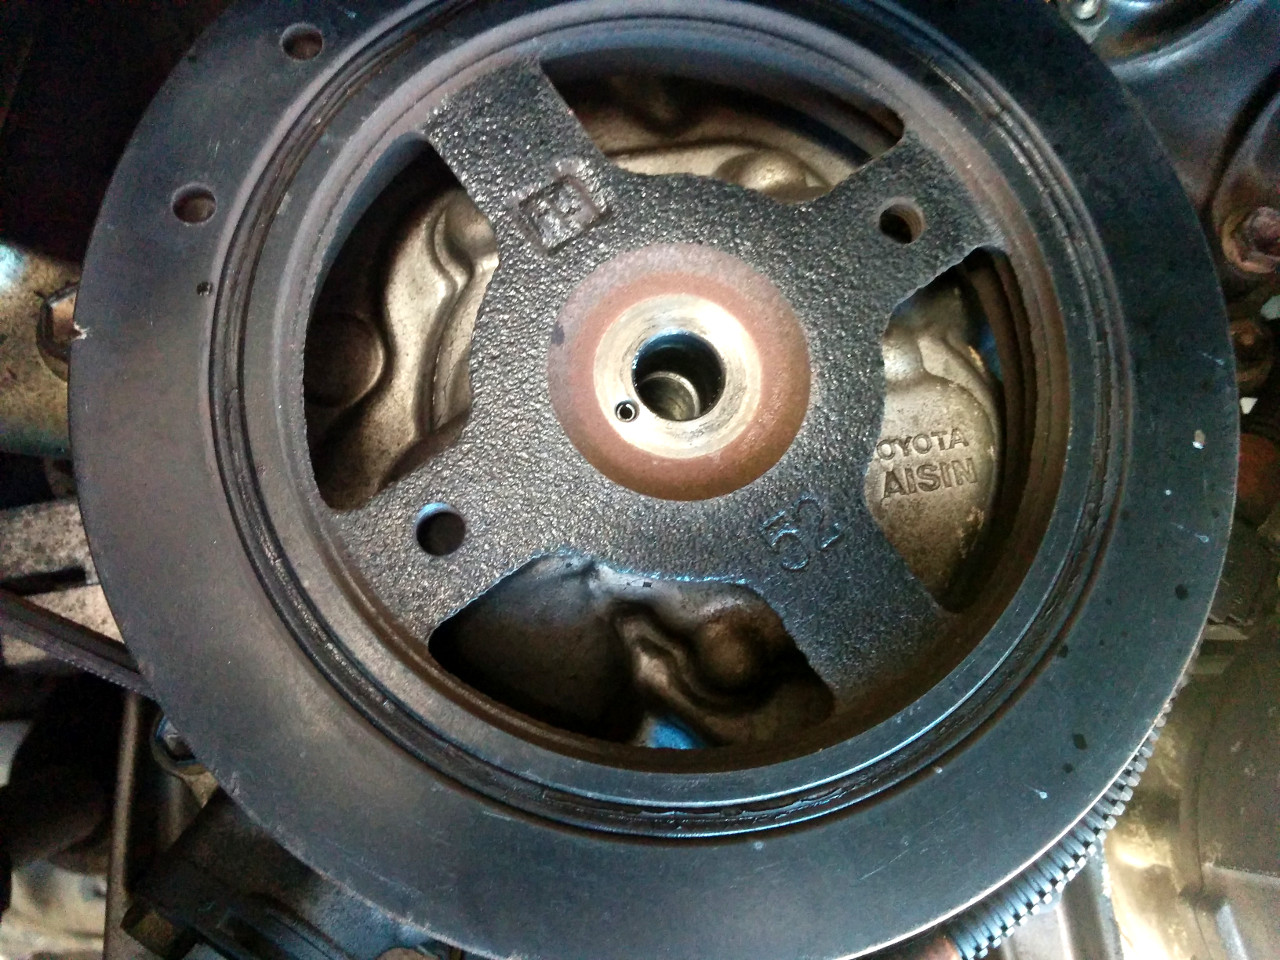
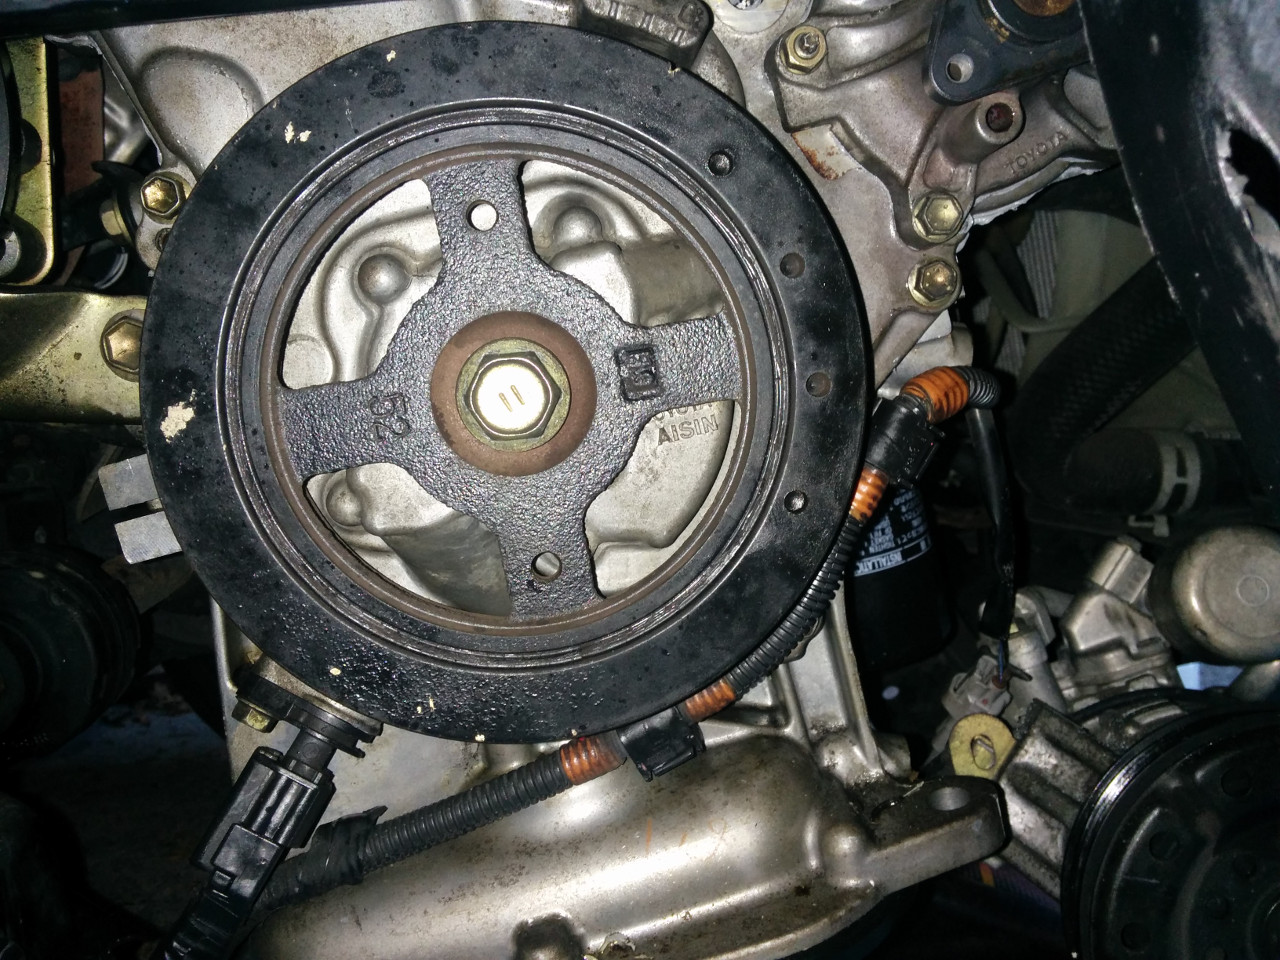
The whole pulley is located by this tiny hollow pin:

Pulley gone, exposing the crank angle sensor and other stuff:

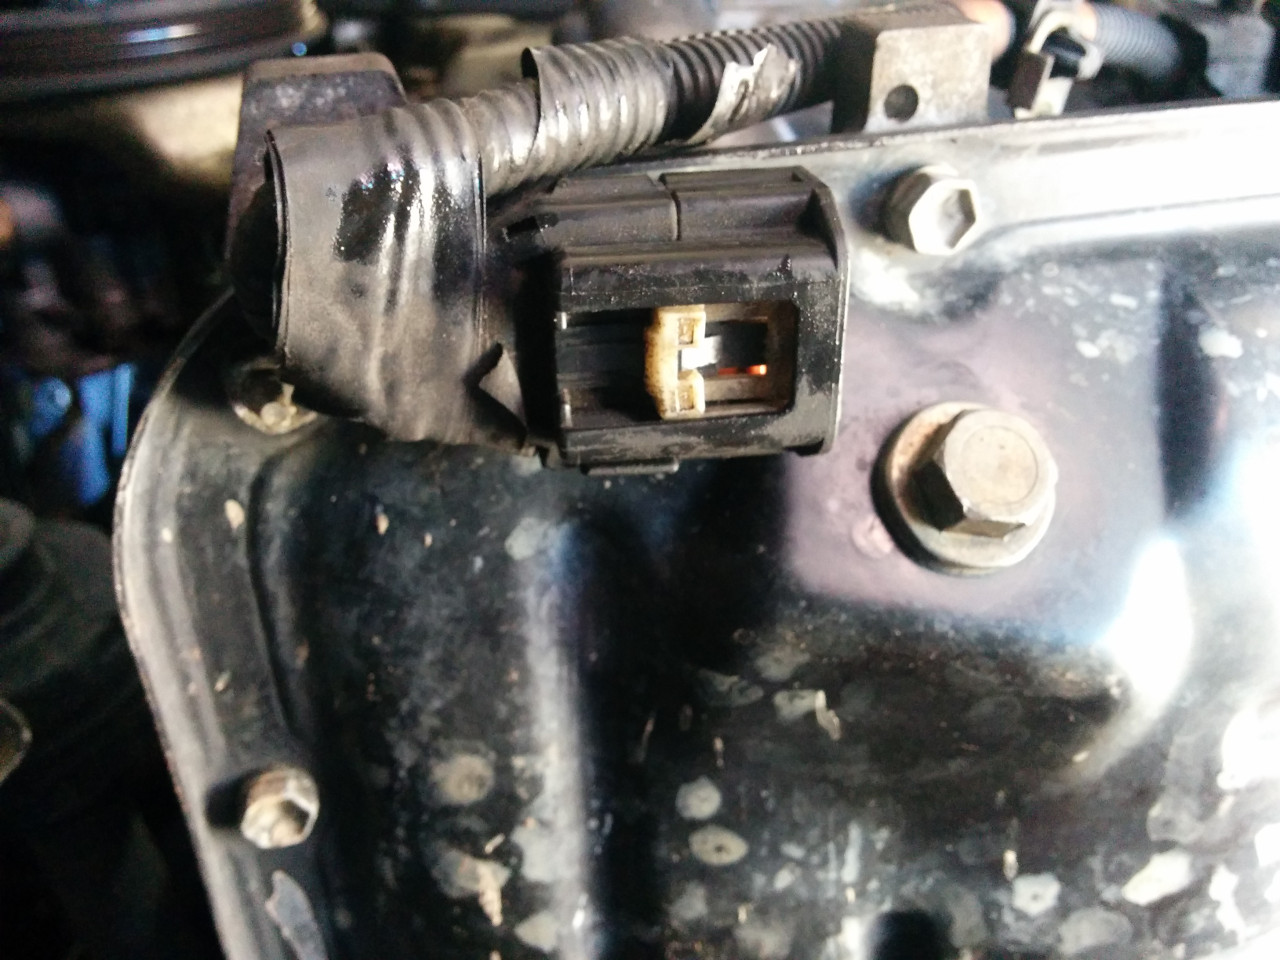
Crank angle sensor connector is a bitch to disconnect unless you know how to slide this white tab:
Crank angle sensor gone, as well as most of the cover bolts:

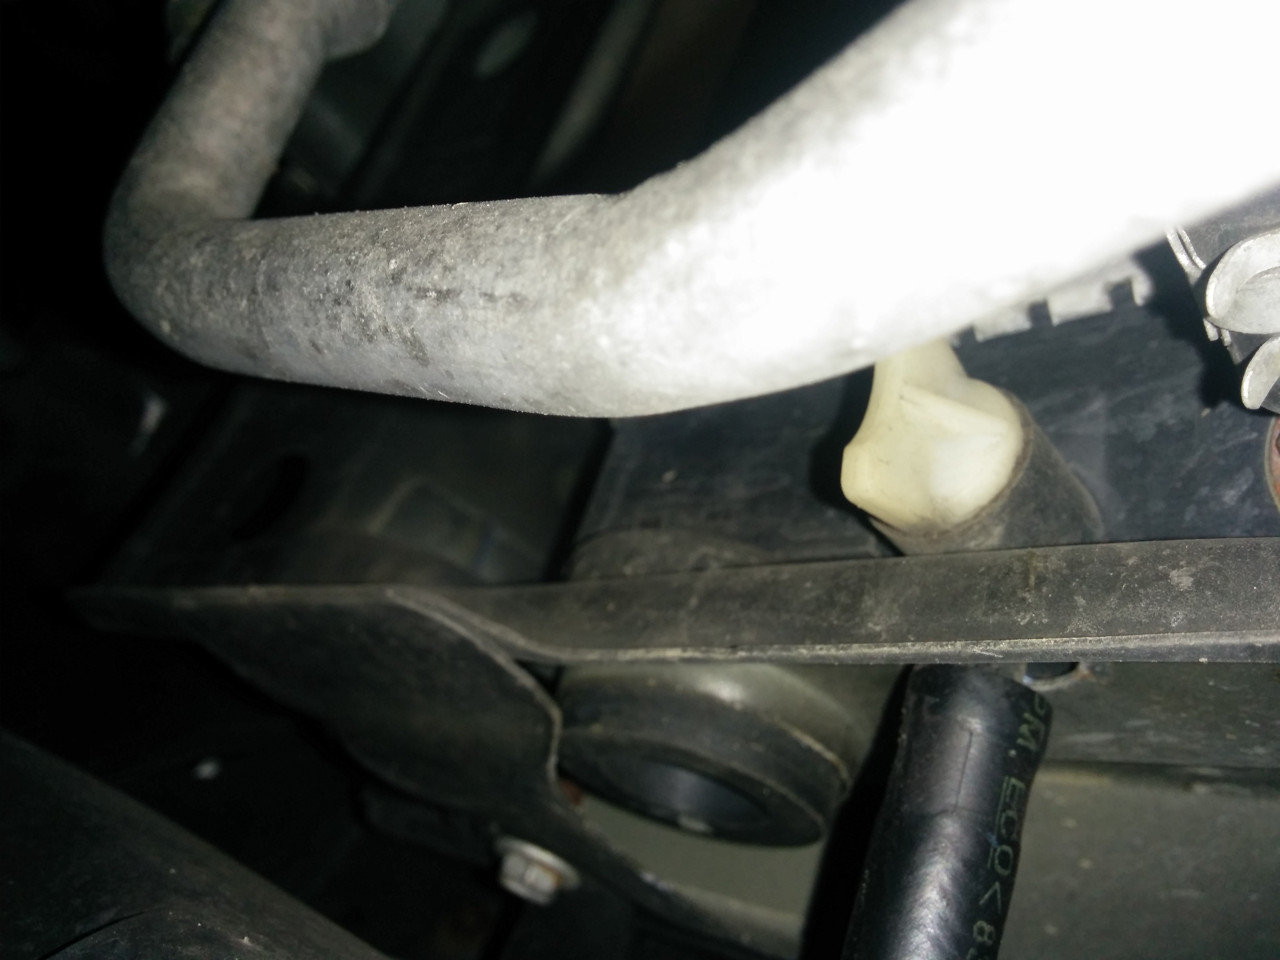
Almost forgot to drain coolant (this can be done in the beginning). The drain plug is located on radiator. The drain plug drains into an outlet to which you can attach a hose:
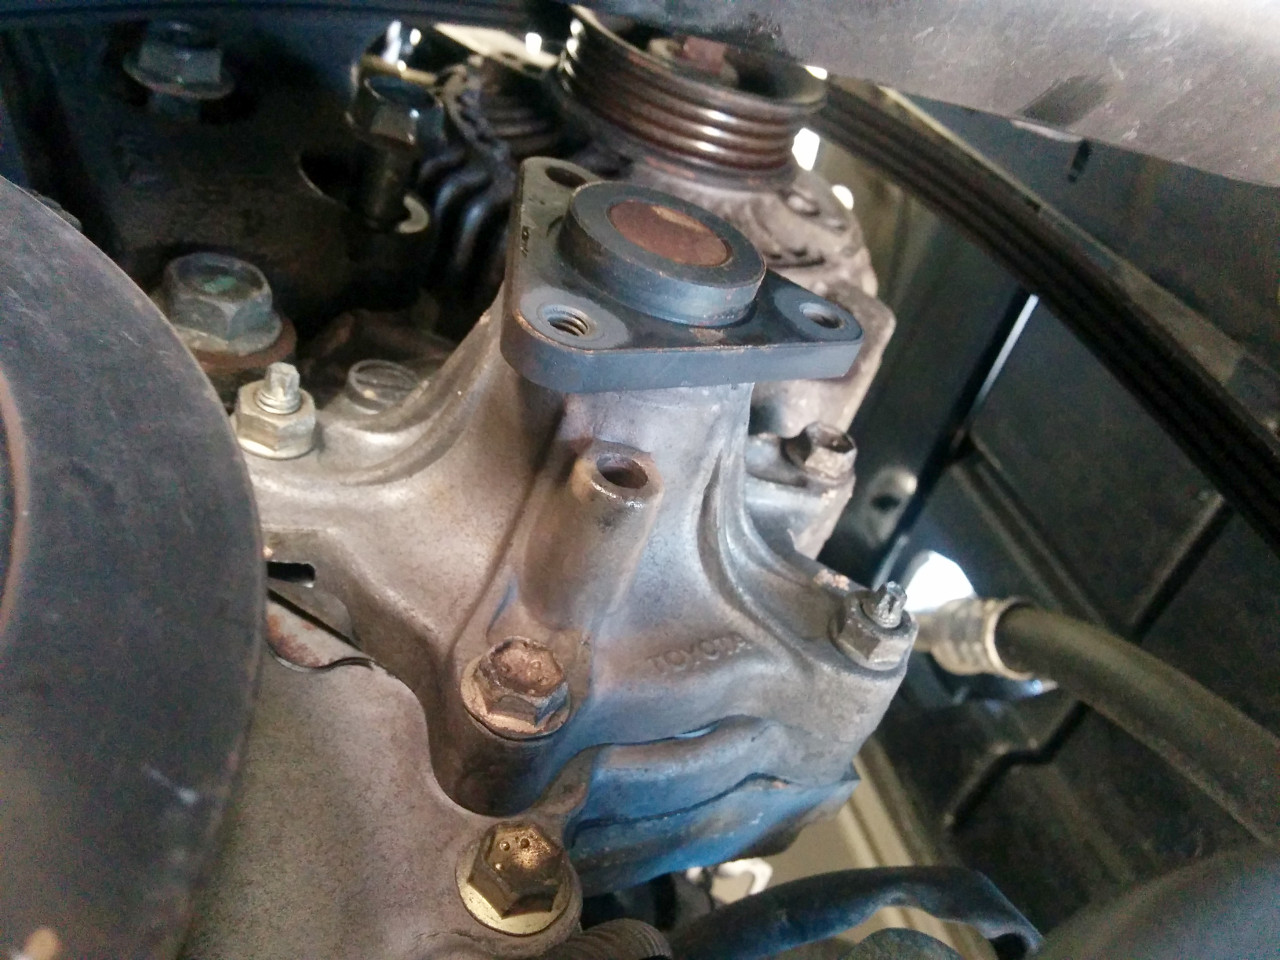
After draining the coolant I removed the water pump and moved the alternator out of the way:

To remove the valve cover I removed the coils:
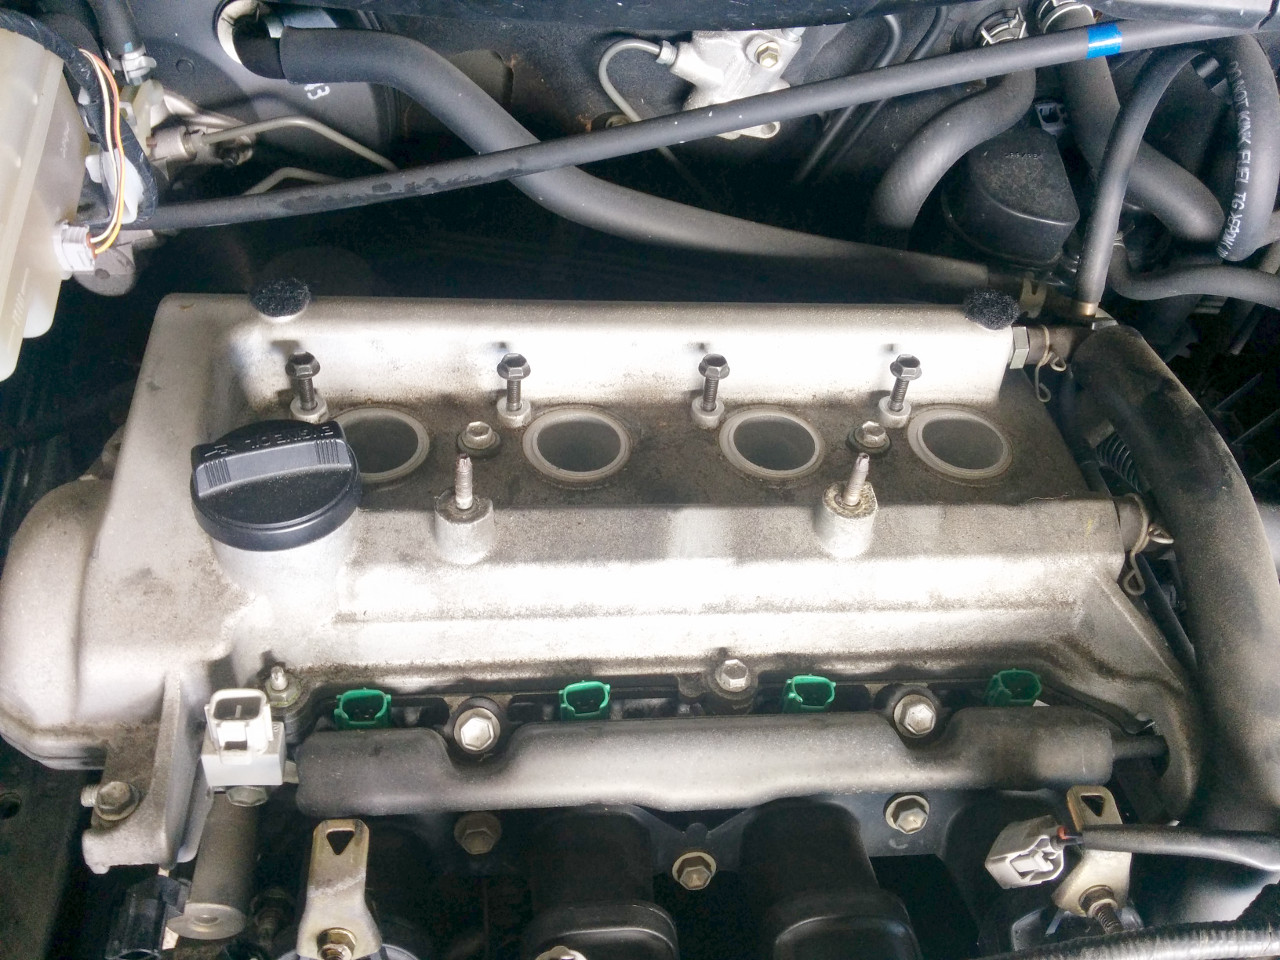
And it is gone (after gently prying it off, as well as some rubber mallet action):

It takes a lot of patience to unseal the front cover. Do not forget about a bolt right in the middle of the cover! Be very careful when prying it off as it can crank in half. I gently pried it off, starting from the top and continuing to the bottom. The water pump side required extra taps to get going:
For some reason Toyota decided it is great idea to locktite couple of water pump studs… With them in place it is impossible to remove the front cover. I had to resort to the counter double nut technique to remove these bastards:
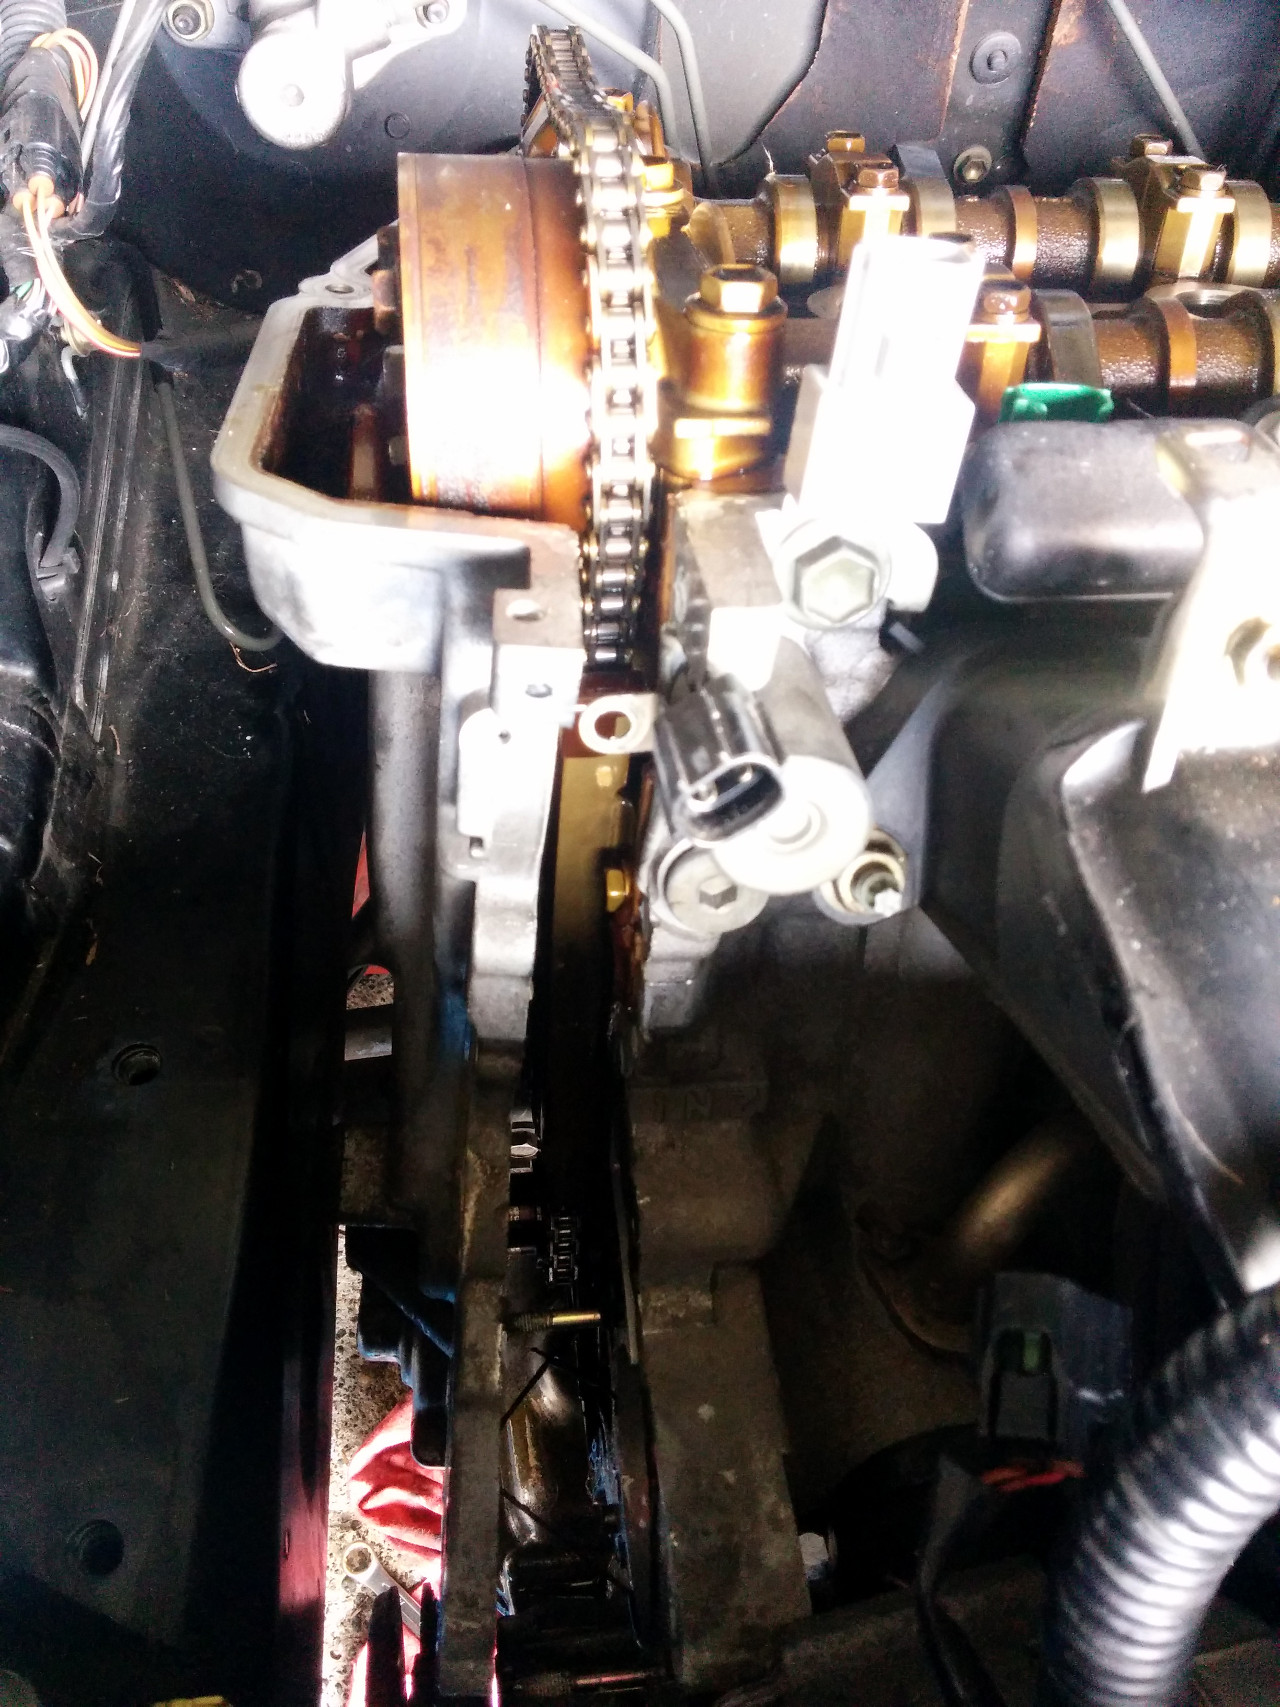
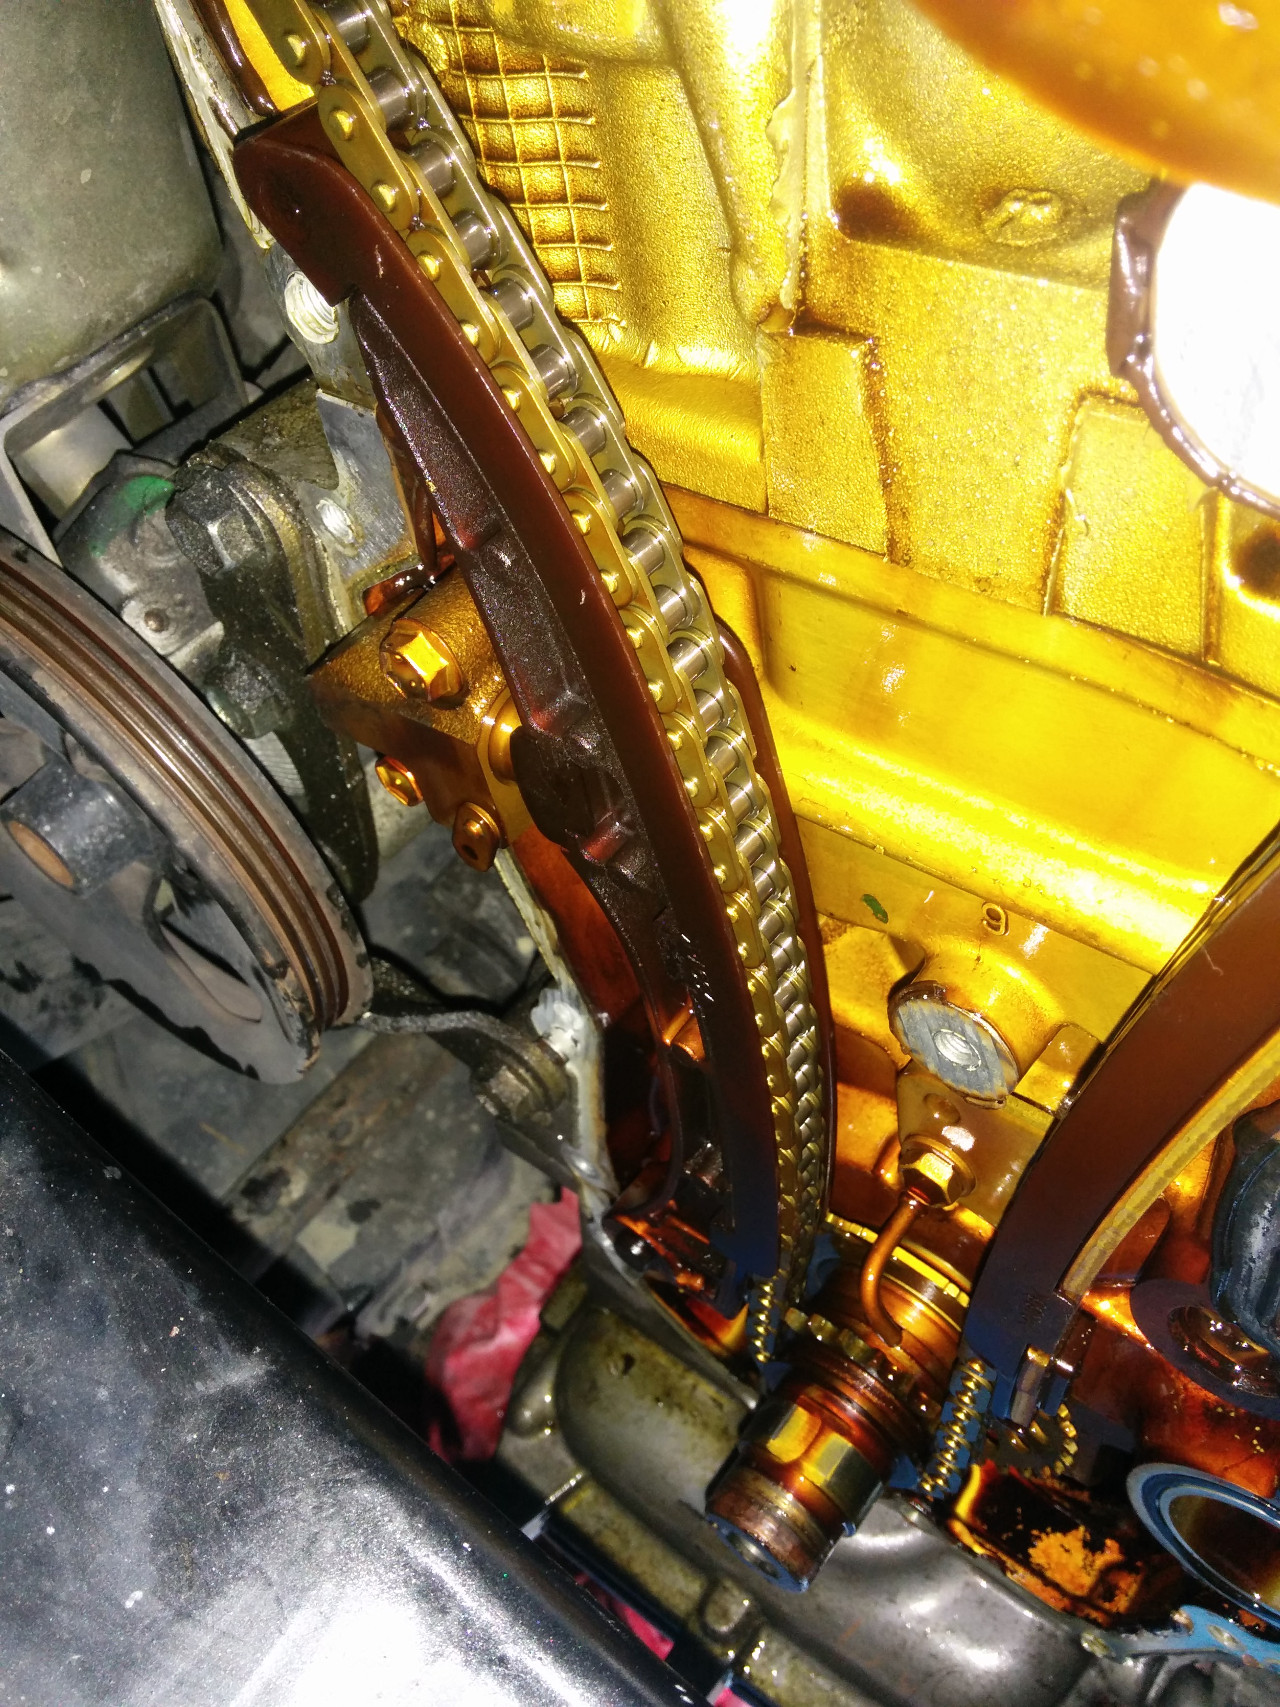
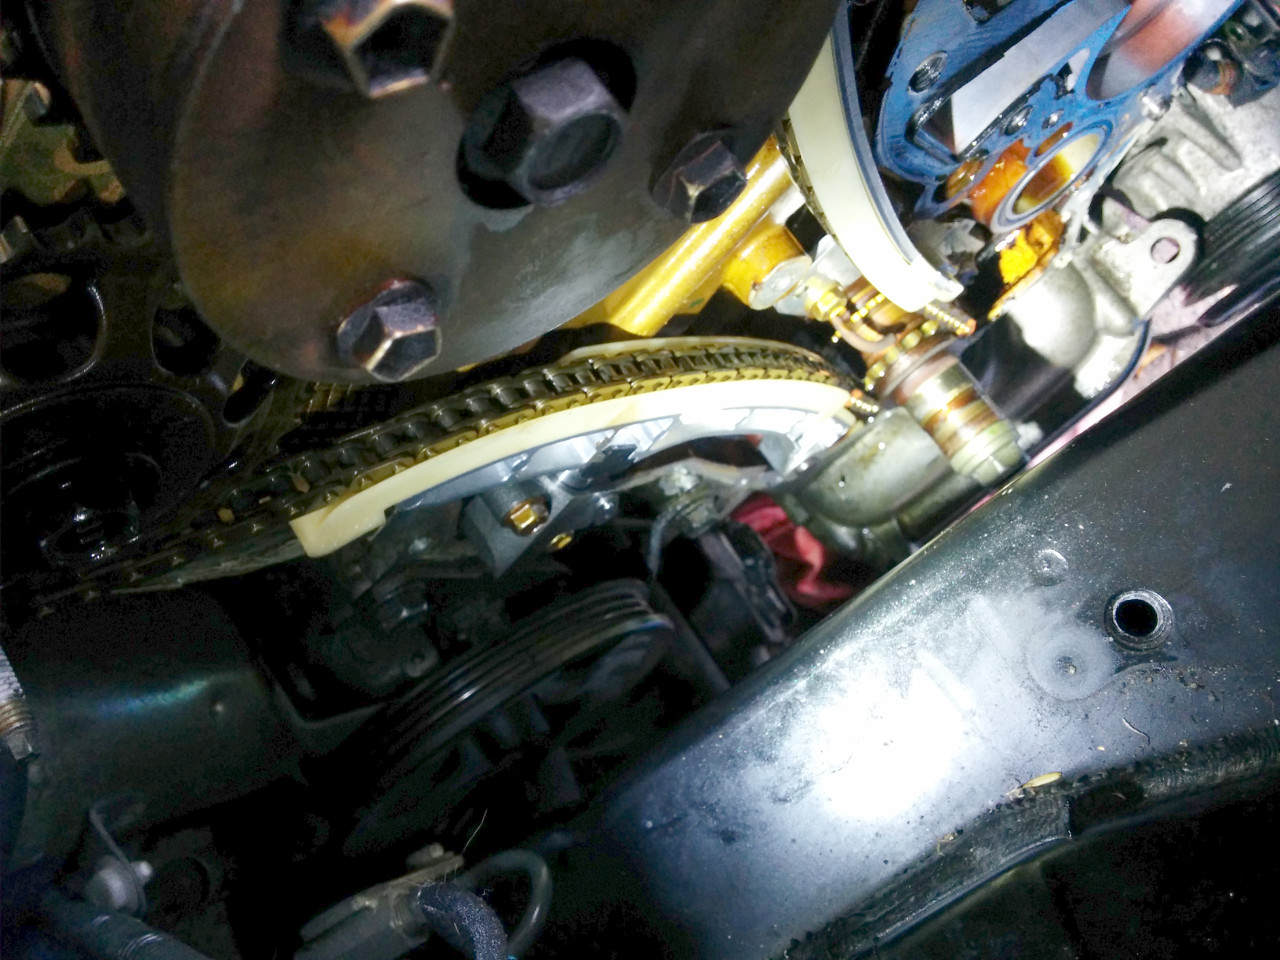
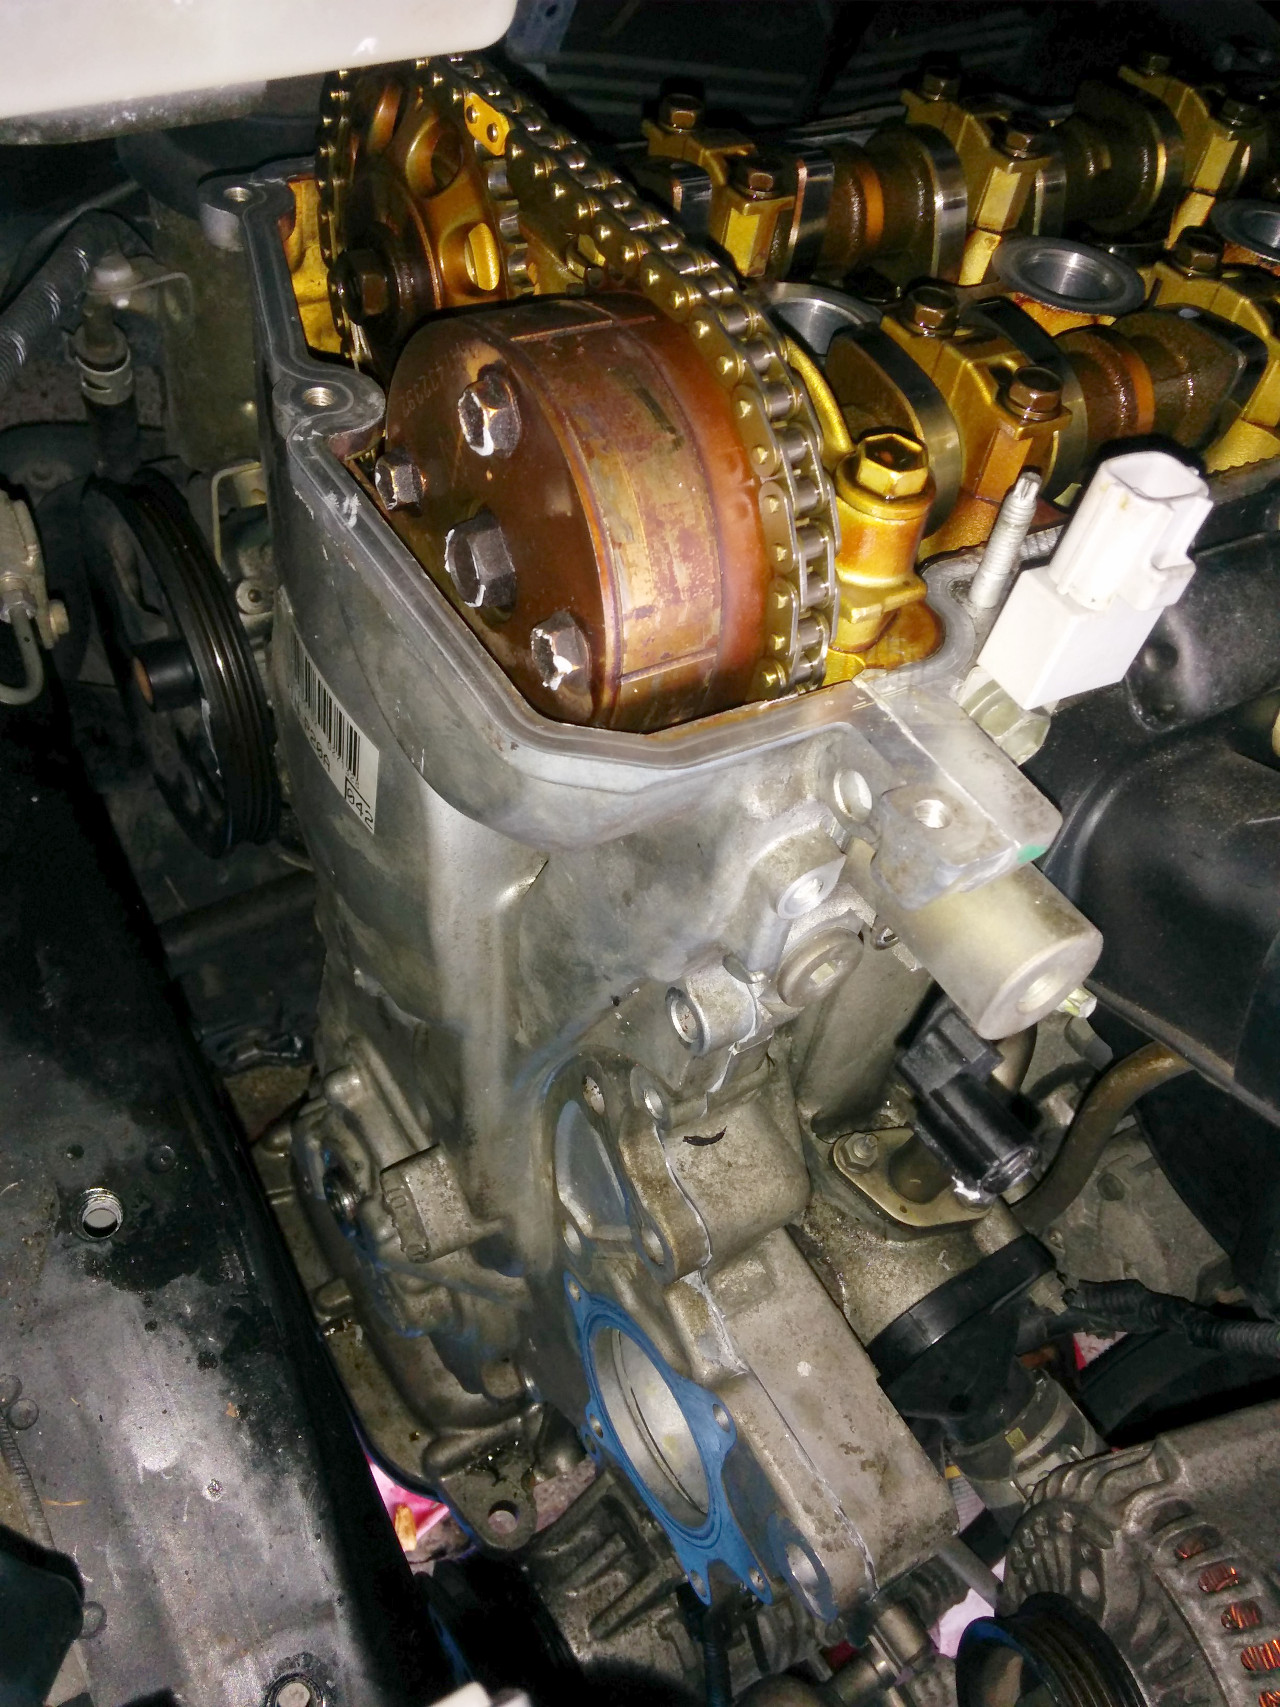
Here is a view to the old guides and the tensioner:
Oddly the inlet timing marks only match the top marks (there is also a dot closer to the centre, which I assume indicates the top mark):
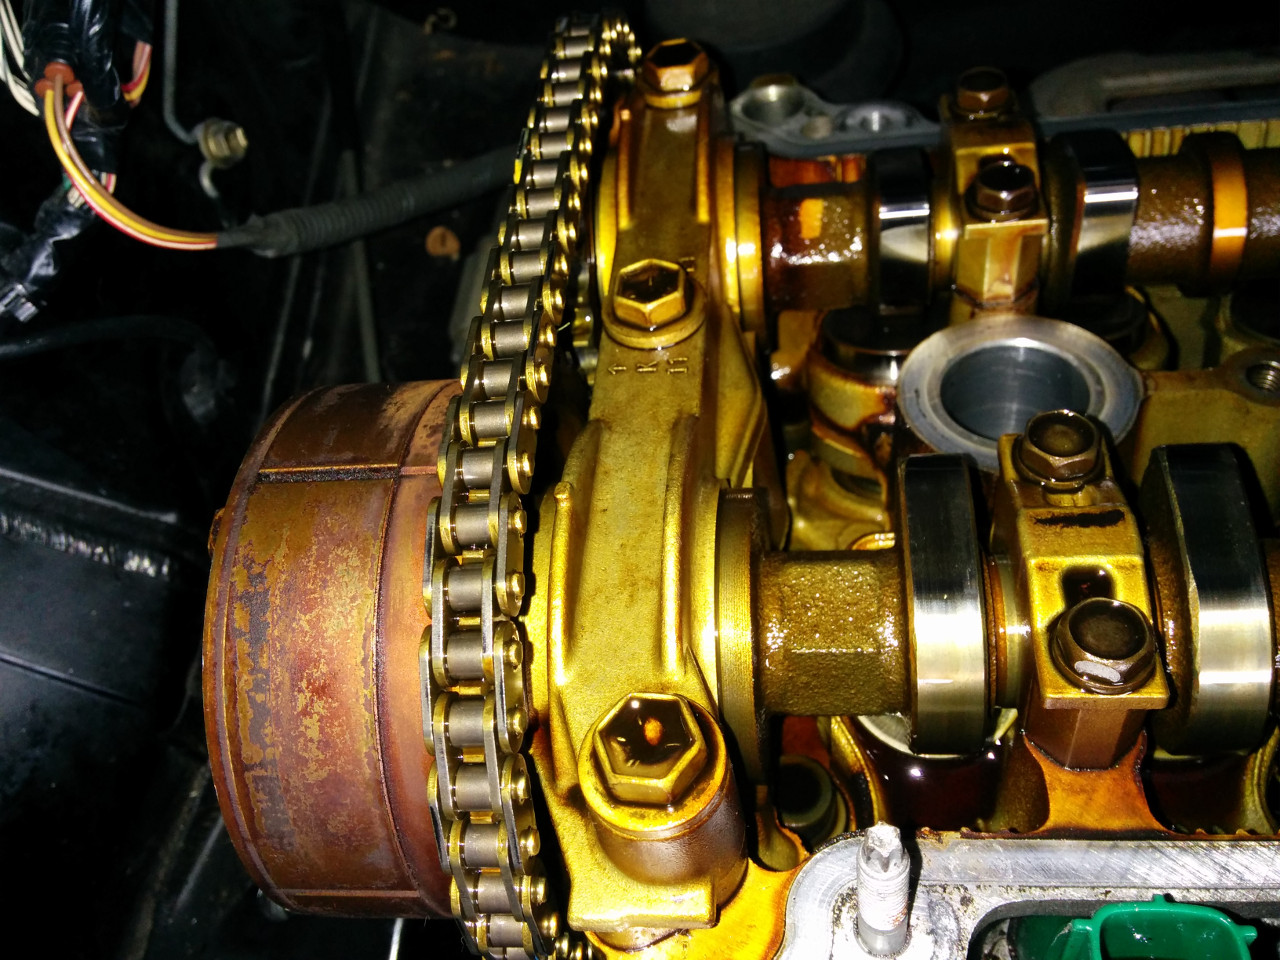
Exhaust timing mark (note double dotted mark to the top).
Note: there are corresponding notches on the cam shaft journal carrier.
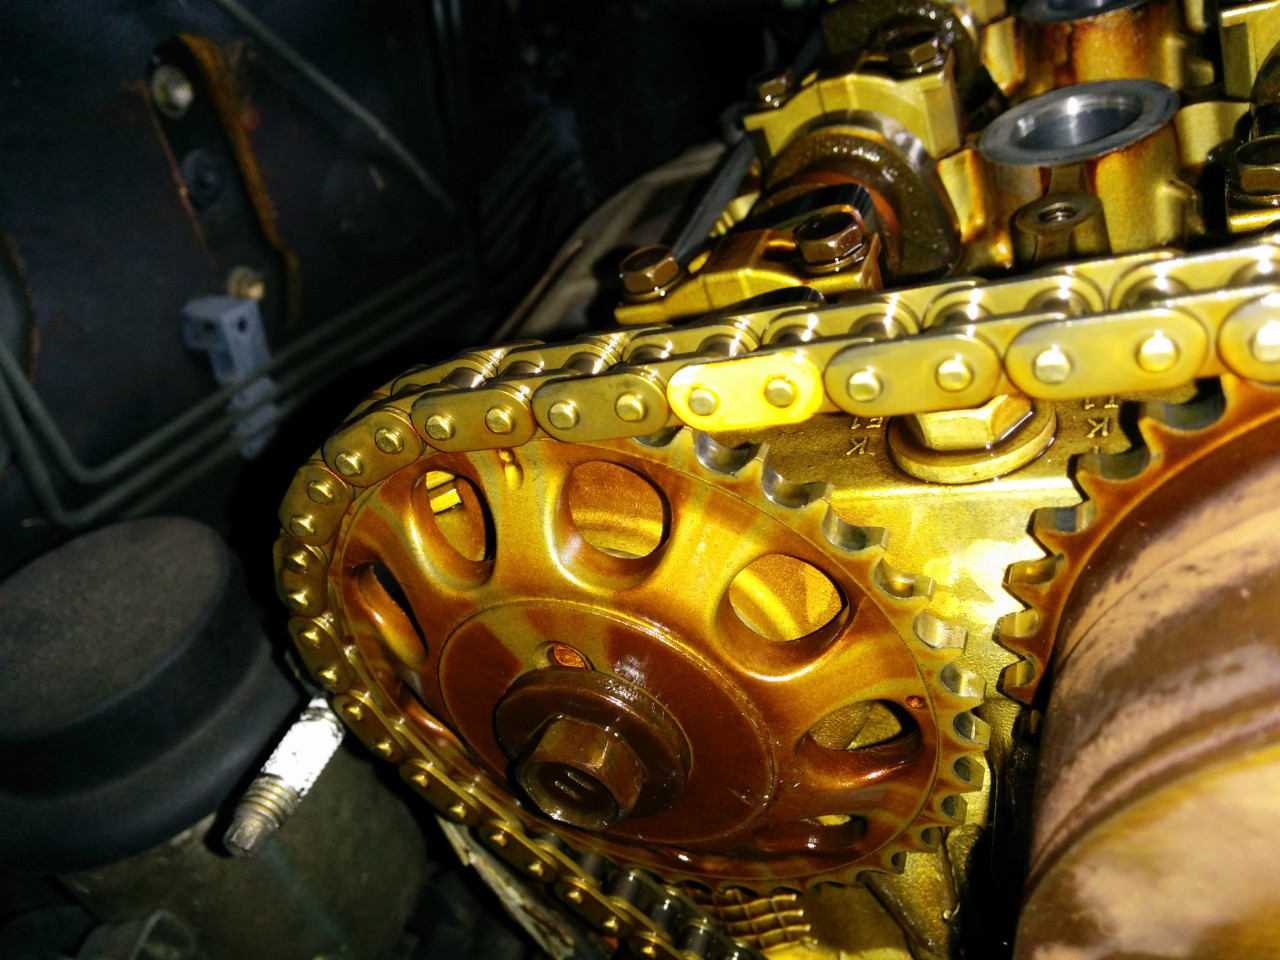
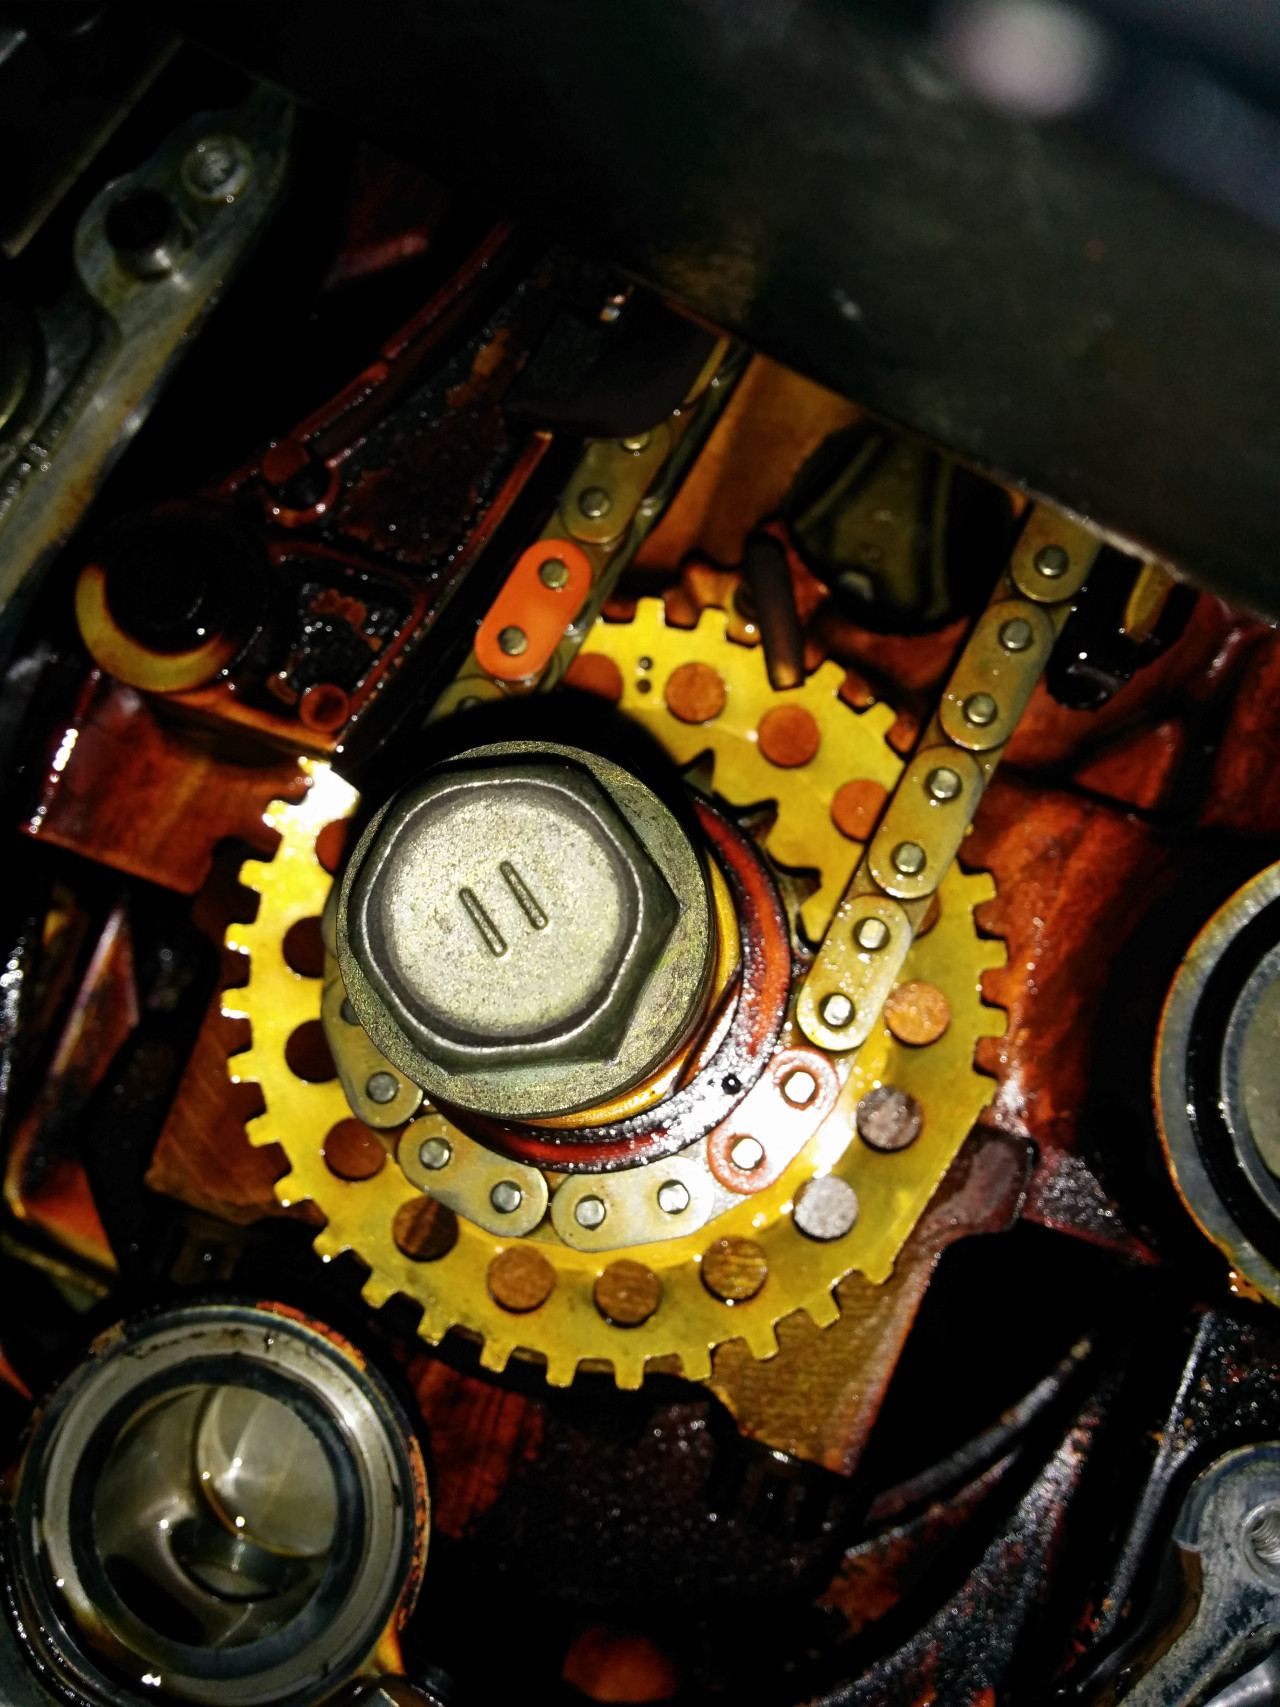
Crank shaft timing marks are not as clear, I assume double dot must align to the oil jet:
New chain follower fitted:

New chain tensioner and followers fitted:
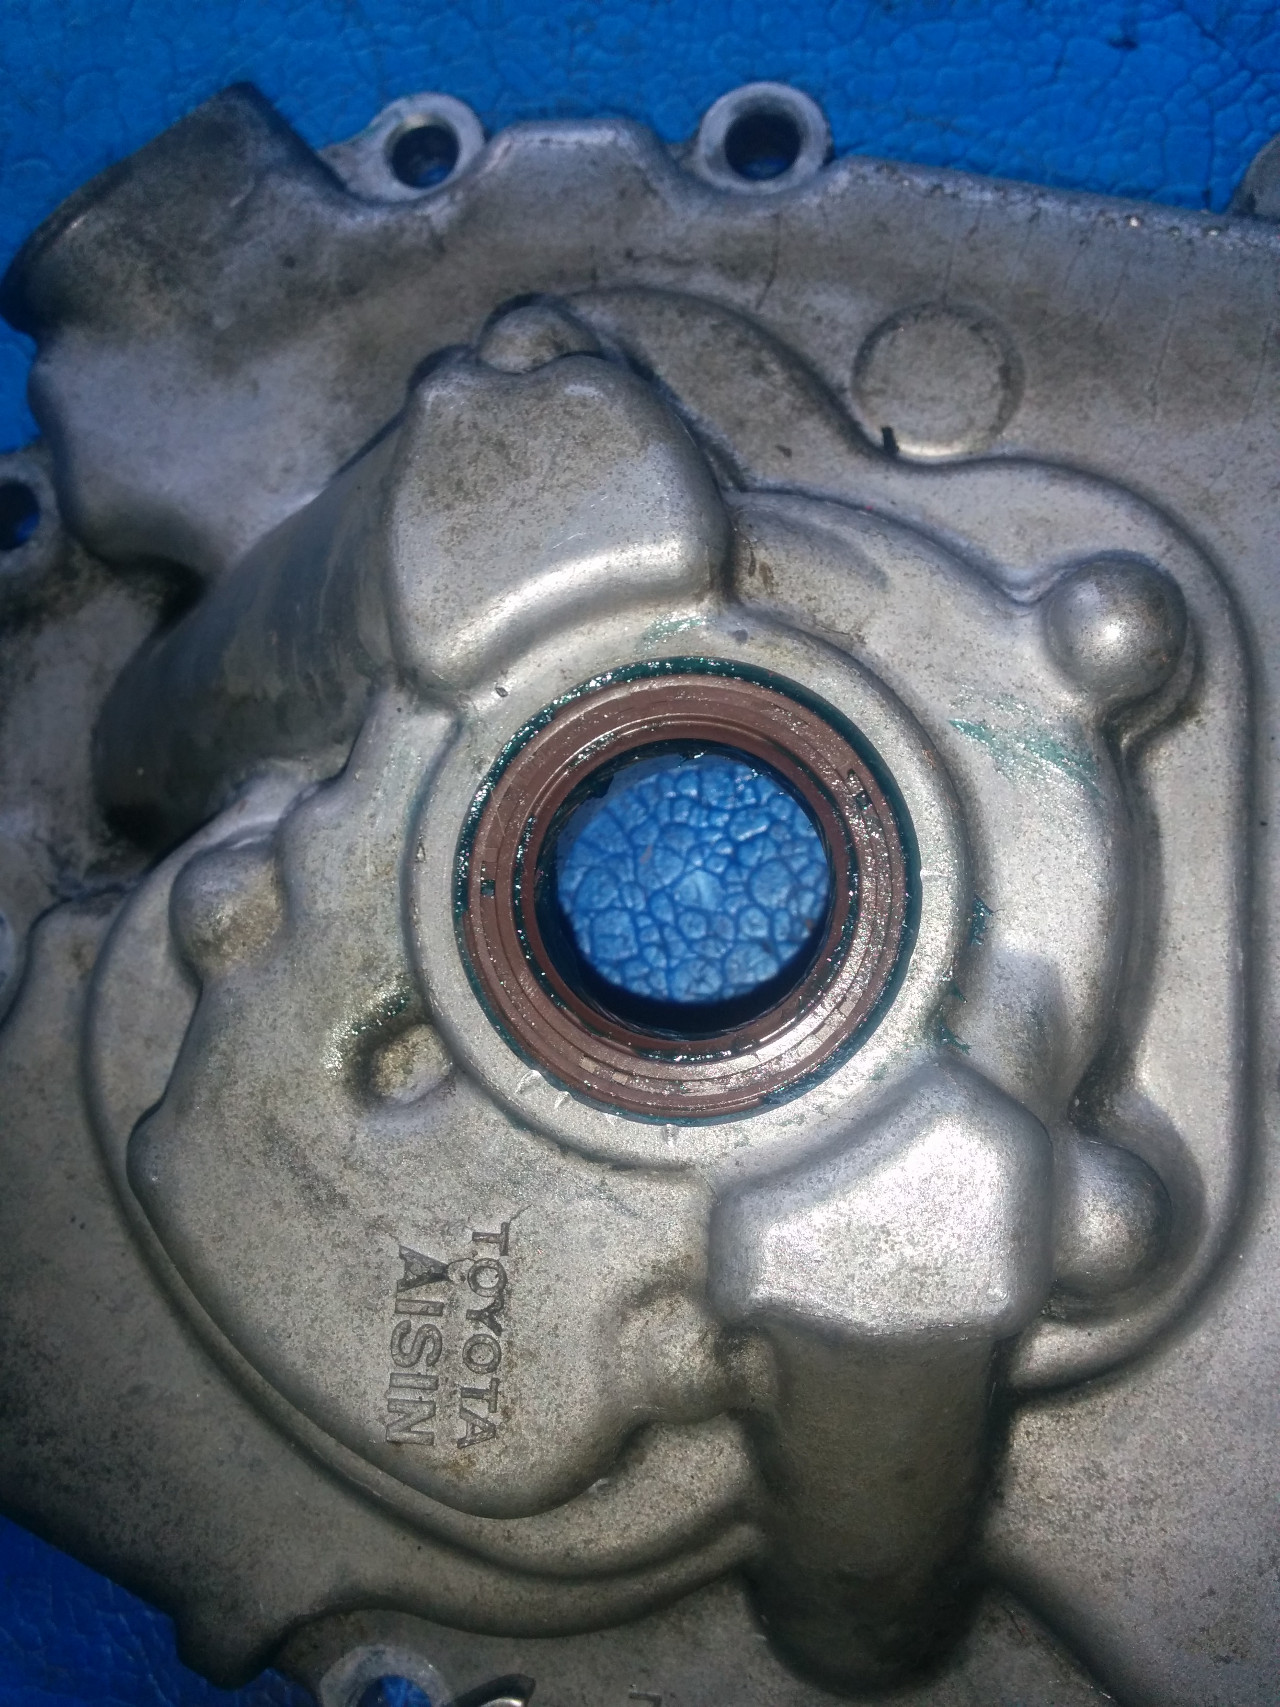
New oil seal fitted:
RTV galore:
Note: make sure oil pump is completely free of oil, otherwise it would drip on the RTV and ruin the seal.
Cover fitted:
Crank pulley, sensor and water pump fitted:
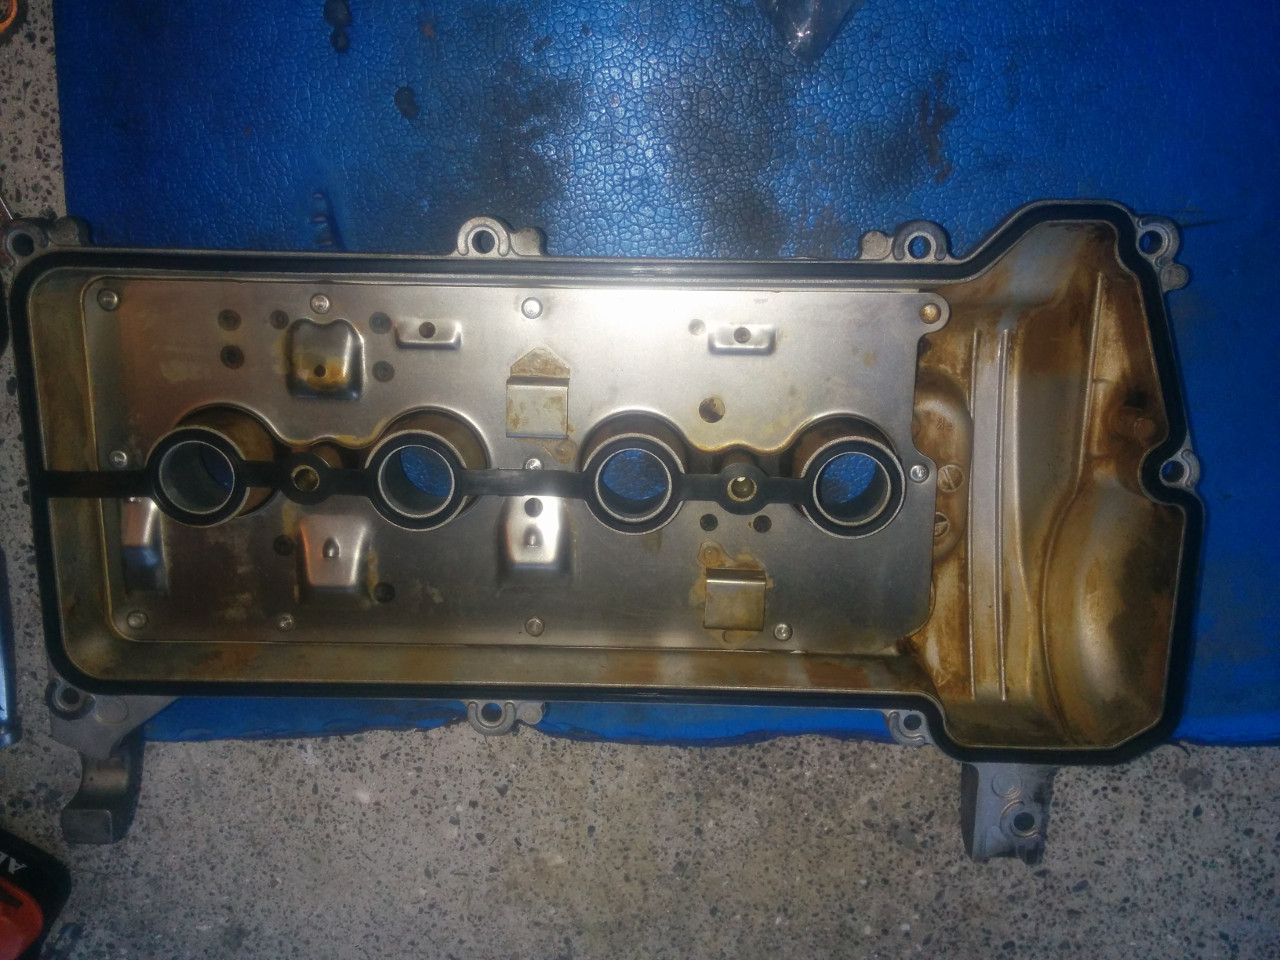
Cleaned the valve cover and fitted new gasket:
Make sure to leave a dab of RTV where the front cover joins the head (don’t forget to do the back side):

Cover on:
Rest is just bolting on the stuff and filling up the coolant.
It was a success as it is the quietest 1NZFE, in the chain department at least ;).
Sergi you are a legend!
after working on far simpler machines this was a real challenge in patience!
Wished I Never started – was only because of the “Ticking” noise at idle & its only done 70k with regular oil changes etc.
Appreciated the post – used every goddam tool known to man 🙂
HI,
I had got the timing chain replaced along with oil seal and adjuster. But after the work the engine check light has come on. After removing negative terminal of battery it goes away until the engine is accelerated a bit. Please advise what to do.
Thanks
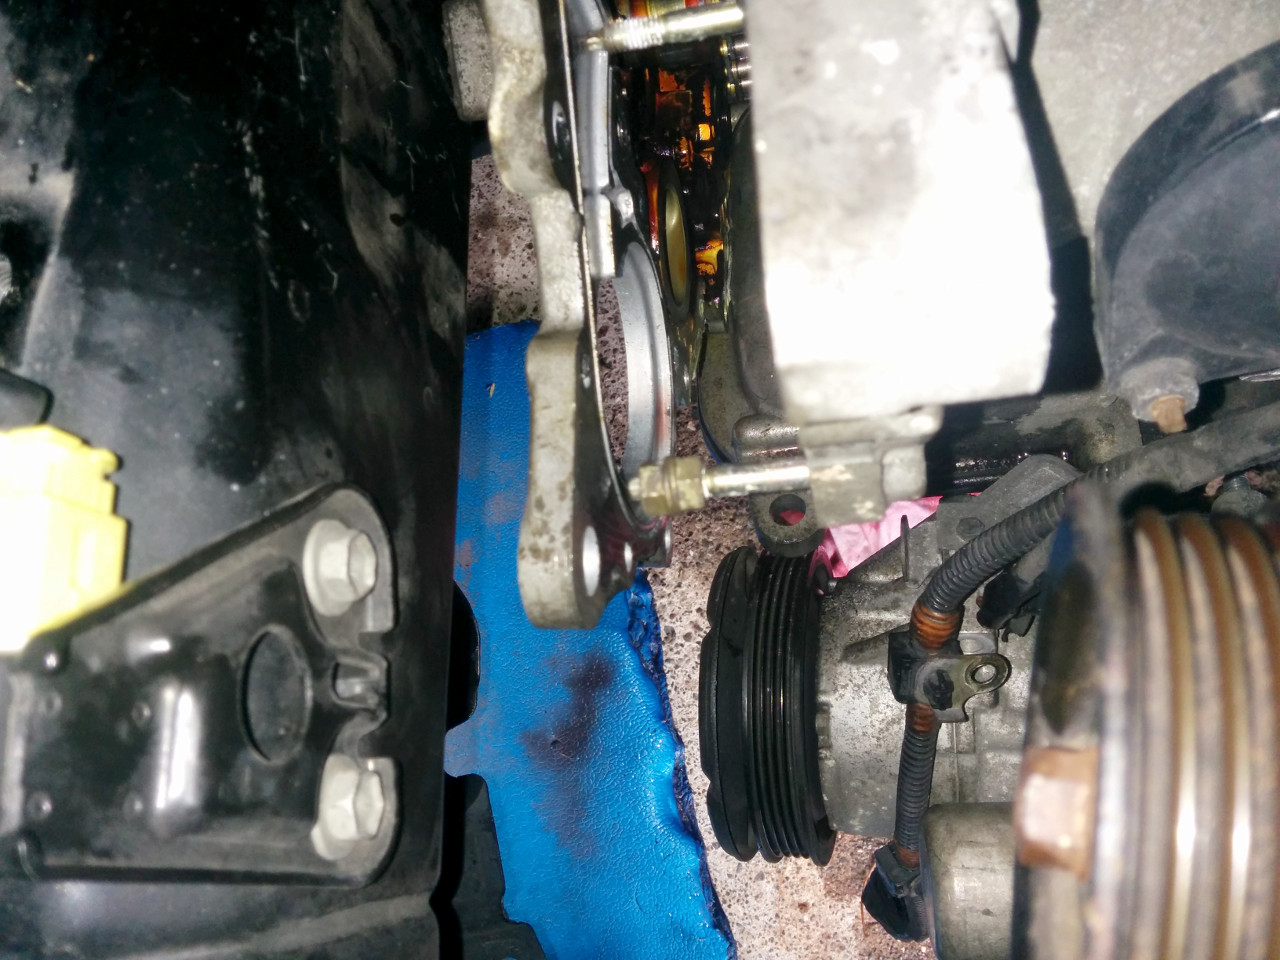
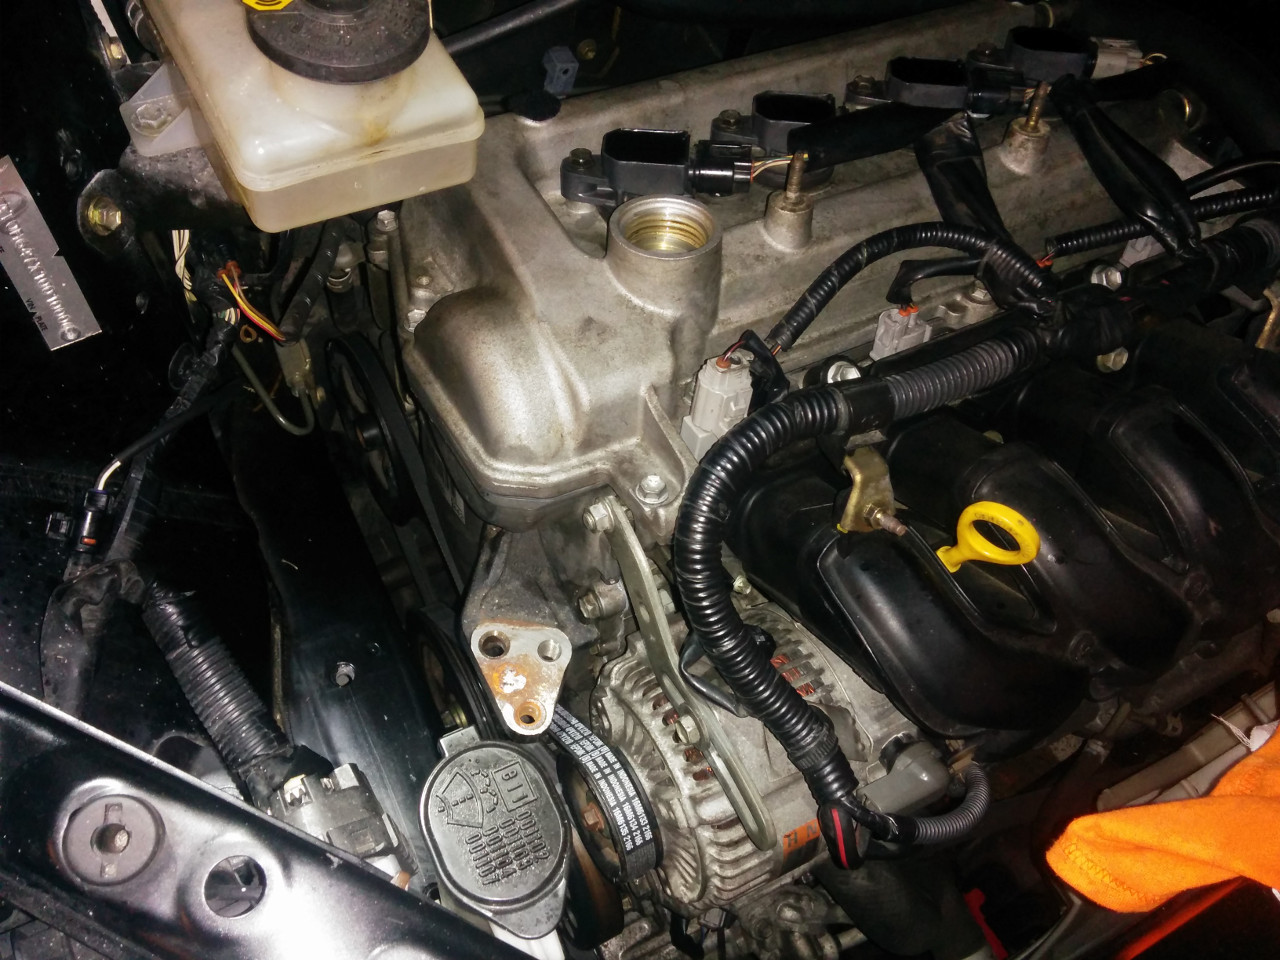
If you don’t have OBD2 reader, you can quickly check if the VVT solenoid (above the alternator, two wire plug) is plugged in.

The VVT solenoid is visible on the bottom left:
It is a two pin plug with black socket (green plugs are the injectors, and sole grey is noise suppressing capacitor).
Here the solenoid in full view:

If that is plugged in, next stop (actually it is the first stop) is to read the codes (you can read them without OBDII reader).
There is process by shorting terminals 4 and 13 in OBDII connector, and counting check engine light flashes. The digits will be separated by a medium pause, and codes by a long pause.
Eg: flash, short, flash, medium, flash, long … is code 21.
Once you have the number, you can look it up on the web.
Alternative is to simply purchase bluetooth OBDII reader and use Torque app to pull the codes. Although depending on vintage some of those adapters might not work with import Toyotas.
How long did this job take you to do? Did you install the chain and guides with the engine jacked up or you dropped it and worked from beneath same position when you removed crank pulley
About 4 hours, basically half a day if you account for looking for tools and taking pictures. Slightly more complicated than a cam-belt job on a FWD 4 cyl.
The position was pretty much the same, except some jack adjustment to get water pump stud out and other small things.
Nice job! I have a 1NZ-FE with 220K miles on it; I just measured the slack (according to free play on the crank pulley), and it is just a hair under 3 degrees of slack/movement.
I could not find a spec that tells me if this is acceptable or not, but I am assuming that 3 degrees is fine and no need to tear into this timing chain job at this time? I have the engine out of the car right now, but don’t want to touch anything that doesn’t need it.
If it is not rattling on start up or otherwise don’t worry about it. There will be some droop in there because of the ratchet mechanism in the tensioner.
friend i need to know the torque of the valve cover i need to change the packing
10Nm.
Thanks, I’m only seeing this now, and 1nz-fe has started rattling on cold start and slightly on acceleration. Could this be the culprit?
Thanks again