Friend of mine was in Russia when power spike took out her laptop.
Laptop ran out of the battery and would not run on the AC power.
She used local (Russian) repair company to get it “fixed” (for exuberant amount of money).
Unfortunately the repair company could not get it fixed completely due to lack of components, they only managed to make it only work on AC power (no battery).
They also managed to lose bunch of screws…
I was curious what was “fixed” so I opened it up.
Here is the “fix”:
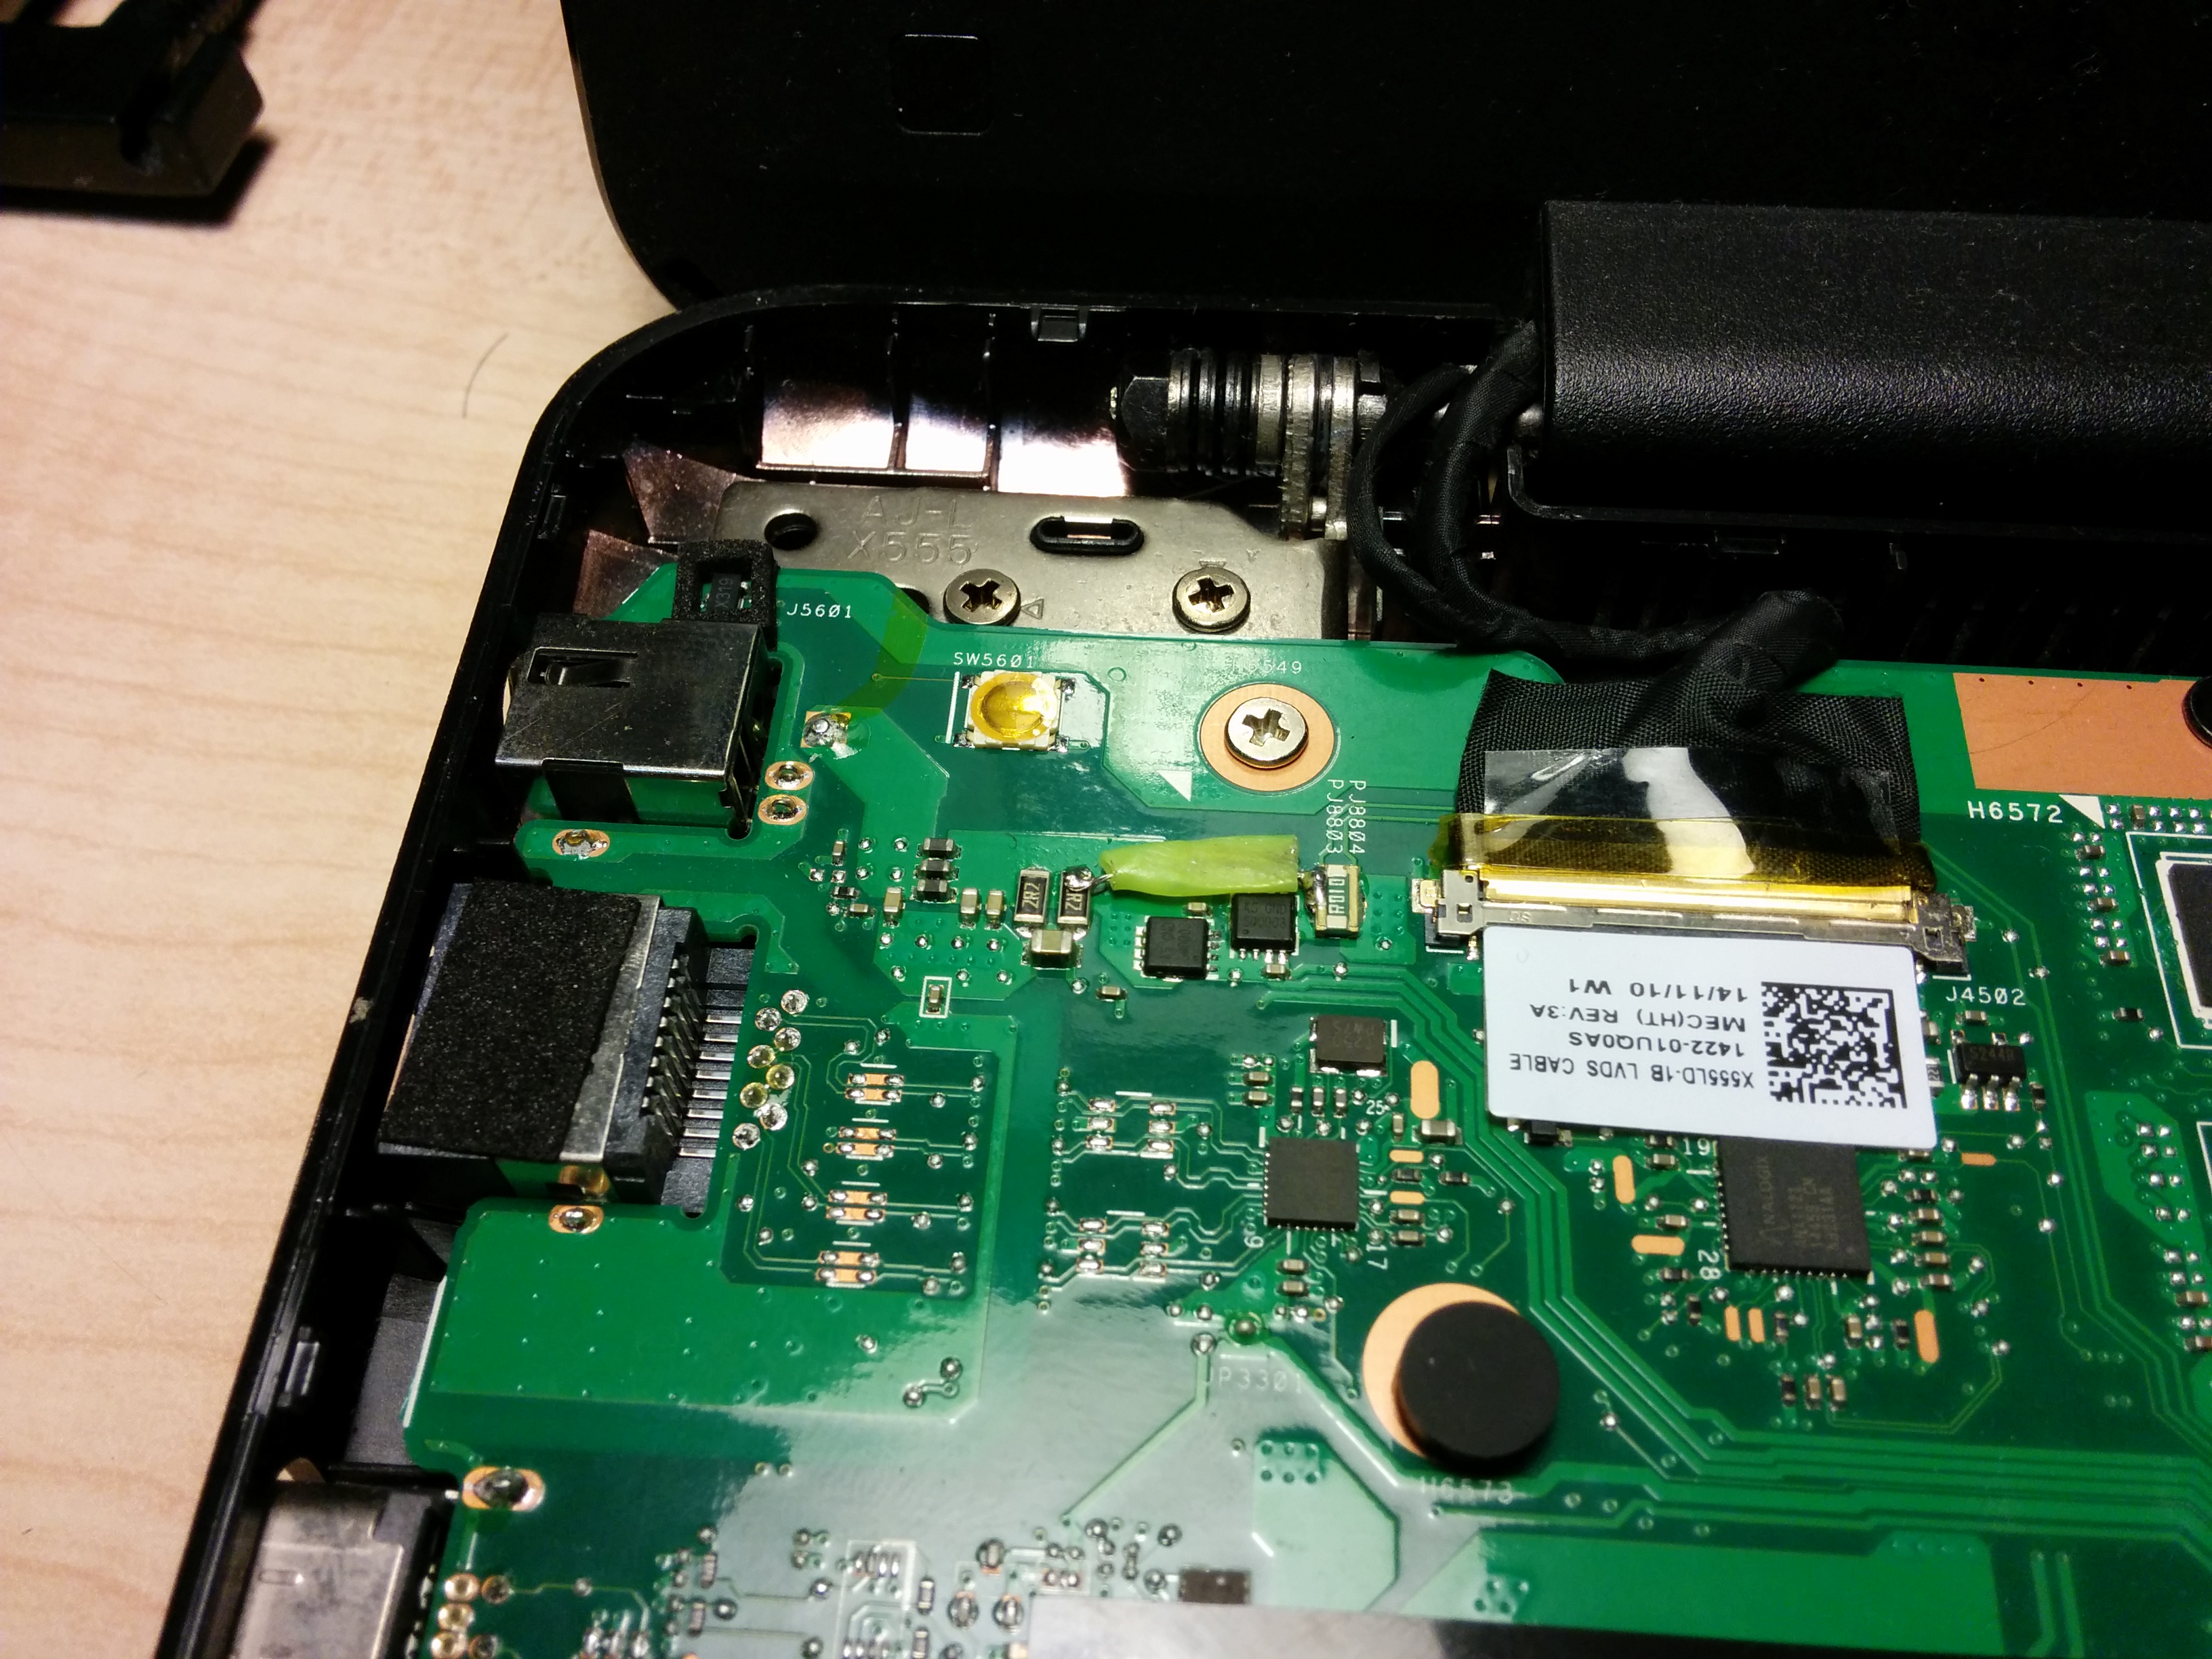
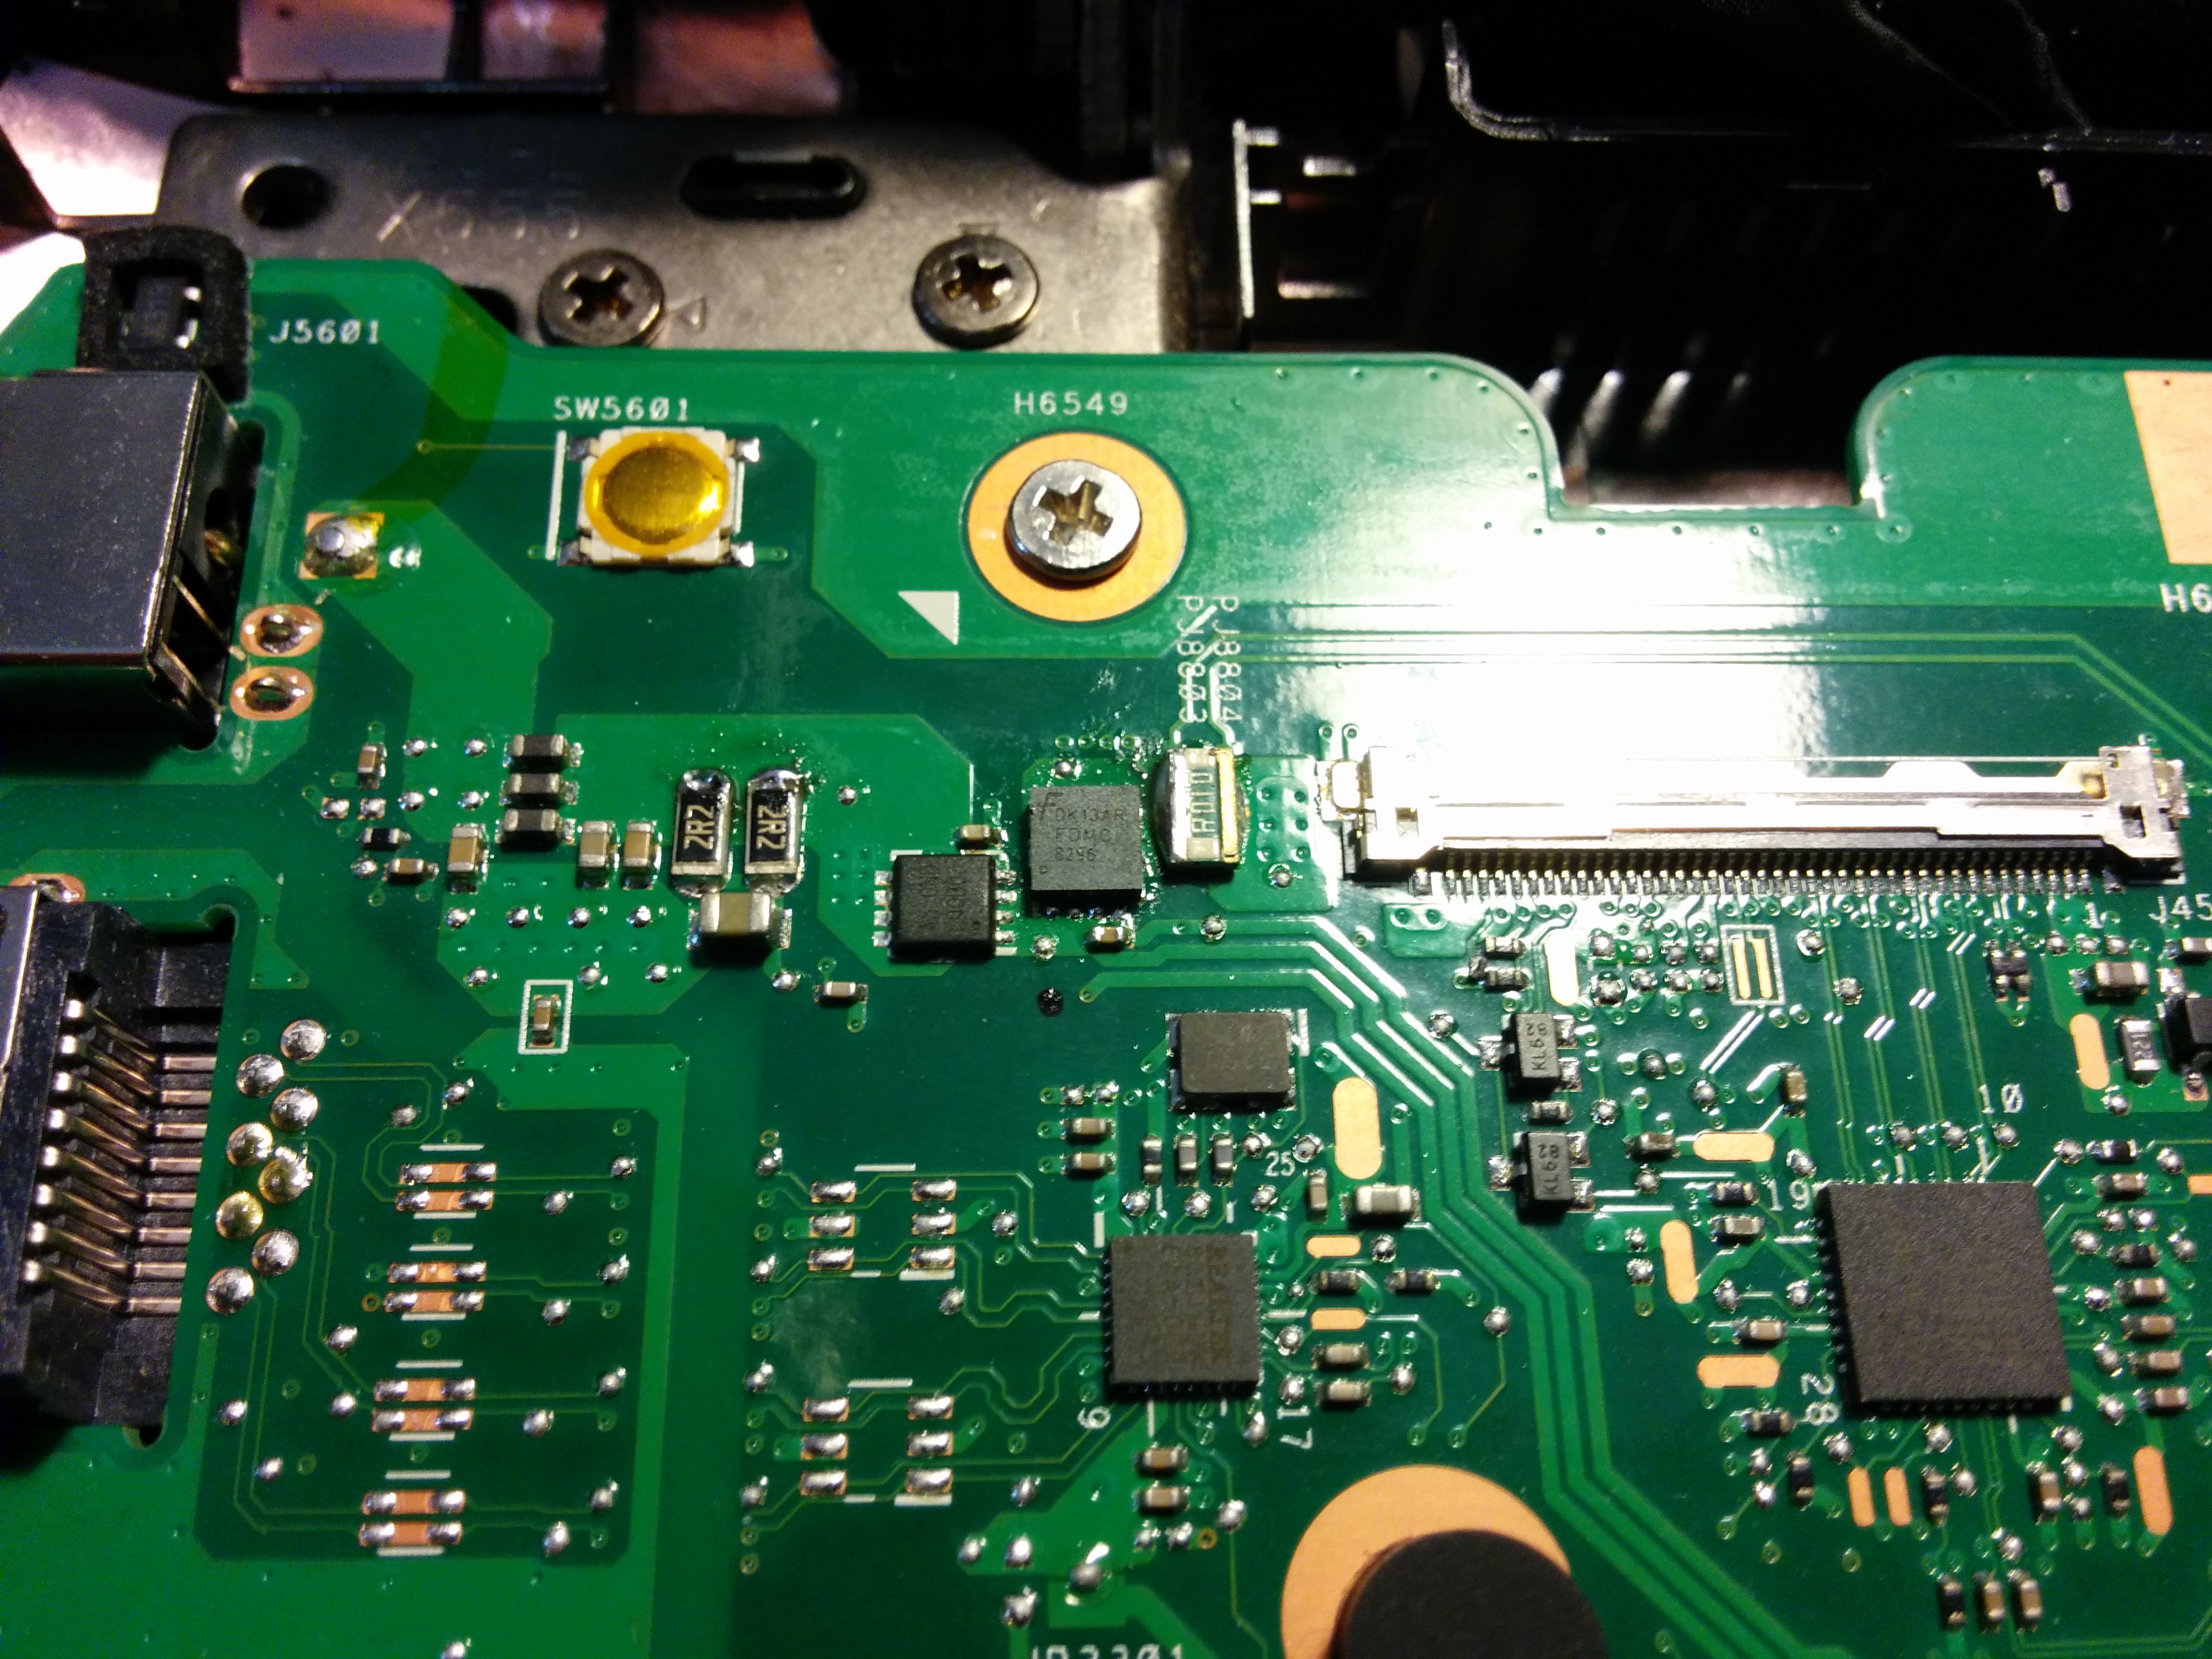
At that time I was not familiar with the laptop circuitry, so I removed the fix and looked up the components underneath.
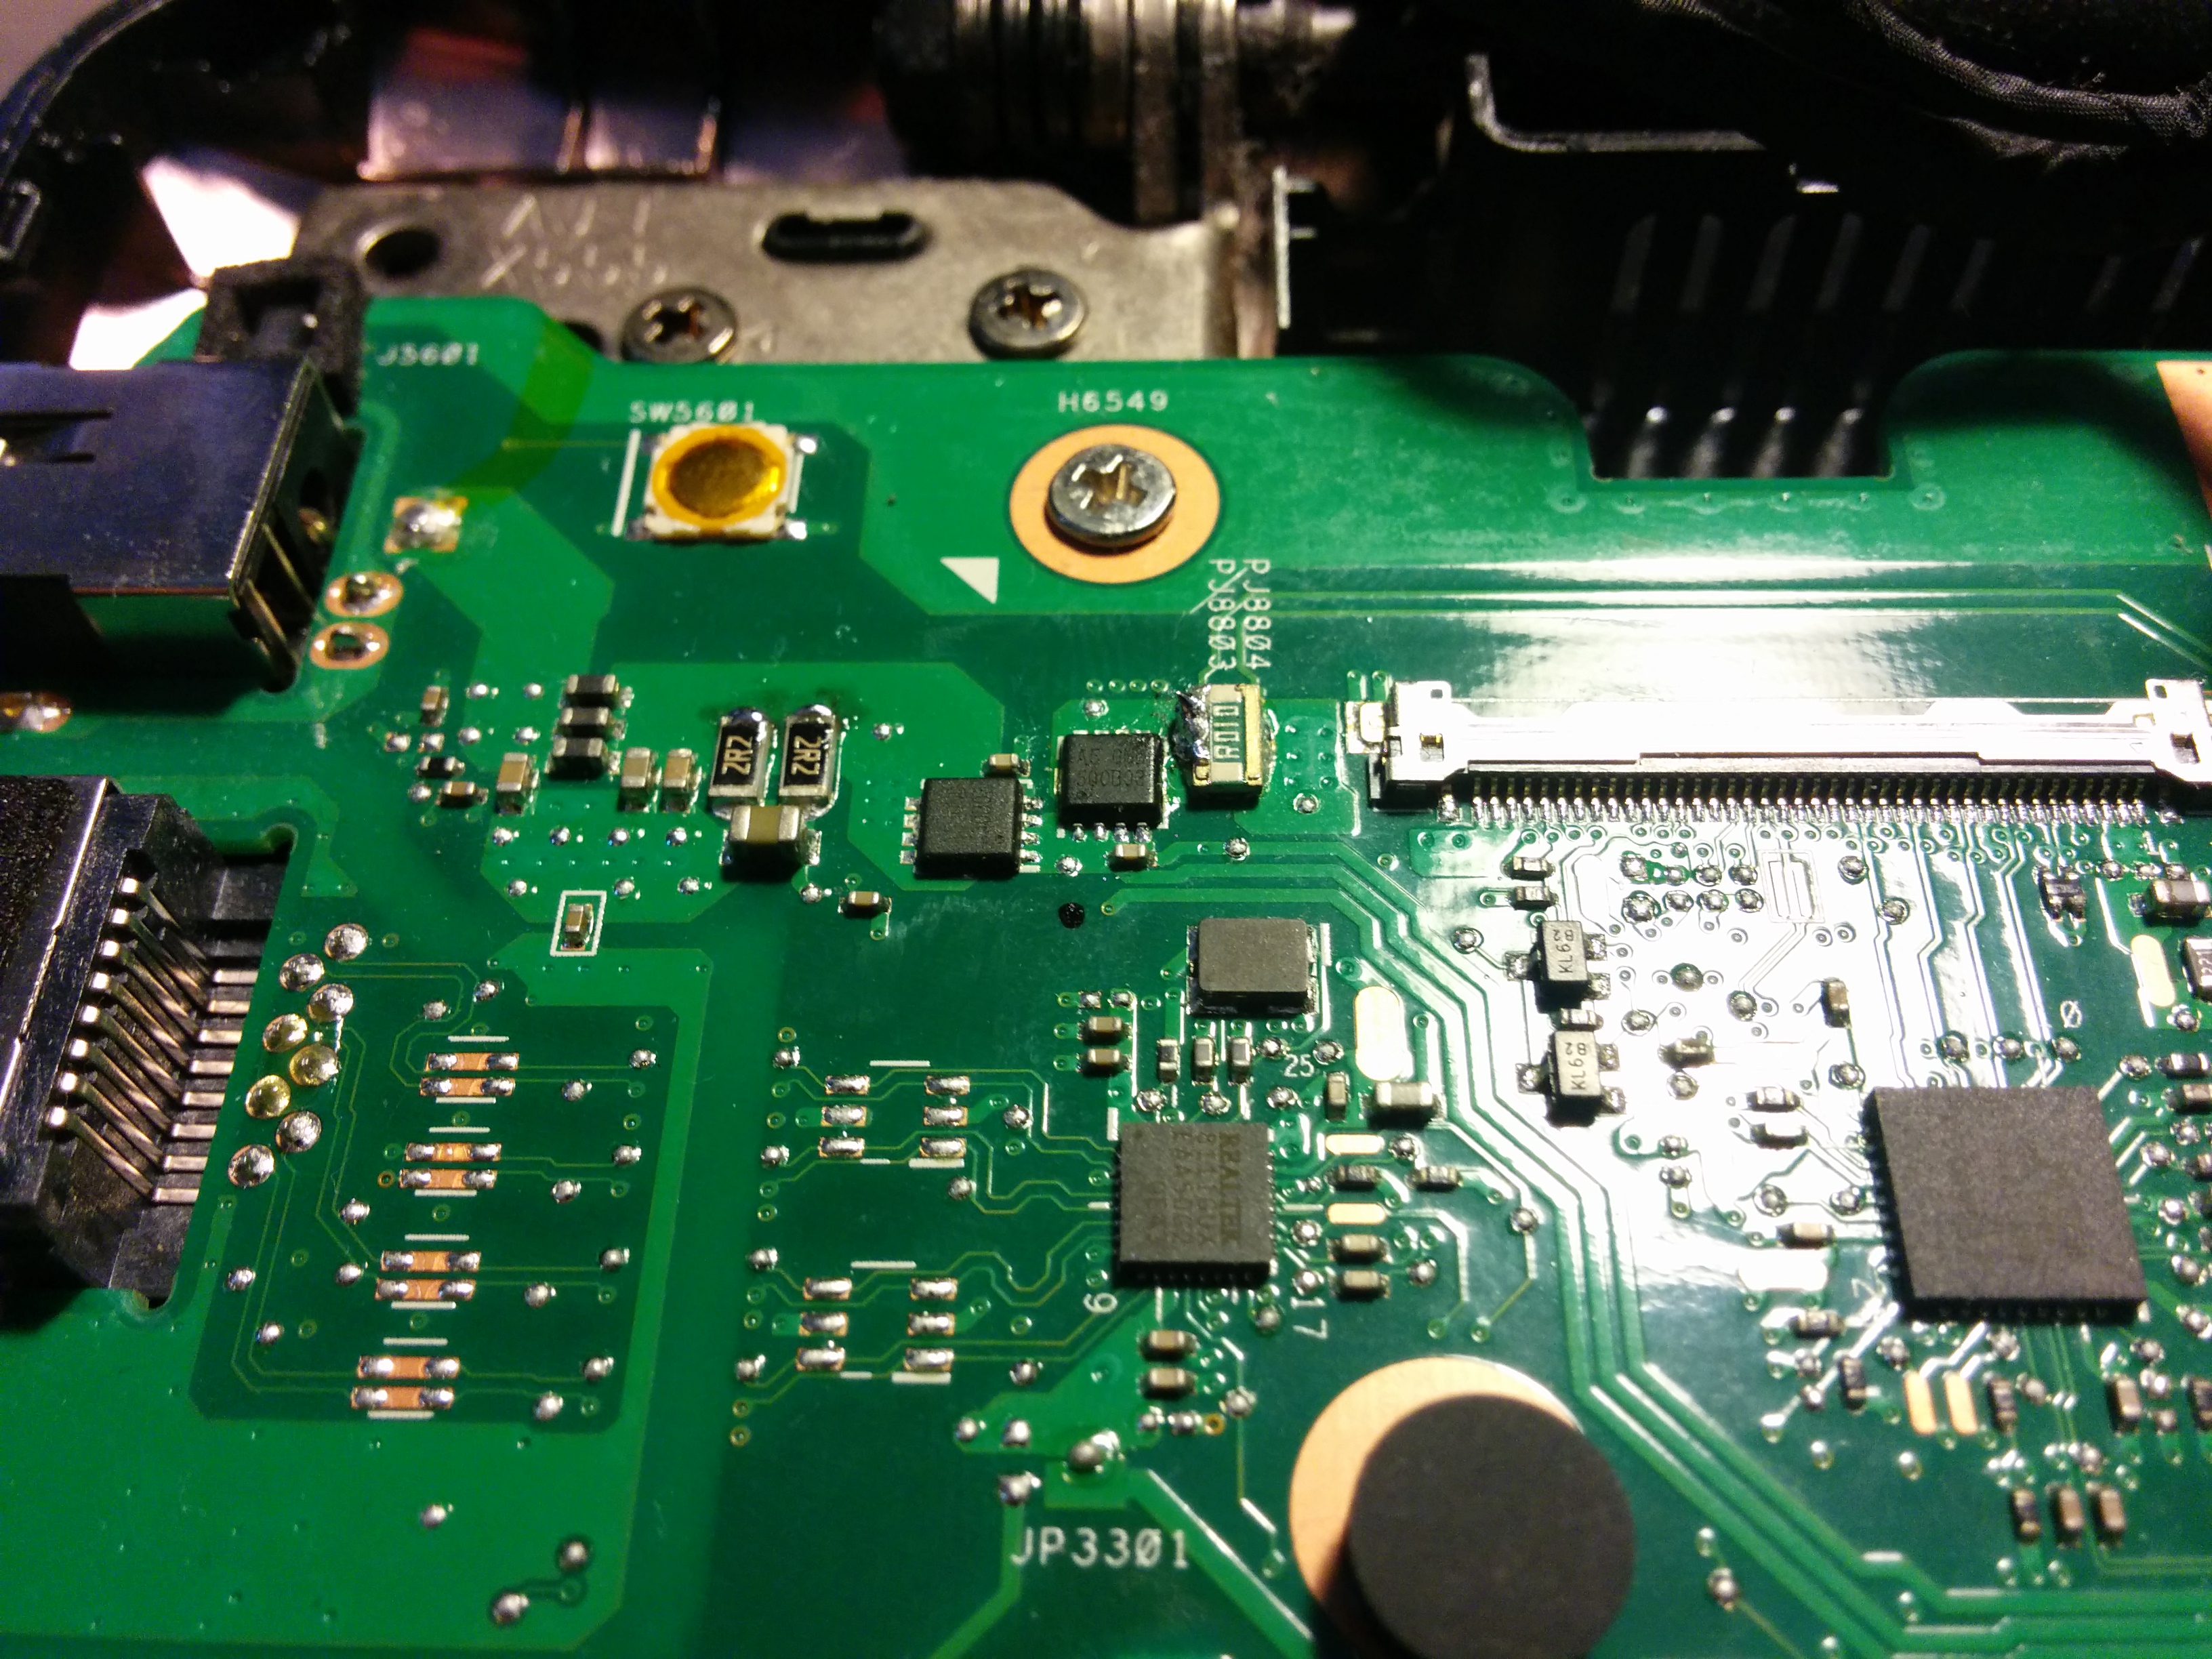
Those little “chips” are labelled as A5GND.
After some googling I found that they are N channel power MOSFETs.
I checked the continuity between drain and source on both of the MOSFETs I found one being completely shorted (blown internal diode?).
Best source of information I could find on them is a thread some obscure Russian notebook repair forum.
Looking on Aliexpress for “A5 GND” results in lots of P2003BEA hits.
Correlating with the forum post above, I found this data sheet for P2003BEA.
I settled for FDMC8296 as the replacement as it has better rDS and almost double of maximum current while being available through eBay (for about $10).
I was curious what was the purpose of these two MOSFETs, so after convoluted searches, I stumbled upon this document: BQ24735
Simply put those two MOSFETs are power source selector switches (AC, BATT, or both).
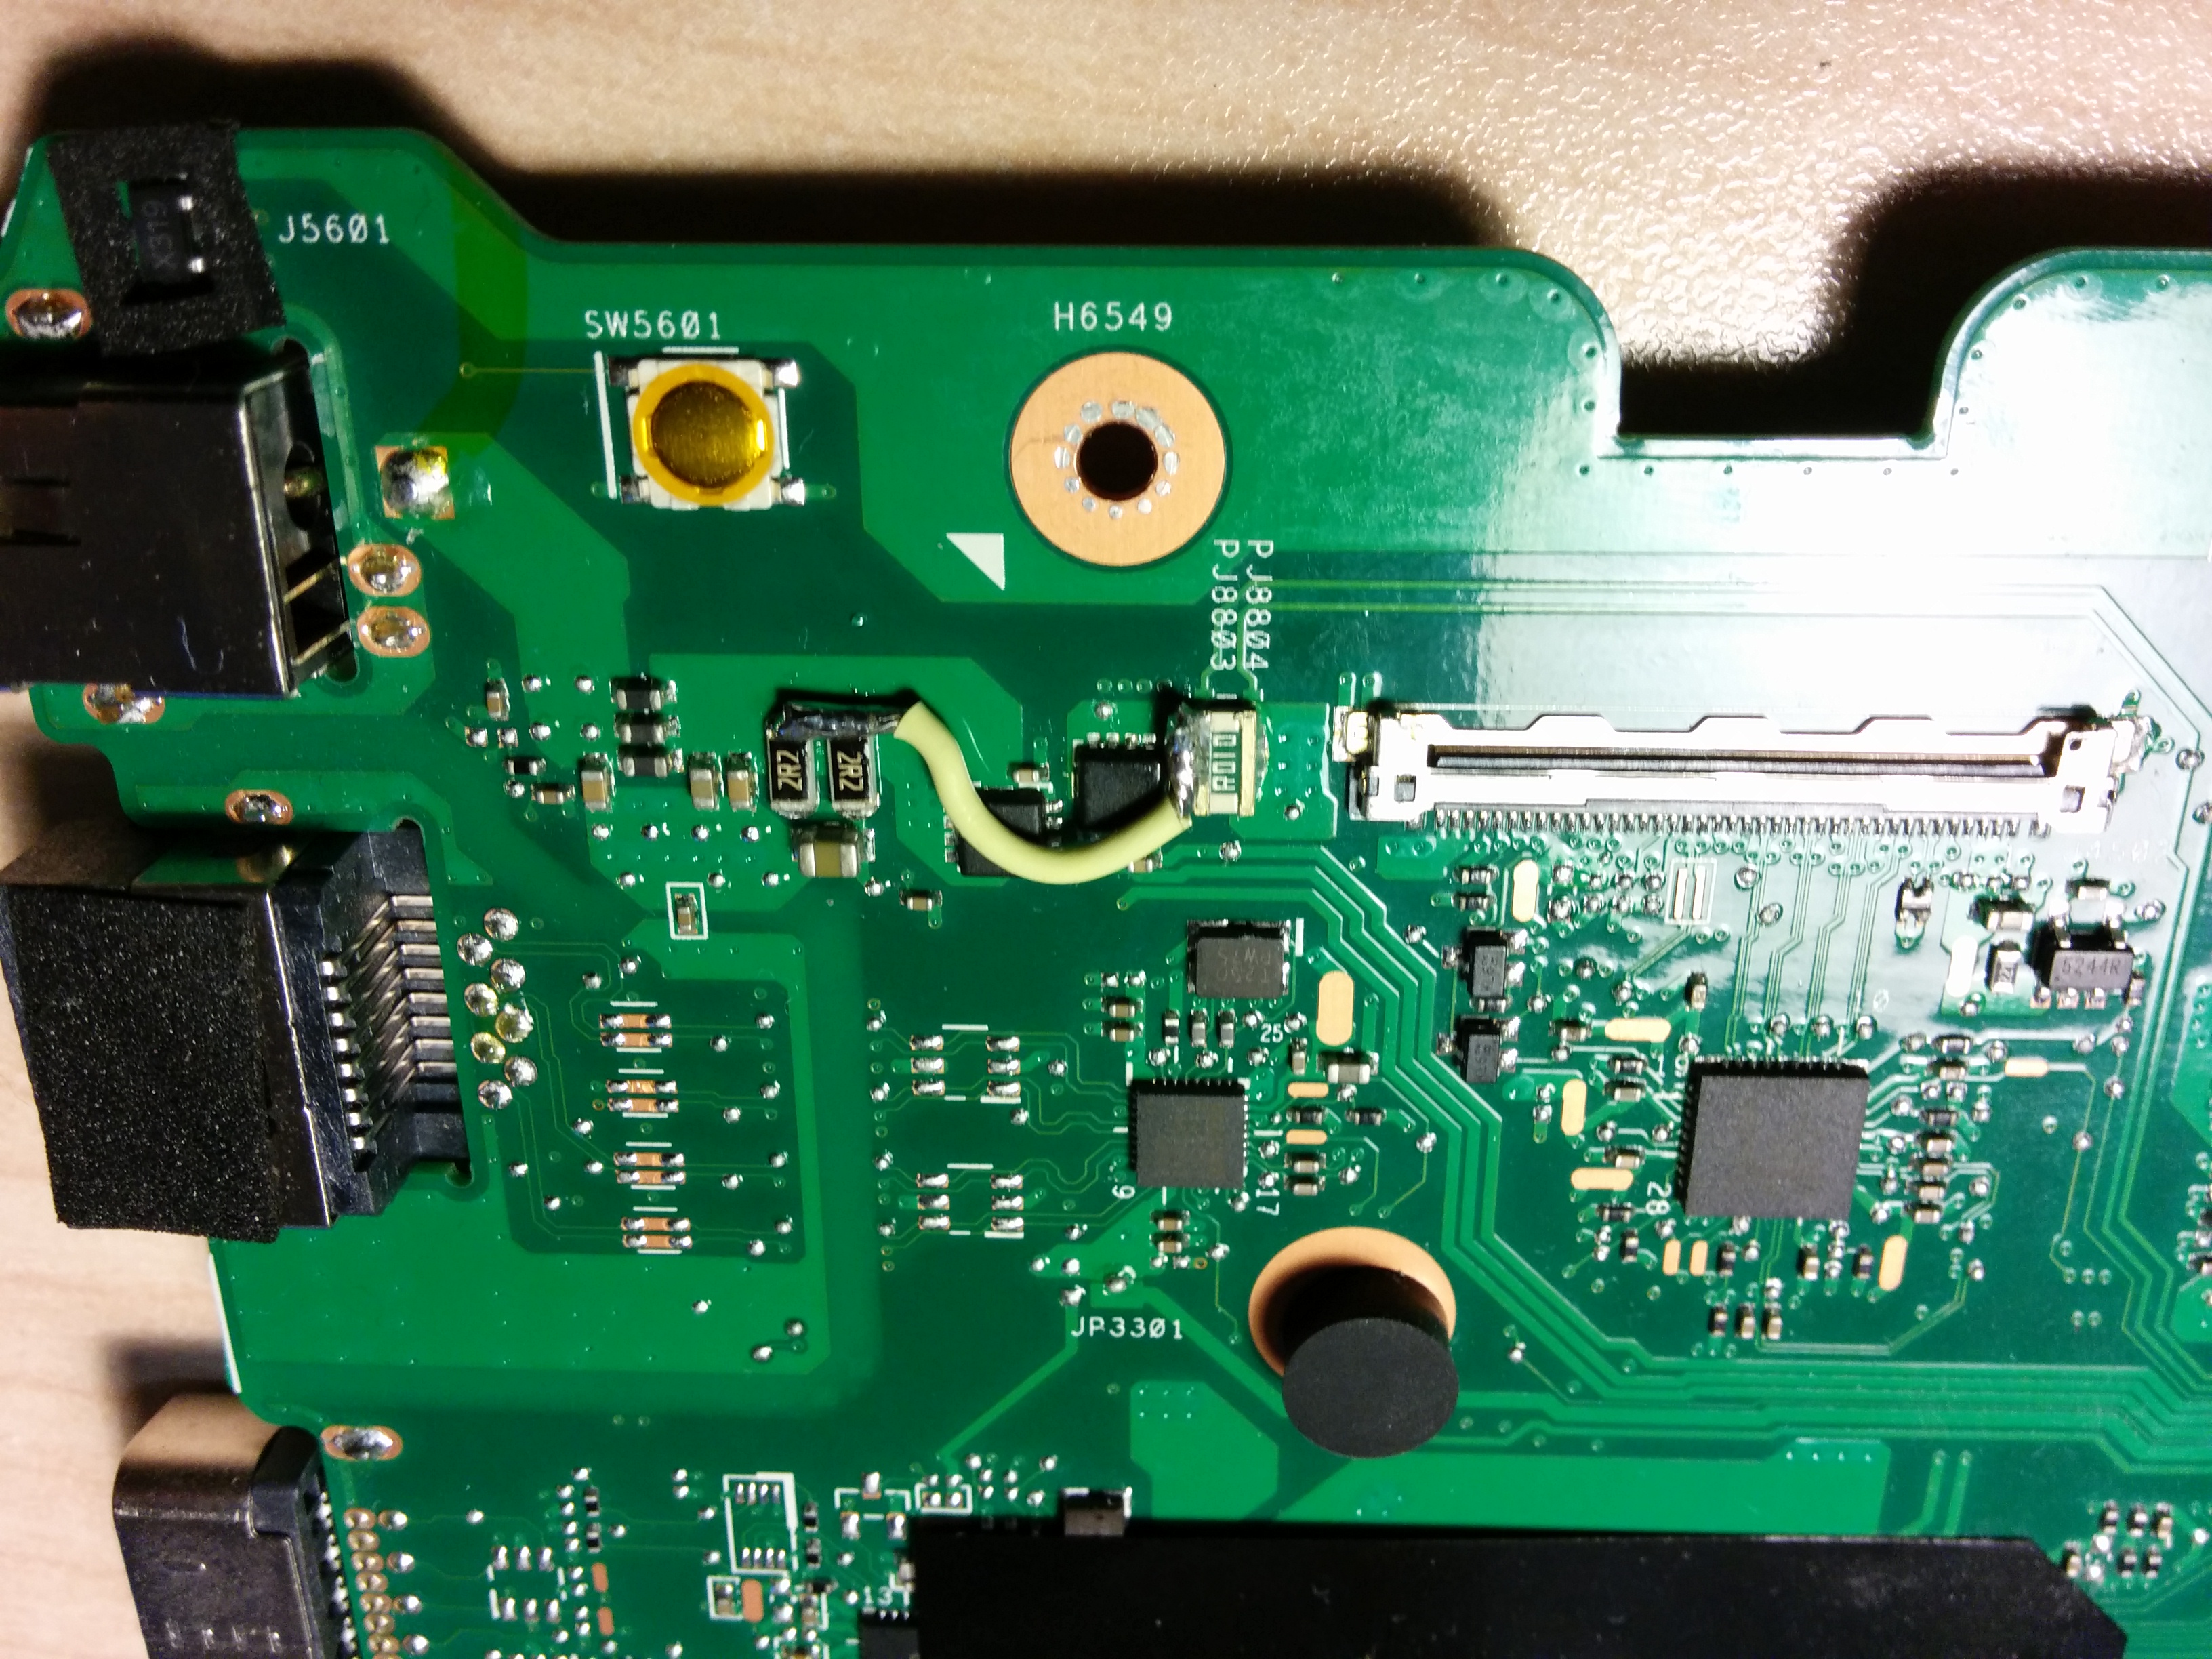
To fix the fix (temporarily) I replaced the dodgy wire bridge with more solid bridge (while I was waiting for hot air gun and transistors to arrive):
I bought a cheap ($55NZD) air gun on ebay, as I am not planning to do these fixes very often, model: GONGJUE 8018LCD.

After 3 weeks I received both items: 5x FDMC8296 and a heat gun.
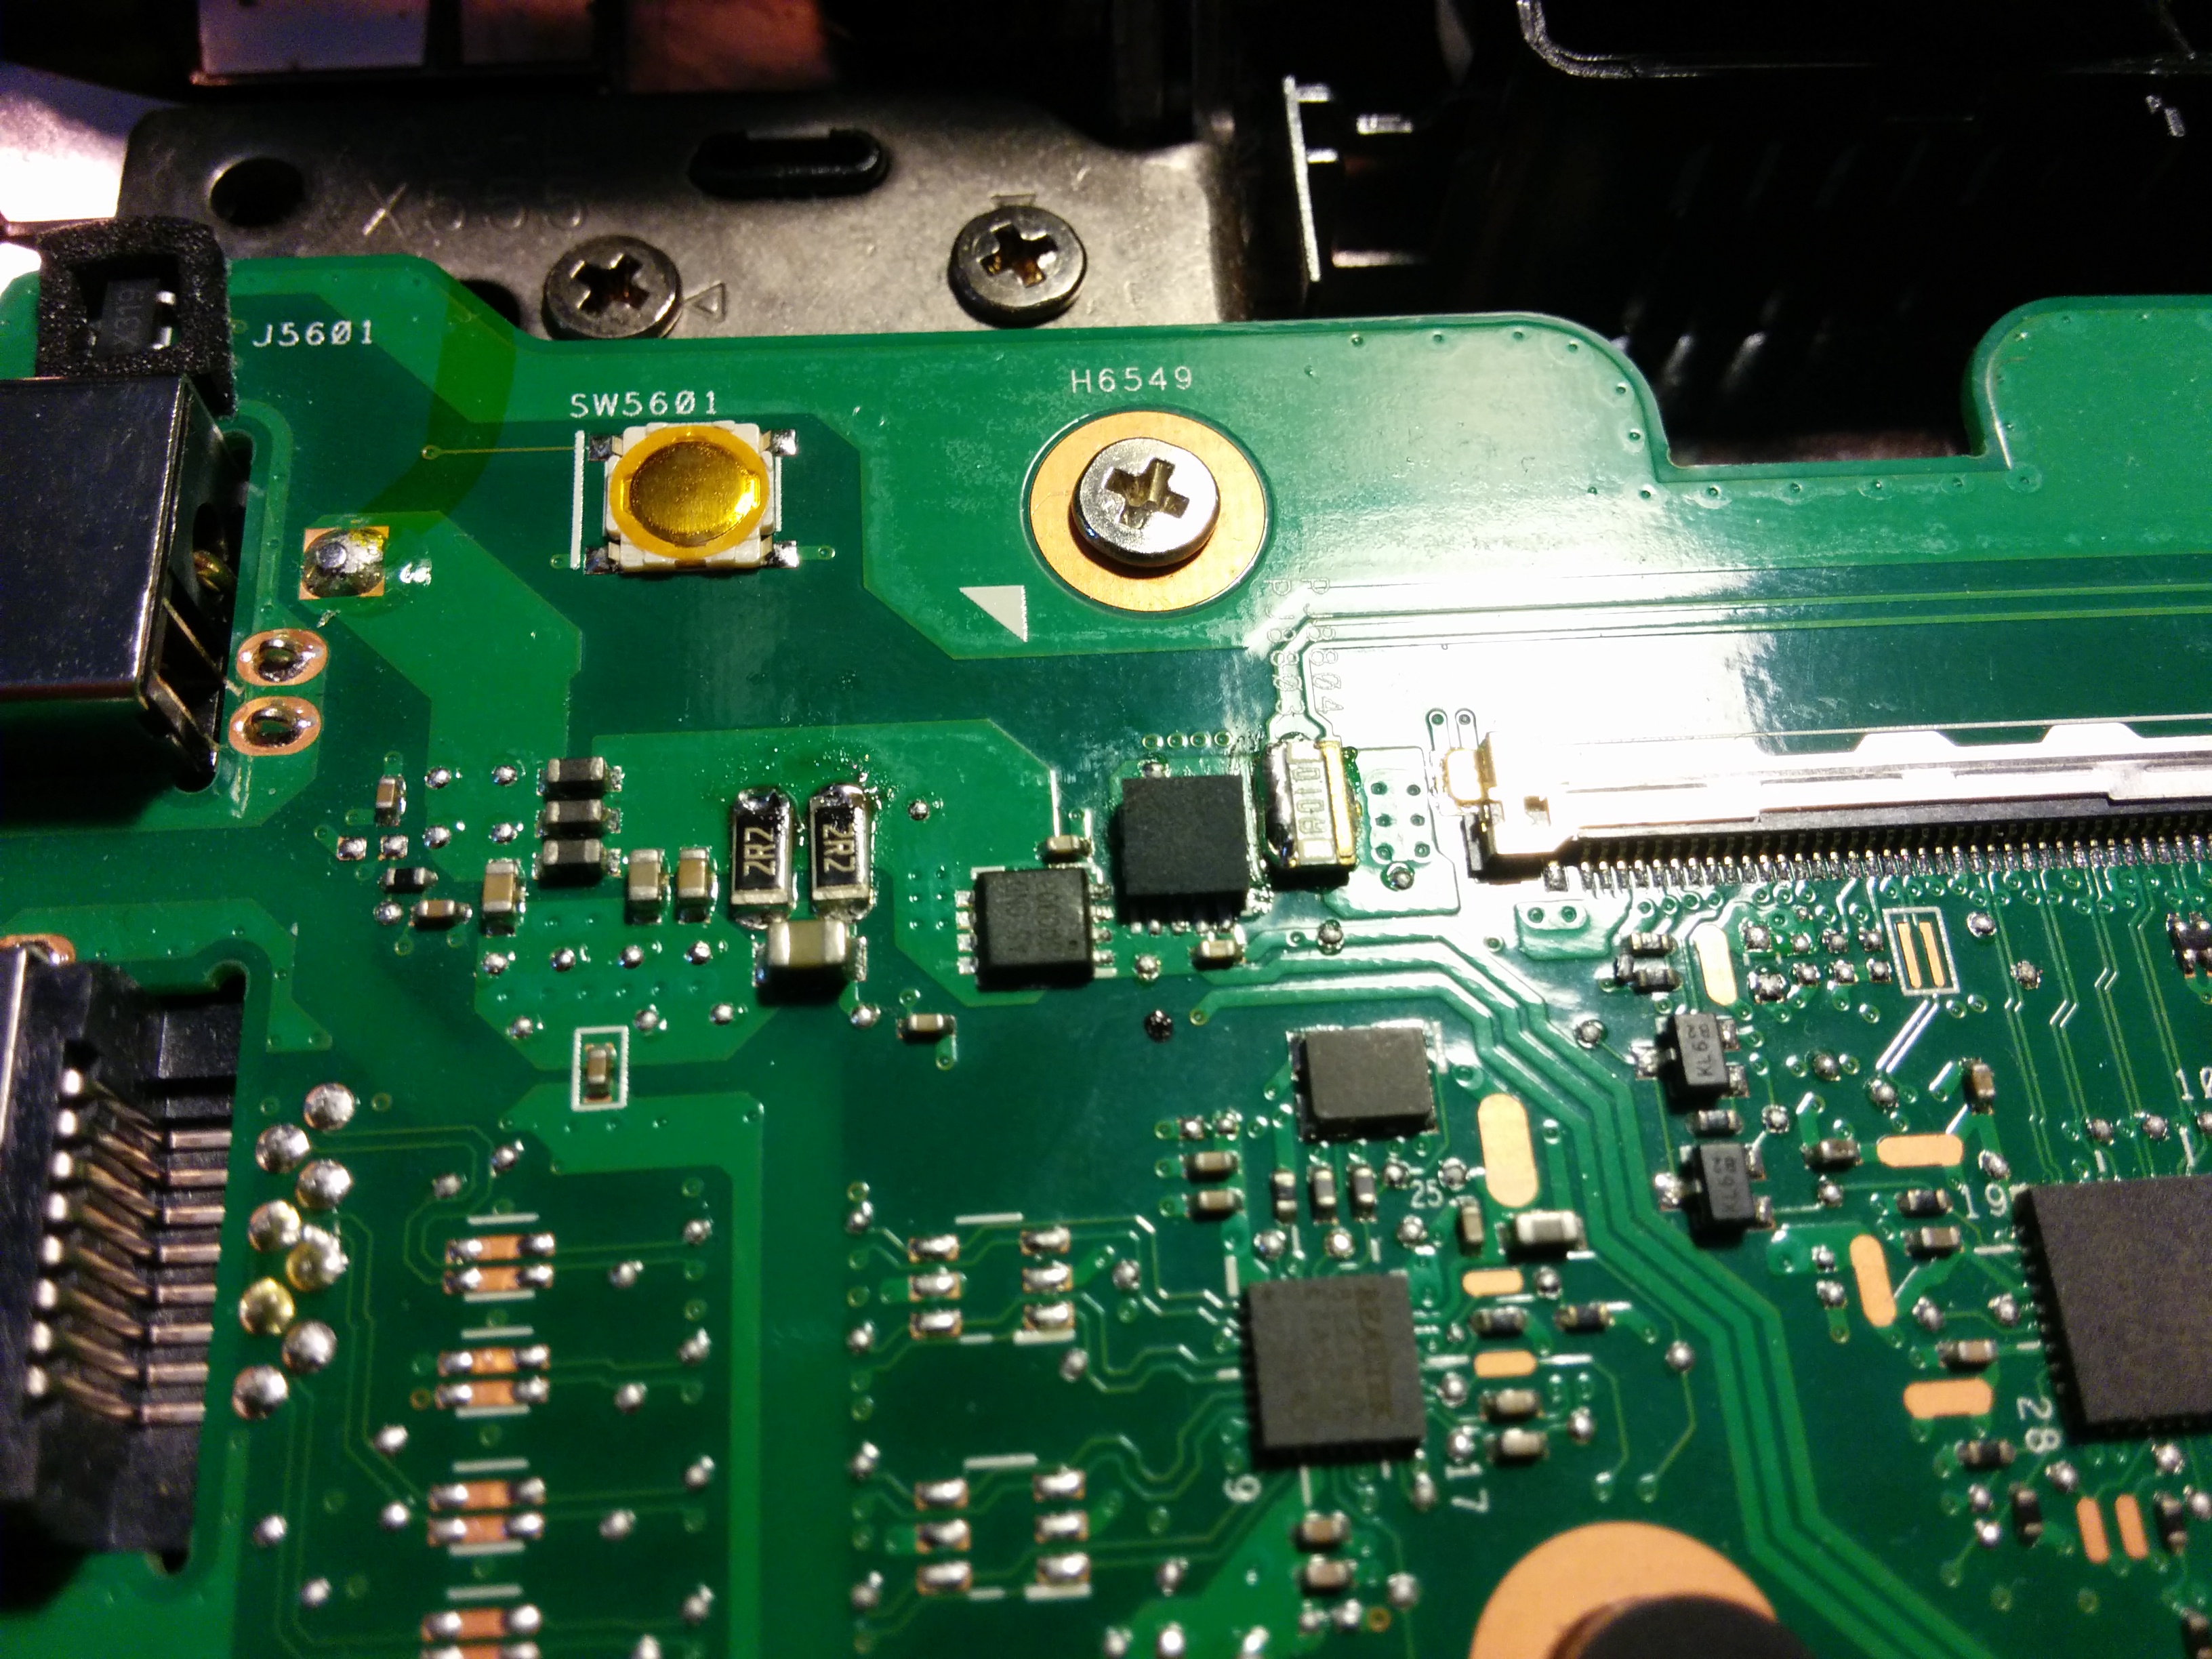
Here is the temporary fix removed and the MOSFET de-soldered:

After removal, I made a solder blob on top of the pad and contacts (to dilute original solder and create new “balls”). The excess was removed with a suction gun.
Here is new MOSFET placed (not soldered yet):
And here it is soldered:
The hot air gun (aka heat gun) was a bit pain in the ass to use: the temperature setting is useless, the smallest attachment is also useless. So I set it to “half” heat, and “3/4” air flow with second smallest attachment, which did the job. The trick was to hold the transistor in place with a screwdriver so it is not blown away. It takes about 10-20 seconds for it to be soldered.
After quick continuity and diode checking I powered up laptop to find it charging the batter. After an hour or so the laptop was operating normally.
On side note I would probably never buy ASUS laptops, as the build quality is shocking.
P.S. for OCD types, yes I cleaned up the resistors that were used for the bridge.
Thank you for the info man, i was able to repair my asus laptop X455LA with the same problem your friend laptop had!
You are welcome 🙂
Very useful, thank you.
Thank you for you info, I am fixing my niece’s S200E with he same issue. When the mosfet are bypassed, will the computer run on battery? Mine only runs in power not on batteries.
Hi, with bypass laptop will only run on charger.
Thanks, that makes a lot of sense.
Watch out for this gun. In a few hours it will blow in your hand. The rpm regulator mosfet fails, causing the motor to increase and decrease speed. When if fails peramnently, the motor stops and the smps will blow the resistor-fuse. It’s recommended to replace the mosfet (personally i replace the whole smps with another one, more orthodox). After all the gun is very usefull and handy for it’s price when you learn it’s specialities.
Thanks, good to know.
I will be getting proper hot air station ($$$) eventually (if I have enough repairs to warrant that).