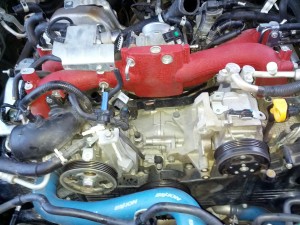
Tuning GRB STI for 95 RON

Due to scarcity of 98 Octane (RON) in New Zealand, beyond major centres, I got my WRX STI tuned for 95.
Tuning has been done by David Wallace (tunetechnic.co.nz). I chose David because I had really good experience with him tuning my ST165 Celica GT4 (when he was with torque performance), as well as he has really good reputation.

Thanks to Subaru open ECU interface the process was very painless. The most difficult part of this tuning process is getting fuel tank empty to ensure it has 100% 95RON.

Basically David uploaded new tune at my place (via OBDII connector), and we went for a drive while David was monitoring the sensor output. After some minor adjustments the final tune was uploaded at the end of the drive.

The whole process took a little bit over an hour.

I am very happy with new tune, as not only I can safely fill up with 95 RON (although it is still better to run on 98 RON as ECU will take advantage of that), but it actually performs better.

Highly recommend doing this for every JDM GRB STI in New Zealand (even if it stock like mine).

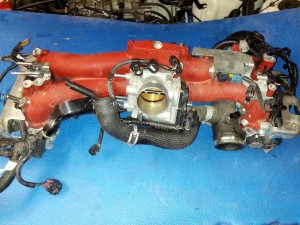
GRB STI TGV deletion

Q. What is TGV?
A. Tumble Generator Valve.

The purpose of TGV is to create swirl/tumble of air-fuel mixture to improve emissions at certain conditions.
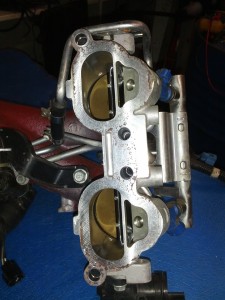
TGV consists of butterfly valves located before the injector in each intake runner. These valves when closed force air through a small passage.

Generally under normal operation these valves are open. The main reasoning of TGV removal is small performance gain due to removal of restrictions from open butterfly valves. As bonus it will also increase reliability by making the system simpler.

One thing I noticed: since removal (even before tune) the “hole” around 3000rpm during warm-up has disappeared.

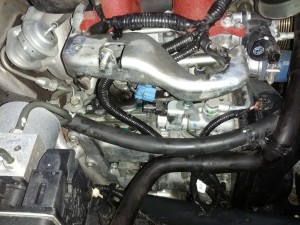
The TGV system on GRB STI consists of following parts:
Two TGV position sensors.
Two TGV actuators.
Four butterfly valves connected in pairs on each bank.

It is located under manifold, in the spacers between heads and the manifold. The cars equipped with TGV can be recognised by having sensors and actuators attached to the sides of manifold spacers.

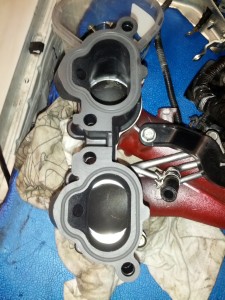
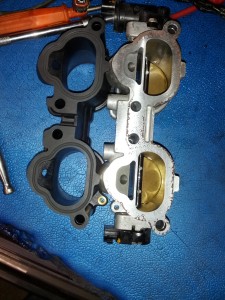
Here is the TGV in all of its glory (the black spacer is Zerolift TGV deletion “kit”):
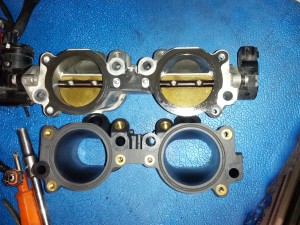
IMG_20140411_214318

The exercise of TGV removal (aka TGV deletion) for me was a “by the way” thing as I was getting my car retuned anyway (I needed to run 95 octane safely as in New Zealand beyond main cities 98 octane is very scarce).

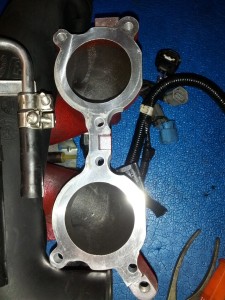
Due to difficulty of locating the genuine spacers without TGV (these exists and normally found on 2004-2007 WRX STI), I settled for plastic Zerolift TGV deletion kit.
A bit of warning on Zerolift TGV deletion kit: because they are plastic THEY MUST BE TIGHTENED TO CORRECT TORQUE! Which is very low, and feel little bit tighter than finger tight. They will crack otherwise!
Once I reach 100,000kms and have cam belt due, I will replace them with genuine spacers.
Another thing is because my STI is JDM the Zerolift kit didn’t fit correctly (the middle holes didn’t line up), I had to modify the manifold to fit (slot the holes):
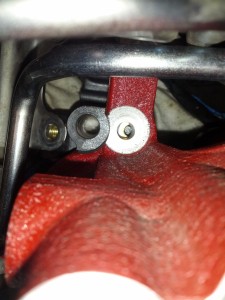
IMG_20140411_214958

The Zerolift TGV comes with O-rings, and these must be installed evenly (a bit of exercise for fingers). Do not use manifold gaskets!

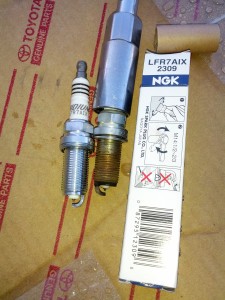
At the same time I decided to do the spark plugs, I settled for LFR7AIX (one range colder, iridium). Note: unlike previous EJ20, EJ207 (at least on WRX STI) has long reach spark plugs!

Now to the process (it was my first time working on STI)…

Intercooler and battery out:
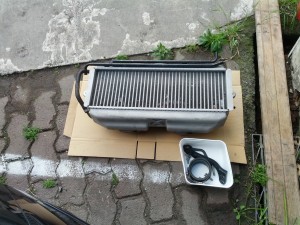
IMG_20140411_163616
IMG_20140411_163606

Remove BOV:
IMG_20140411_164924

Remove earth lead and fuel lines:
IMG_20140411_164914
IMG_20140411_163611

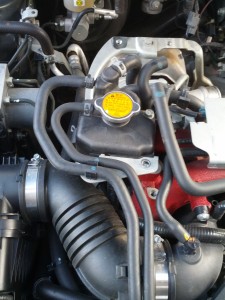
Remove coolant bottle:
IMG_20140411_163833

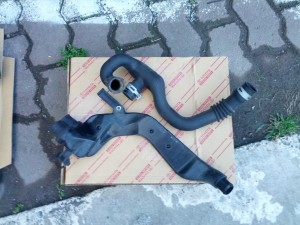
Remove air pump hoses:
IMG_20140411_165549

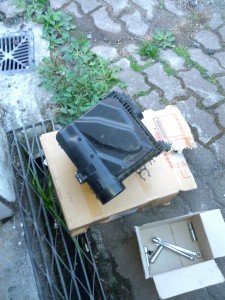
Remove air box:
IMG_20140411_174455

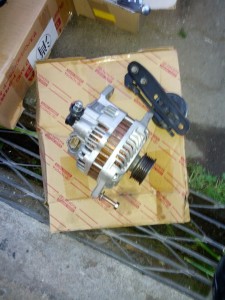
Remove alternator:
IMG_20140411_170202
IMG_20140411_174521

Misc:
IMG_20140411_180037
IMG_20140411_180052
IMG_20140411_180115

The main loom will need to be disconnected from the plug near firewall, and then after unbolting and unclipping numerous hoses the manifold comes straight up (almost):
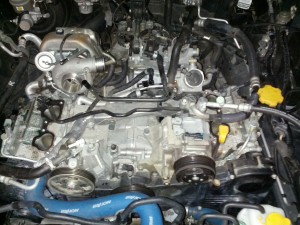
IMG_20140411_183142
IMG_20140411_204553

More of TGV:
IMG_20140411_205315
IMG_20140411_214222
IMG_20140411_214232
IMG_20140411_214305

Now for the spark plug change.
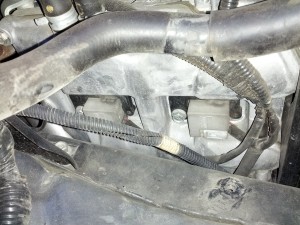
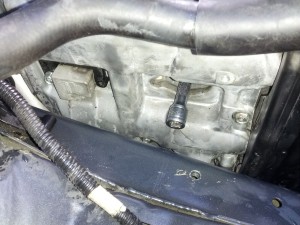
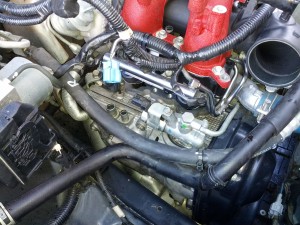
The access if fairly limited but no need for special tools or jacking or pushing the engine:
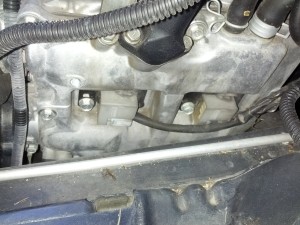
IMG_20140411_165642
IMG_20140411_170236

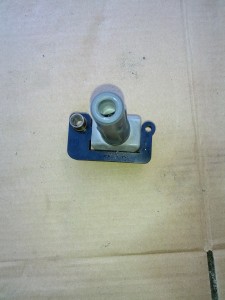
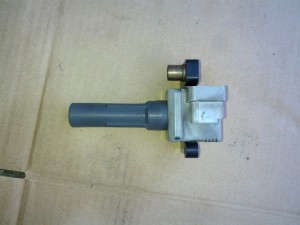
The coil is held by 12mm bolt and comes out with a bit of wiggling.
The coil:
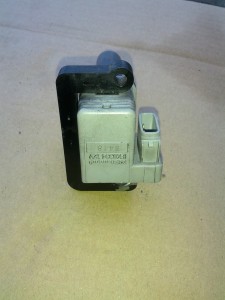
IMG_20140412_094009
IMG_20140412_094001
IMG_20140412_093951

The spark plug:
IMG_20140412_094436
IMG_20140412_094753

Back to the TGV.
Assembled manifold with TGV deletion kit:
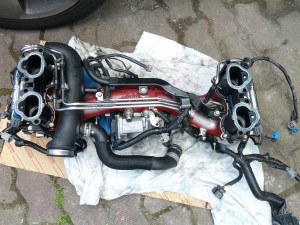
IMG_20140412_134457
IMG_20140412_134732
IMG_20140412_134736
IMG_20140412_134743

Make sure the PCV valve is connected back (easy to forget as it is right under the throttle body):
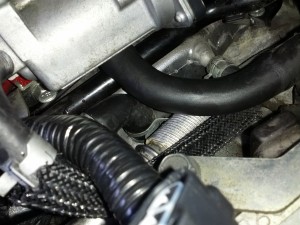
IMG_20140412_135348
IMG_20140412_135422

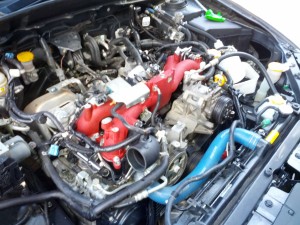
All together (bar alternator):
IMG_20140412_175503

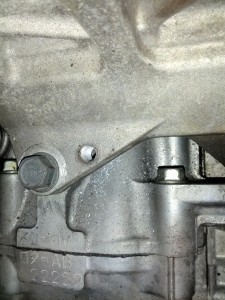
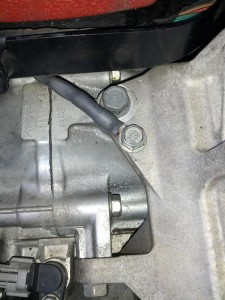
Since spacers are plastic I decided to add an earthing wire. I have also moved original earthing wire to the head (just on top of the AVS solenoid). I had to drill a hole on the A/C pump bracket and cut thread as I found no suitable place for the new earth wire:
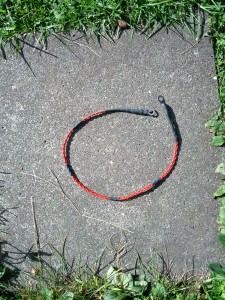
IMG_20140413_100420
IMG_20140413_100448
IMG_20140413_100842
IMG_20140413_100853

Starting the car without TGV brought up numerous non-TGV related error codes. To test that they are false positives I have connected the original spacers back:
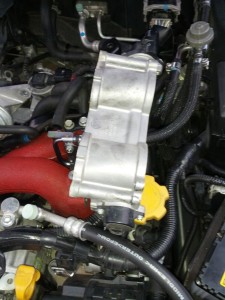
IMG_20140414_170155
It turns out that they definitely were false positives. Interesting that ECU would only trigger TGV error codes if TGV was partially missing.

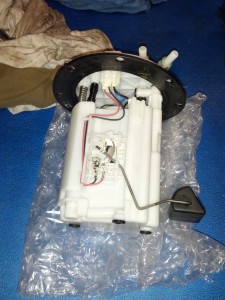
To get it ready for new tune I had to drain the fuel tank. The reason for draining as it was filled up with 98 RON, and I needed for tune to be safe for 95 RON. Unfortunately I found the hard way that you cannot simply remove the return line and run the car until it stops, due to shape of the tank. It would only empty the fuel pump side this way (there is a siphon between sections which is feed by return line).
To drain the tank completely I had to remove fuel pump and the cover on other side. Then I had to siphon both sides (very difficult on such low car), as GRB is missing drain plug on the fuel tank.
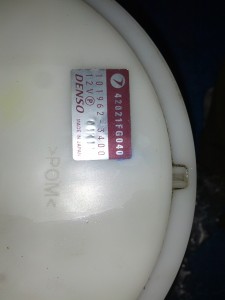
Here is what fuel pump (housing) looks like:
IMG_20140415_195750
IMG_20140415_195827

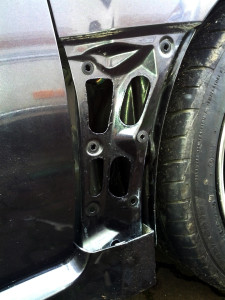
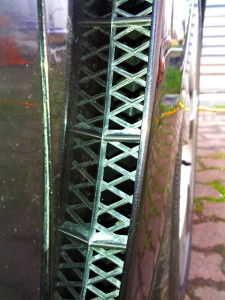
Enabling side vents on GRB WRX STI

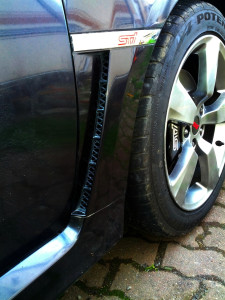
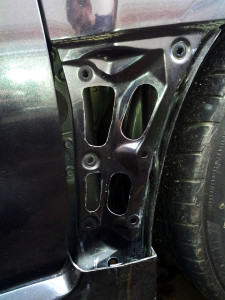
The GRB WRX STI comes with side vents from factory.
STI-sidevent-00

Unfortunately they are not functional and there only for aesthetics, as you can see on this pic:
STI-sidevent-01
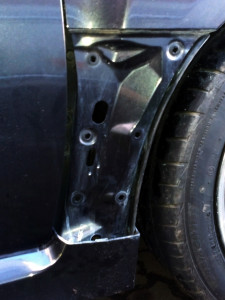
The vent cover is plastic, held in place by clips. It can be pulled of with minimal disassembly by unscrewing/unclipping inner guard on the bottom, and unclipping the side skirt in the vent area.

I used three power tools to expand and create holes:
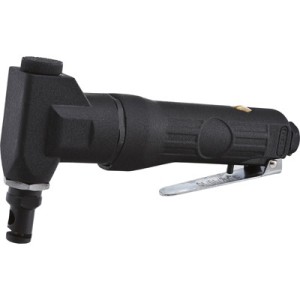
1) Air powered nibbler (bought it from supercheap):
Nibbler
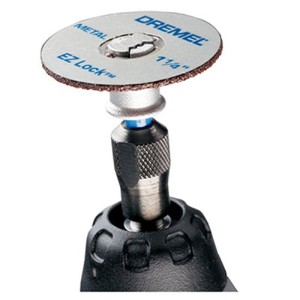
2) Dremel with metal cut-off disk:
Dremel
3) 13mm drill bit (for starting point for nibbler).

All of these could be done with just dremel, but making it clean would be difficult.

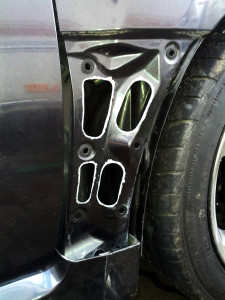
Here it is cut out and cleaned up:
STI-sidevent-02

Primed:
STI-sidevent-03

Painted:
STI-sidevent-04

Not pictured: inner side of plastic vent cover has a rubber flap, I removed it as well.

Assembled:
STI-sidevent-05

In the end I am happy with this little mod, even by having radiator fan on on stationary car is enough to feel warm air coming from the vent.

Subaru Genuine Parts in New Zealand

I have owned numerous Toyotas in past.
When switching from Toyota to Subaru I did not expect to be shocked by such price difference of genuine parts between each brand.
Both Japanese, both of good quality vehicles, similar niche…

Oil and air filters are priced very close (about ~$20NZD for oil filter and ~$40NZD for air filter), beyond that Subaru parts are rip-off.

For example, for my 1998 ST205 Celica GT4, the genuine front brake rotors were ~130NZD each. About double of aftermarket from BNT or Partmaster.
Considering brake rotors are consumables that is very reasonable price.
When I inquired about rotors for my 2008 GRB Subaru WRX STI (JDM), initially I was quoted ~1060NZ each (retail), that came down to $900NZ each. After shopping around I found the cheapest price in New Zealand for genuine front rotor would be ~$695NZ each (trade price BTW).

What is the difference between Toyota Celica GT4 and Subaru WRX STI rotors:
dimensionally they are very close:
315mm x 32mm
vs
326mm x 30mm
So please explain to me why such a price difference?
Genuine Brembo rotors can be bought in USA for about $160USD retail (it would cost uneconomical amount of $$$ to get them shipped to NZ).

Another example is another consumable, brake pads, Toyota Genuine front pads for ST205 Celica (very similar to STI pads) cost about ~$90NZD.
Subaru, at first I was quoted ~$730NZD, then I got “trade” price of ~$620NZD (from Winger). In USA same pads cost around $200USD ($260NZ).

So given the options I got rotors from Partmaster (“Italian made”) for $90NZD each, and pads (Bendix SRT) from BNT for $280NZD a set. Bendix SRT pads were later replaced by Ferodo DS2500 all round (a bit better pad in my opinion).

When I imported my STI it had rear cargo blind missing (BTW Subaru calls it “TONNEAU COVER”, Part number 65550FG002ML).
I enquired about it locally, Winger quoted me ~$430NZD and that was “trade” price (fuck that differentiation). The retail was about $630NZD. For piece of vinyl on a stick with a spring, FFS!?!?
Same part in USA costs around $140USD ($180NZD).
In Japan I got price of 22000JPY, which works out to $235NZD (I don’t have to pay shipping due to special arrangements).
So how does $250 (retail) item becomes $630 item, by just arriving to NZ?

I don’t even dare to think about how much Subaru will charge me for wear items like shocks (Toyota price is ~$140NZD each) and bushes…

Hopefully due to Toyota’s stake in Subaru will have some culture changes, which will lead to price standardisation, making consumables cost like consumables (and not gold-pressed latinum). One would only hope.