Q. What is TGV?
A. Tumble Generator Valve.
The purpose of TGV is to create swirl/tumble of air-fuel mixture to improve emissions at certain conditions.
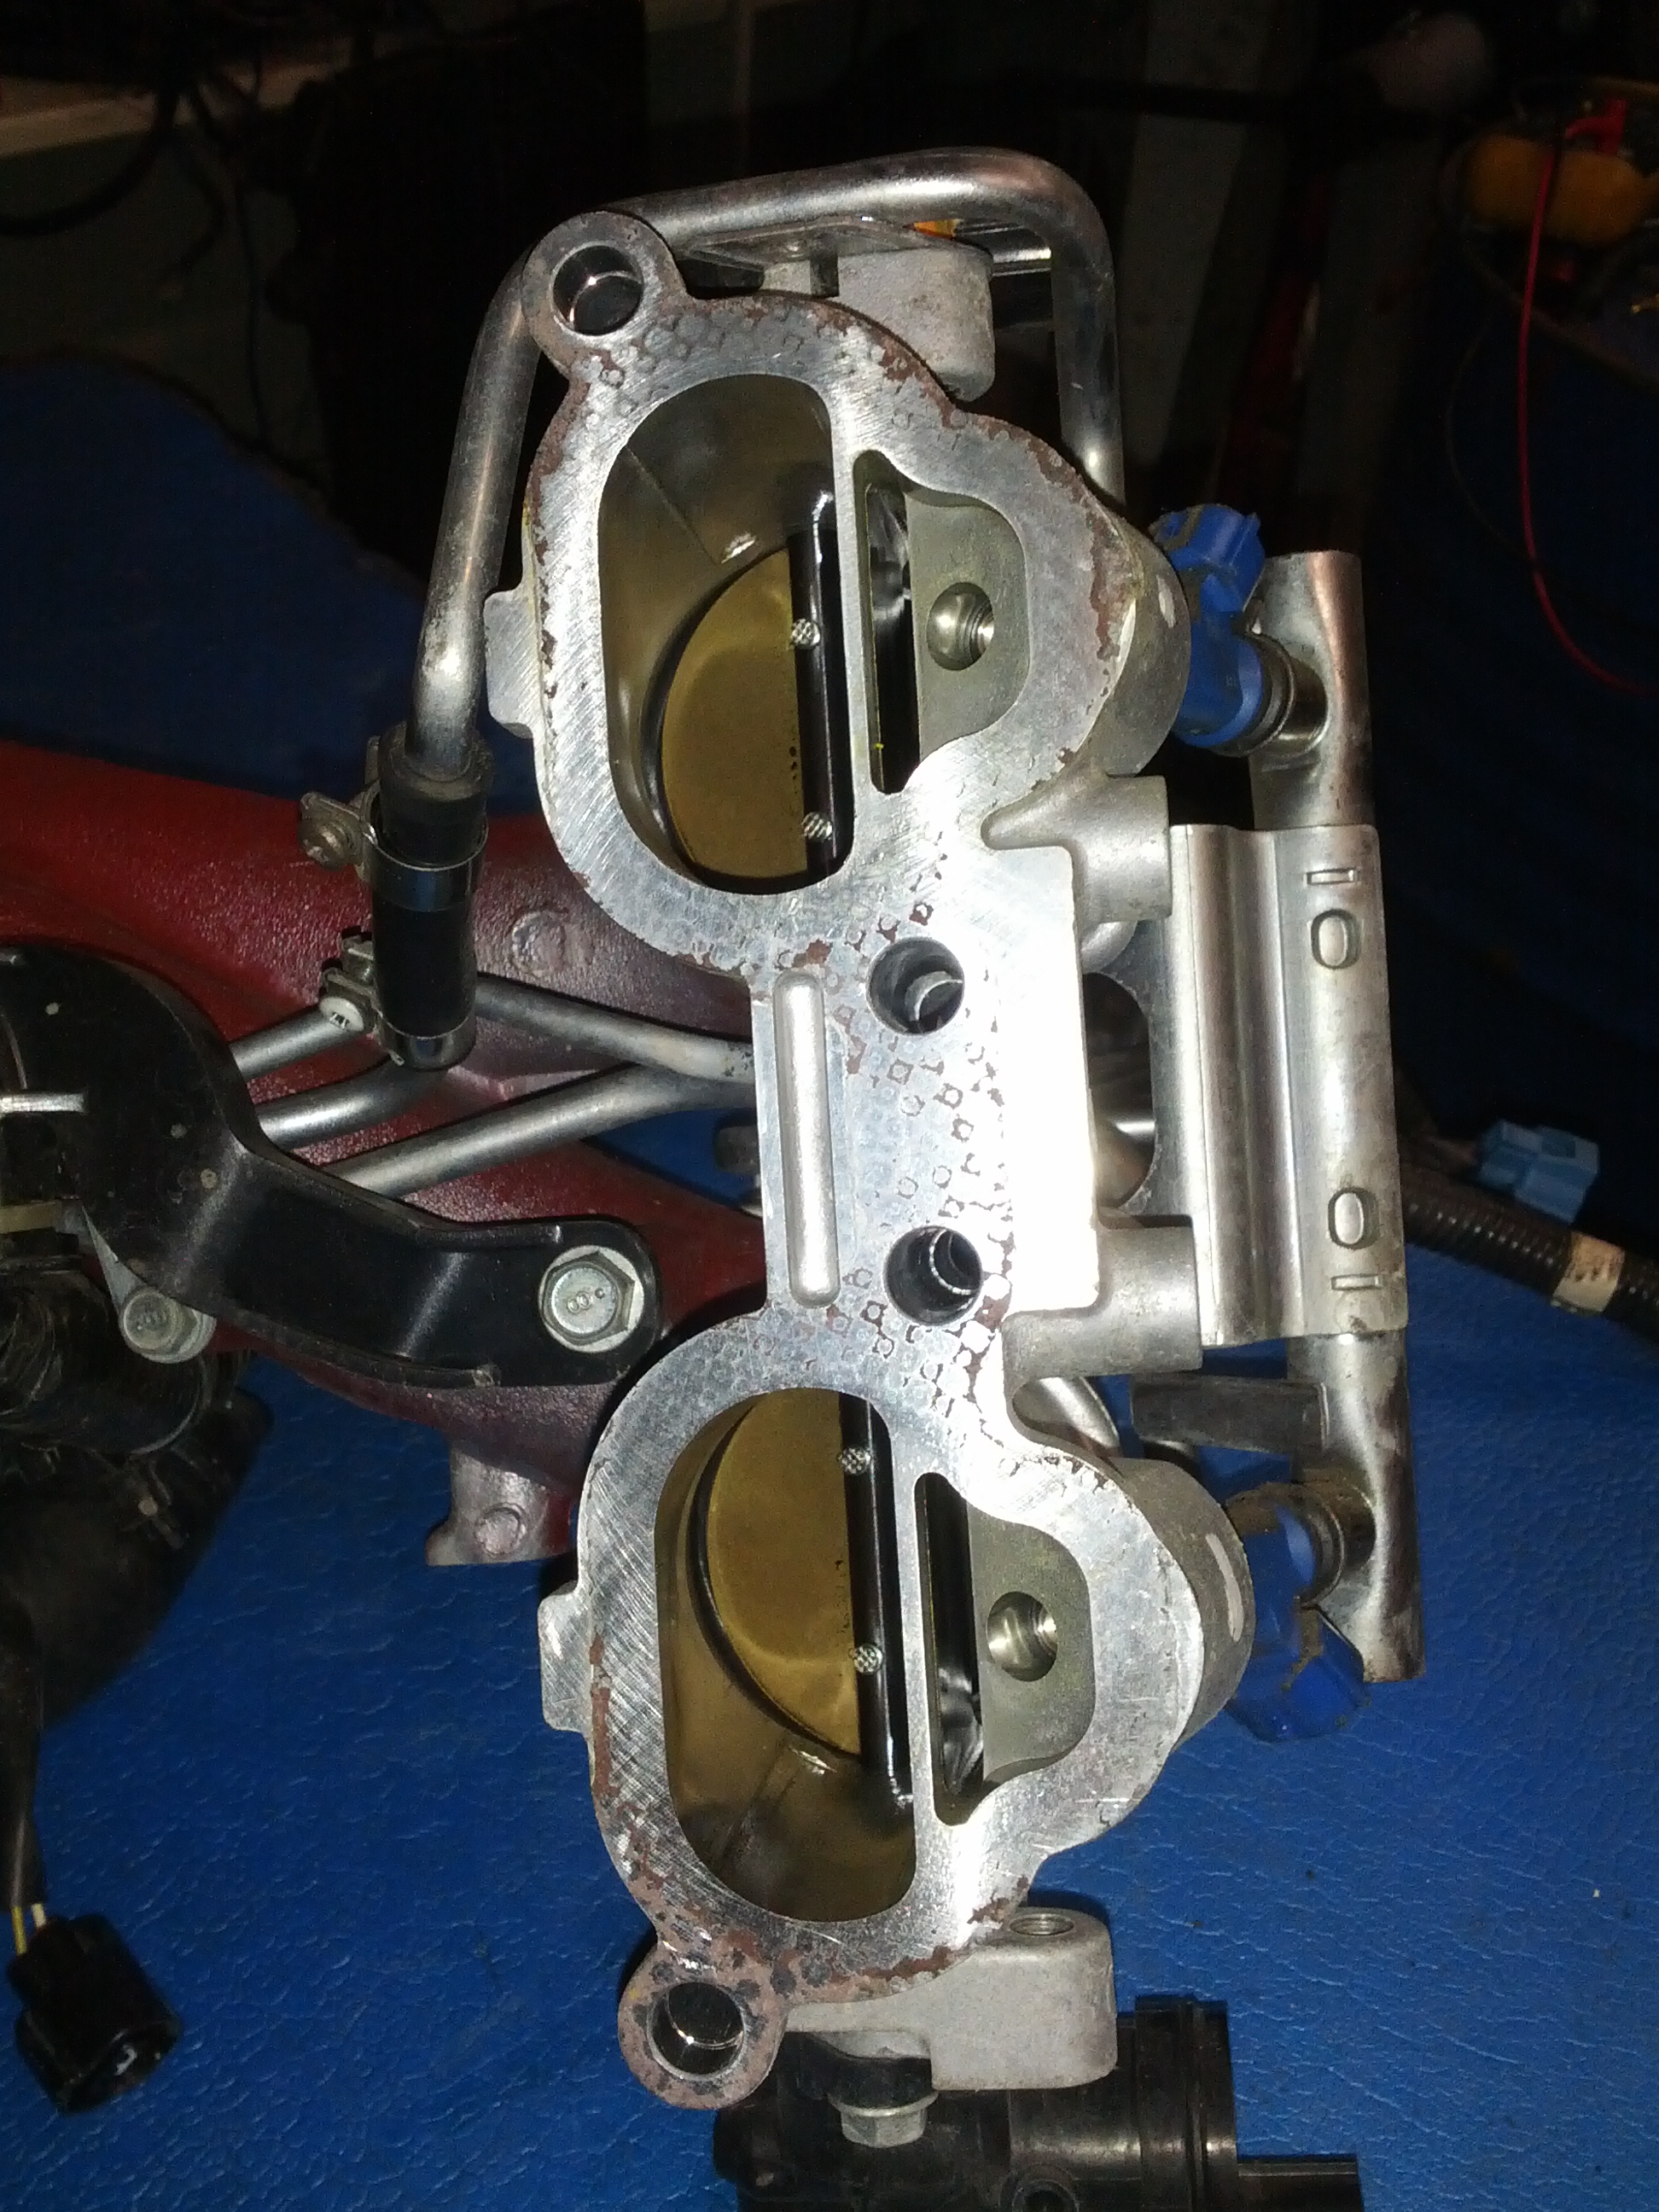
TGV consists of butterfly valves located before the injector in each intake runner. These valves when closed force air through a small passage.
Generally under normal operation these valves are open. The main reasoning of TGV removal is small performance gain due to removal of restrictions from open butterfly valves. As bonus it will also increase reliability by making the system simpler.
One thing I noticed: since removal (even before tune) the “hole” around 3000rpm during warm-up has disappeared.
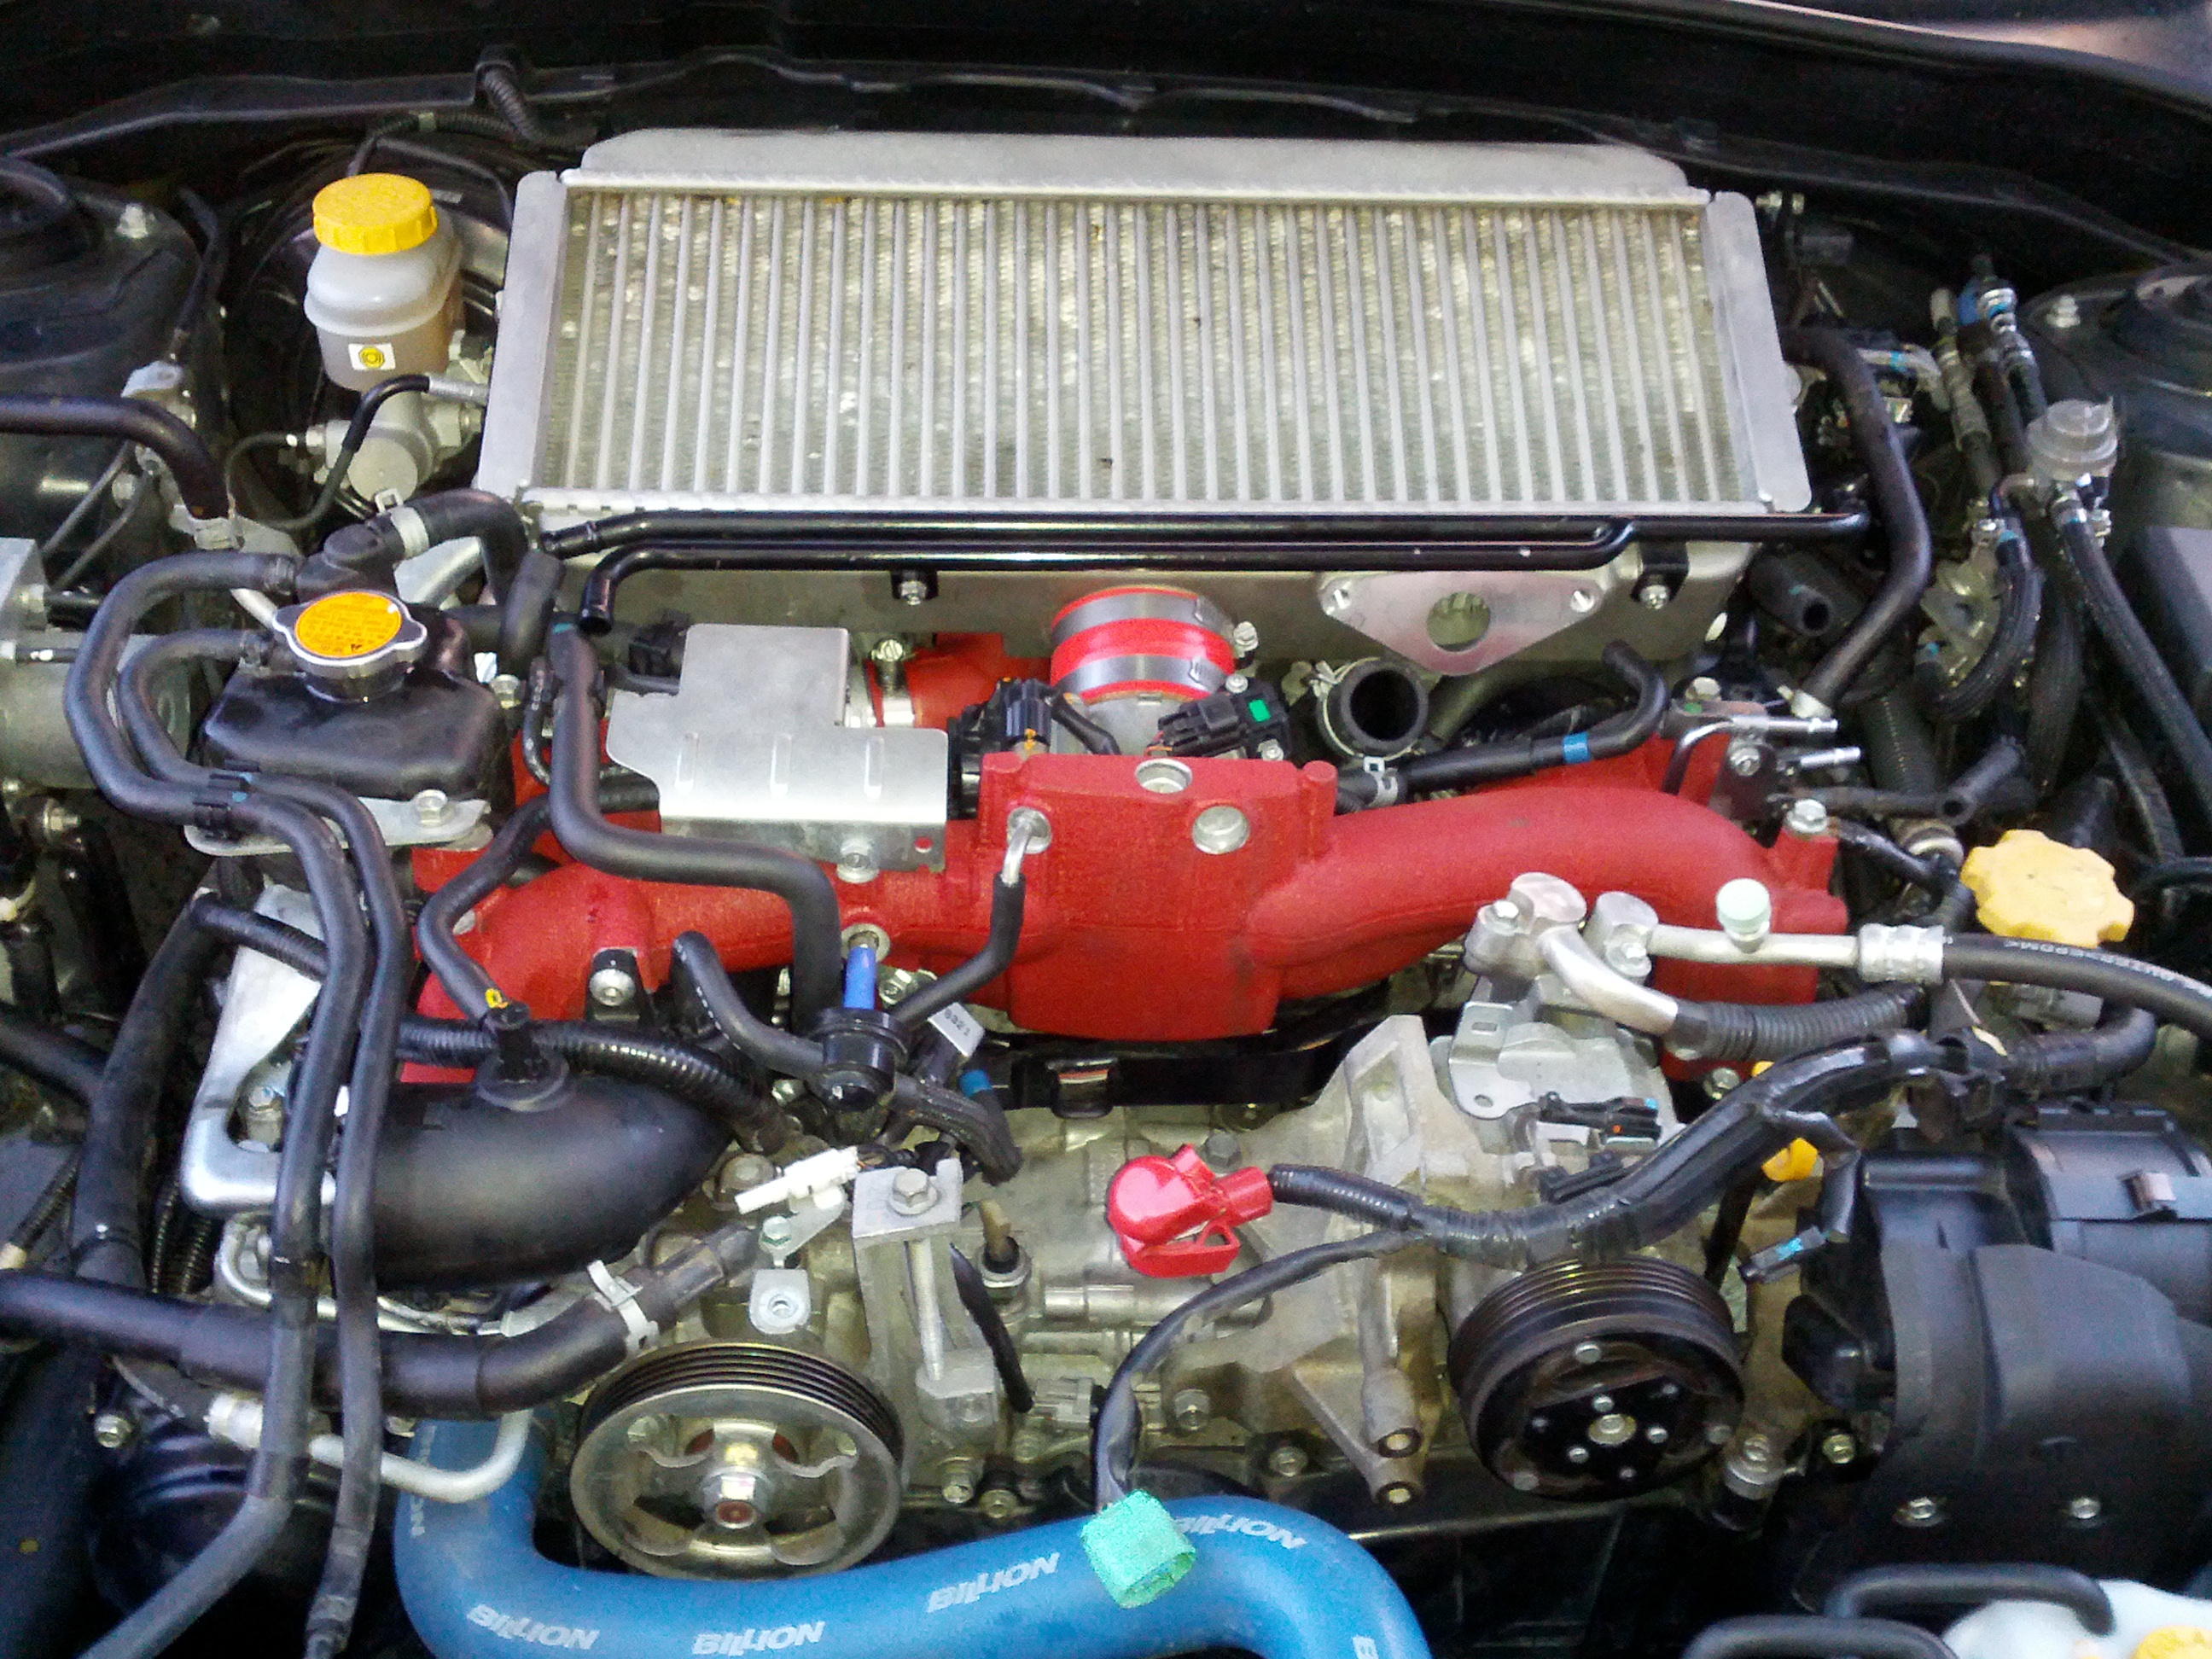
The TGV system on GRB STI consists of following parts:
Two TGV position sensors.
Two TGV actuators.
Four butterfly valves connected in pairs on each bank.
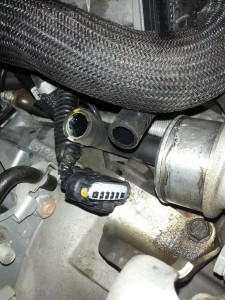
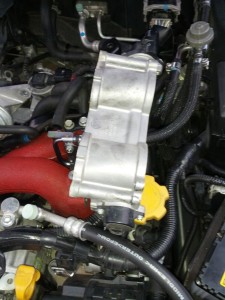
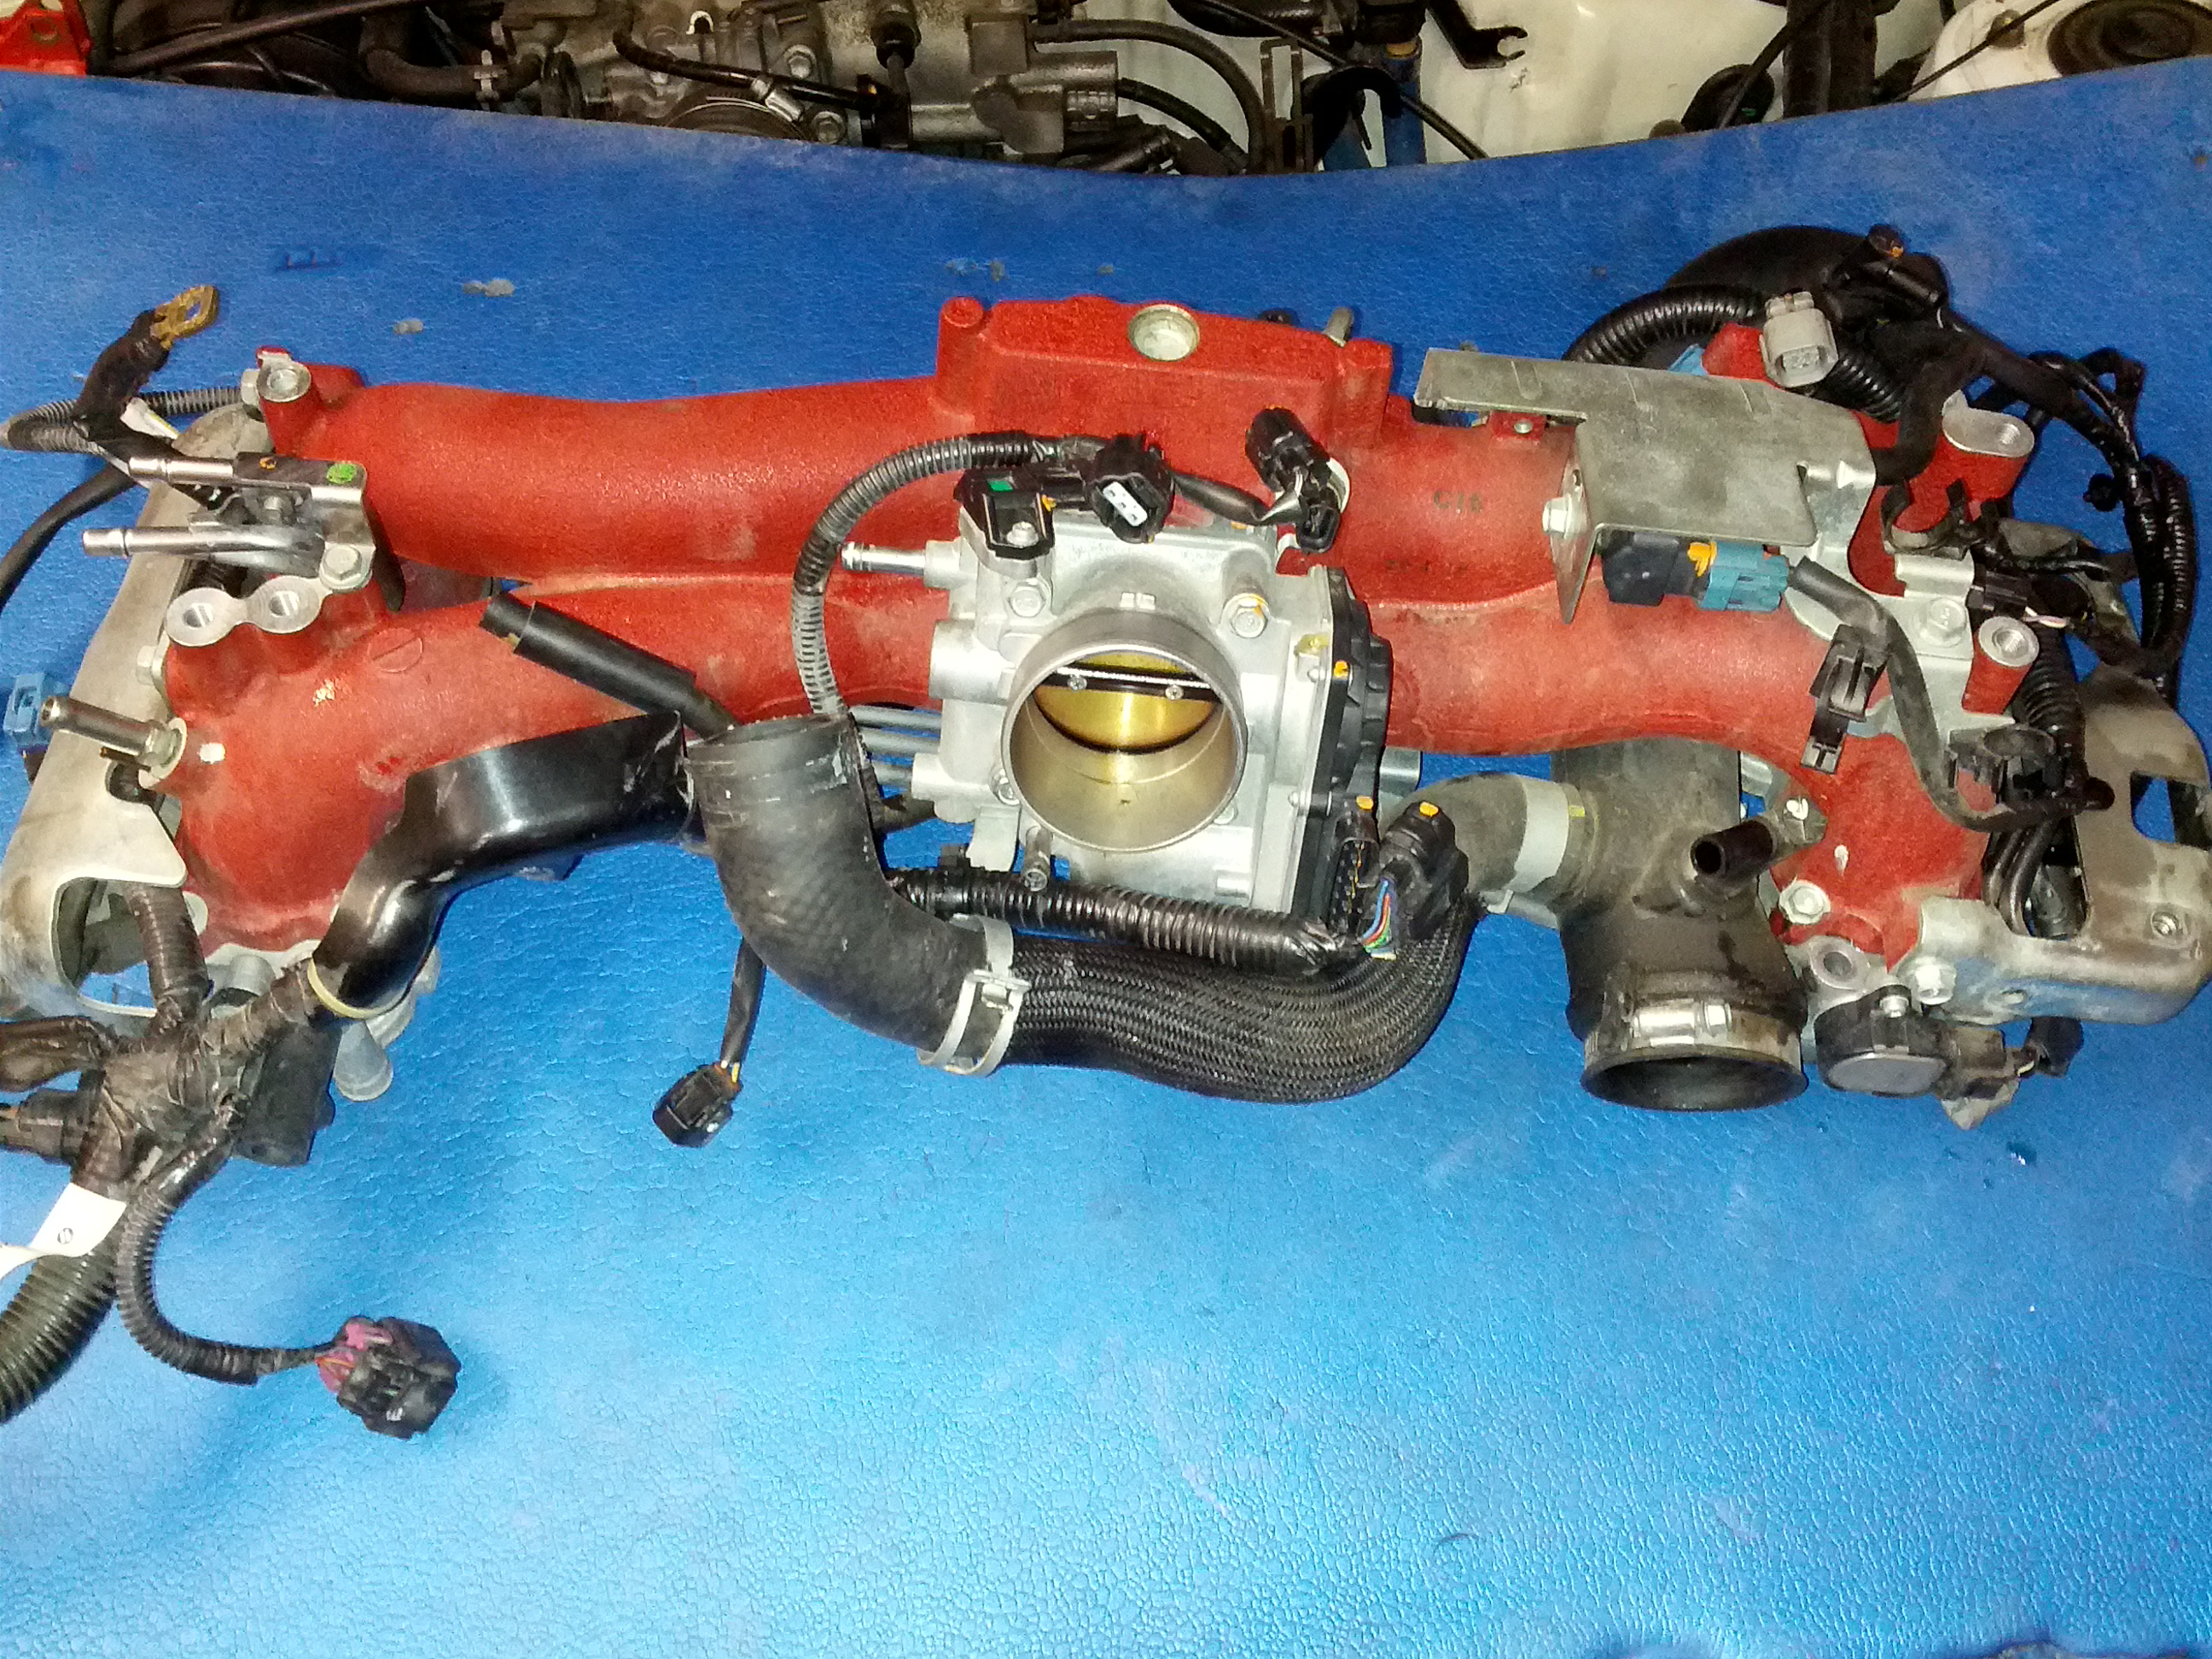
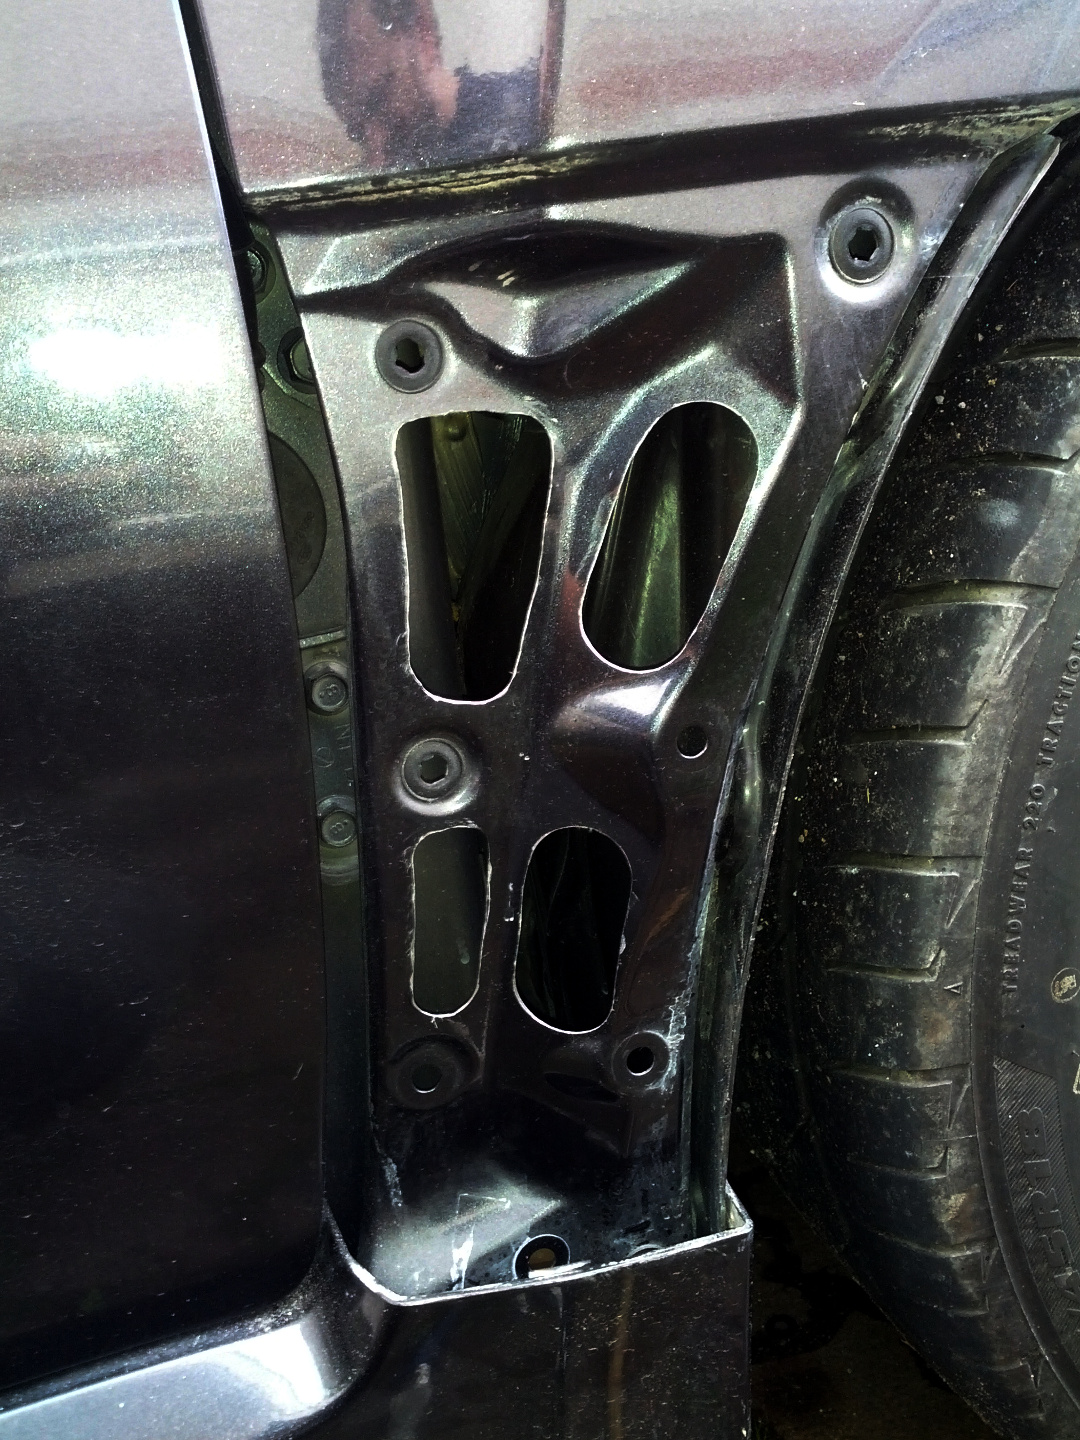
It is located under manifold, in the spacers between heads and the manifold. The cars equipped with TGV can be recognised by having sensors and actuators attached to the sides of manifold spacers.
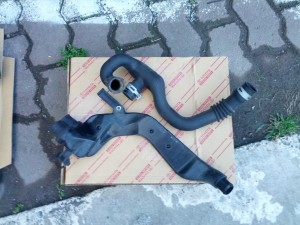
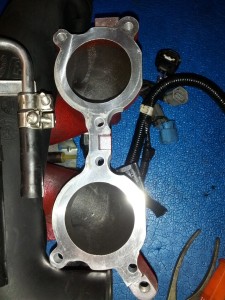
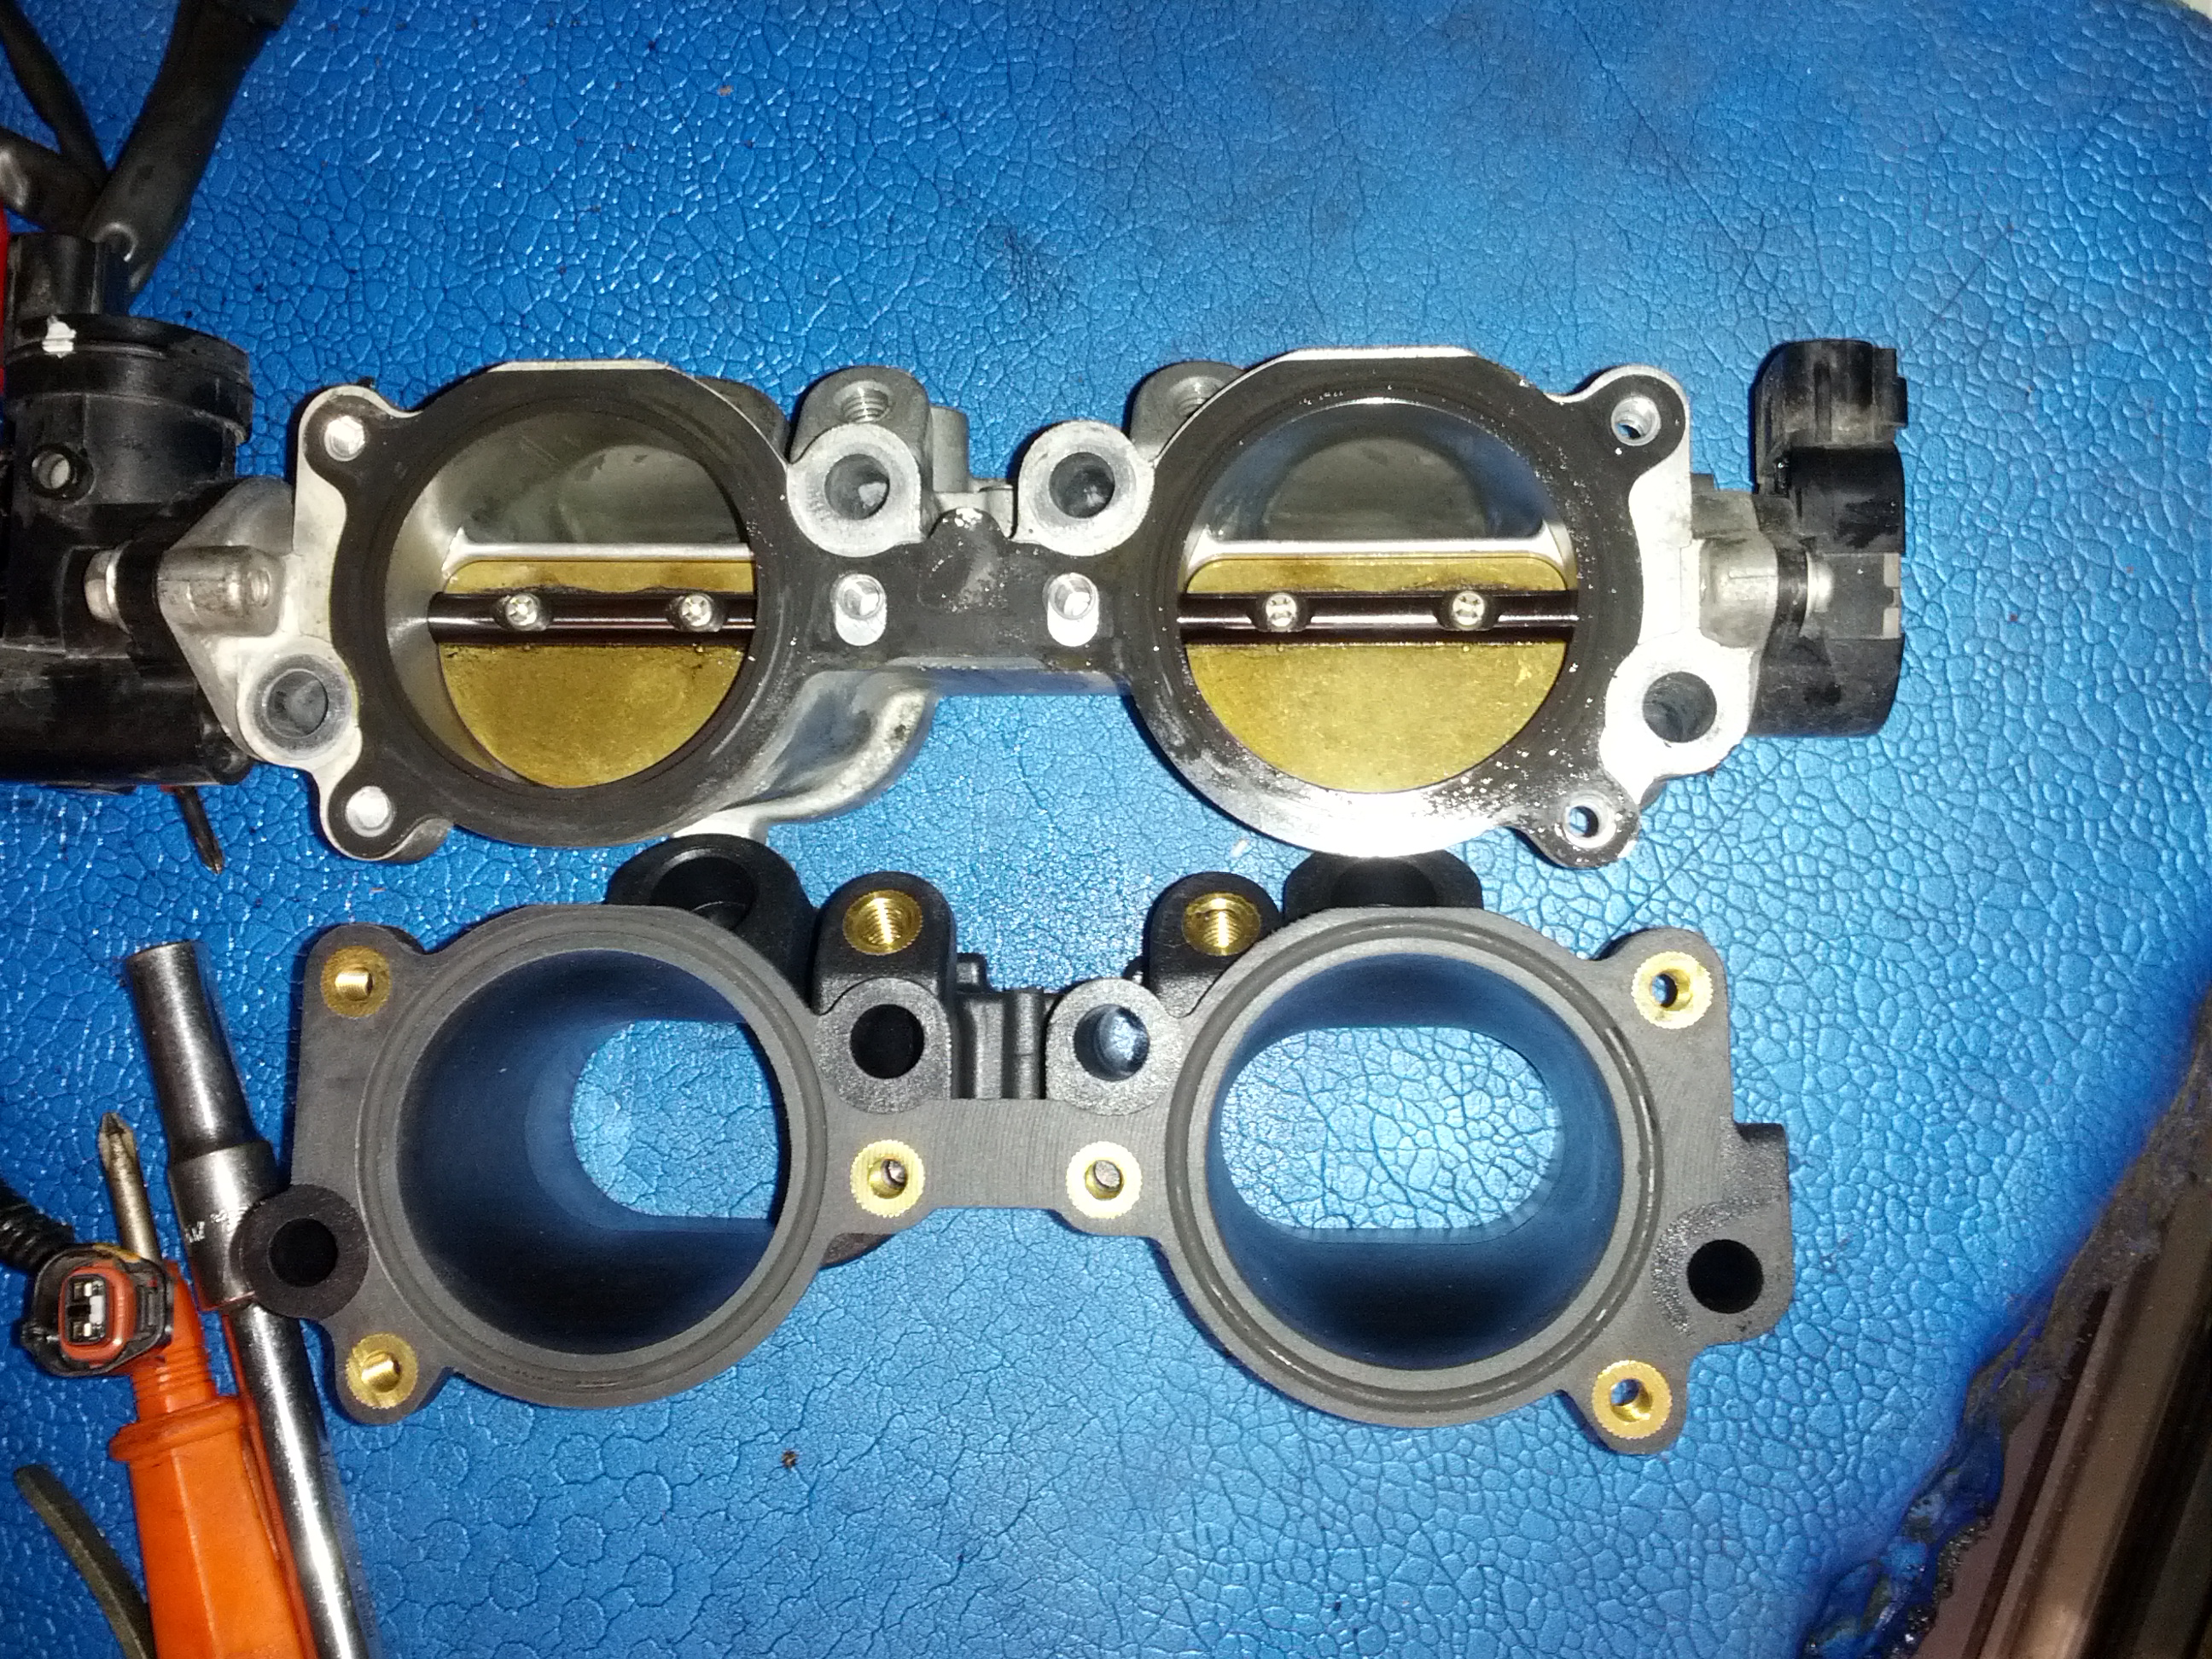
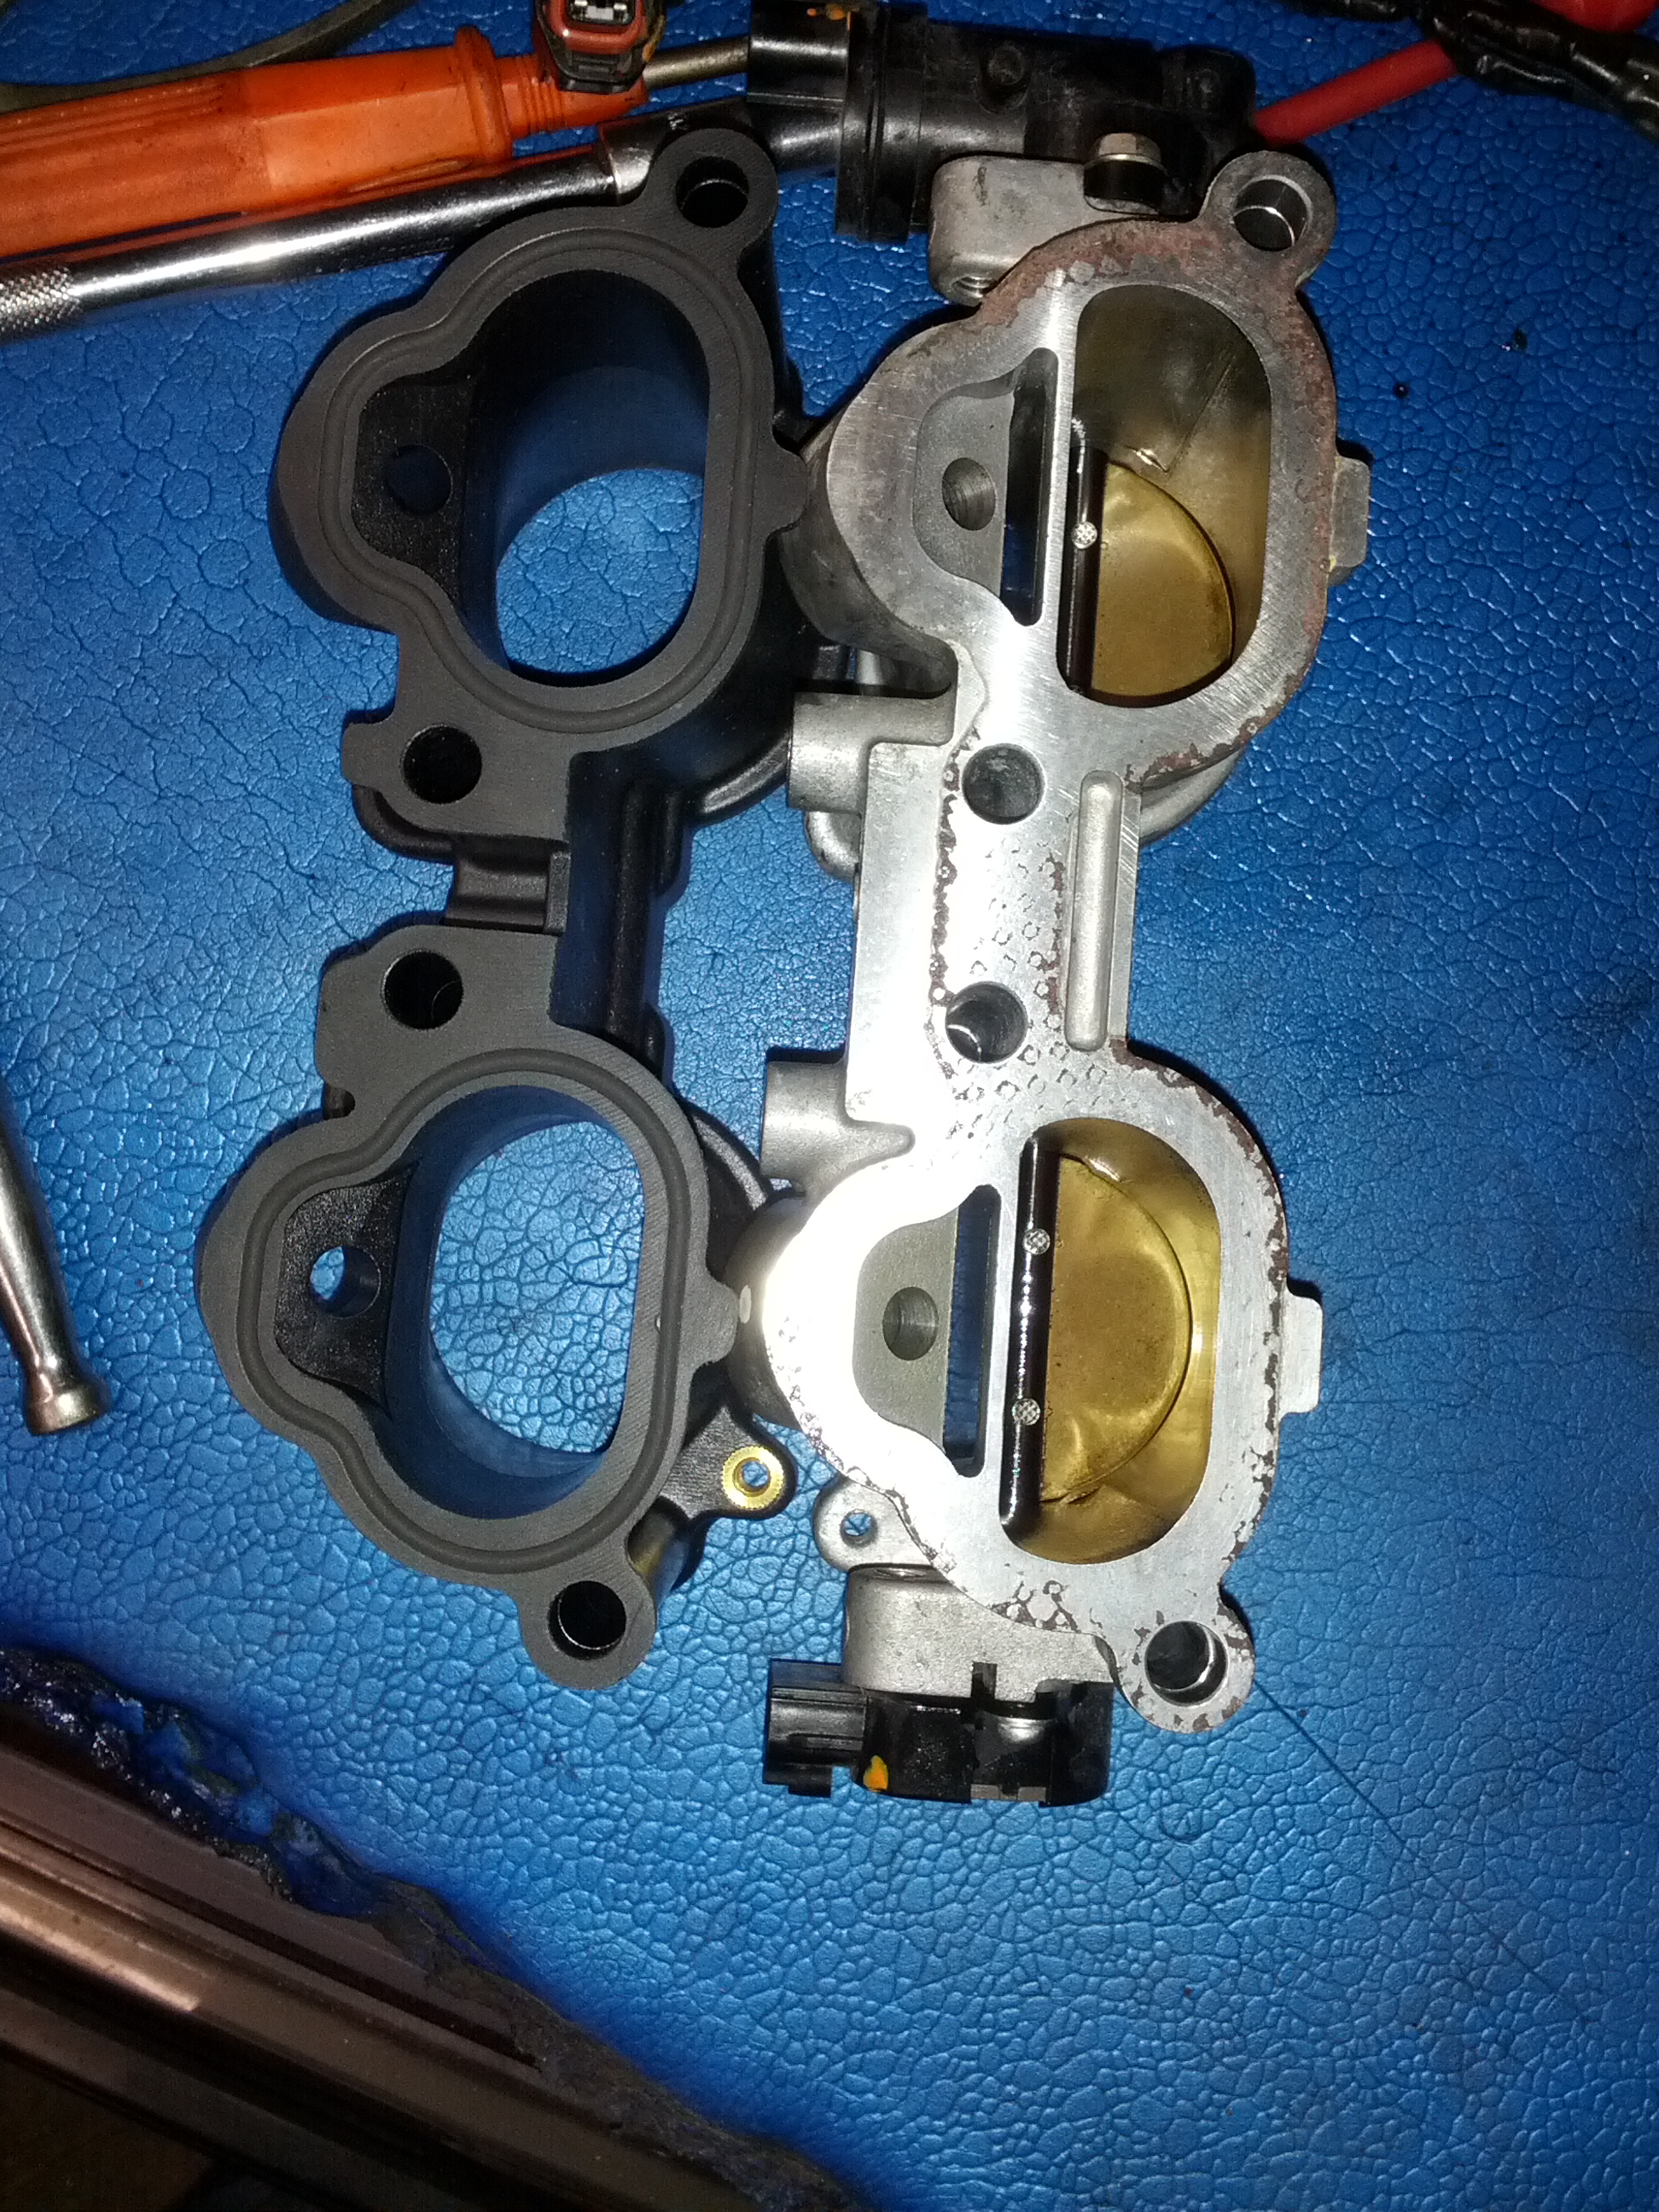
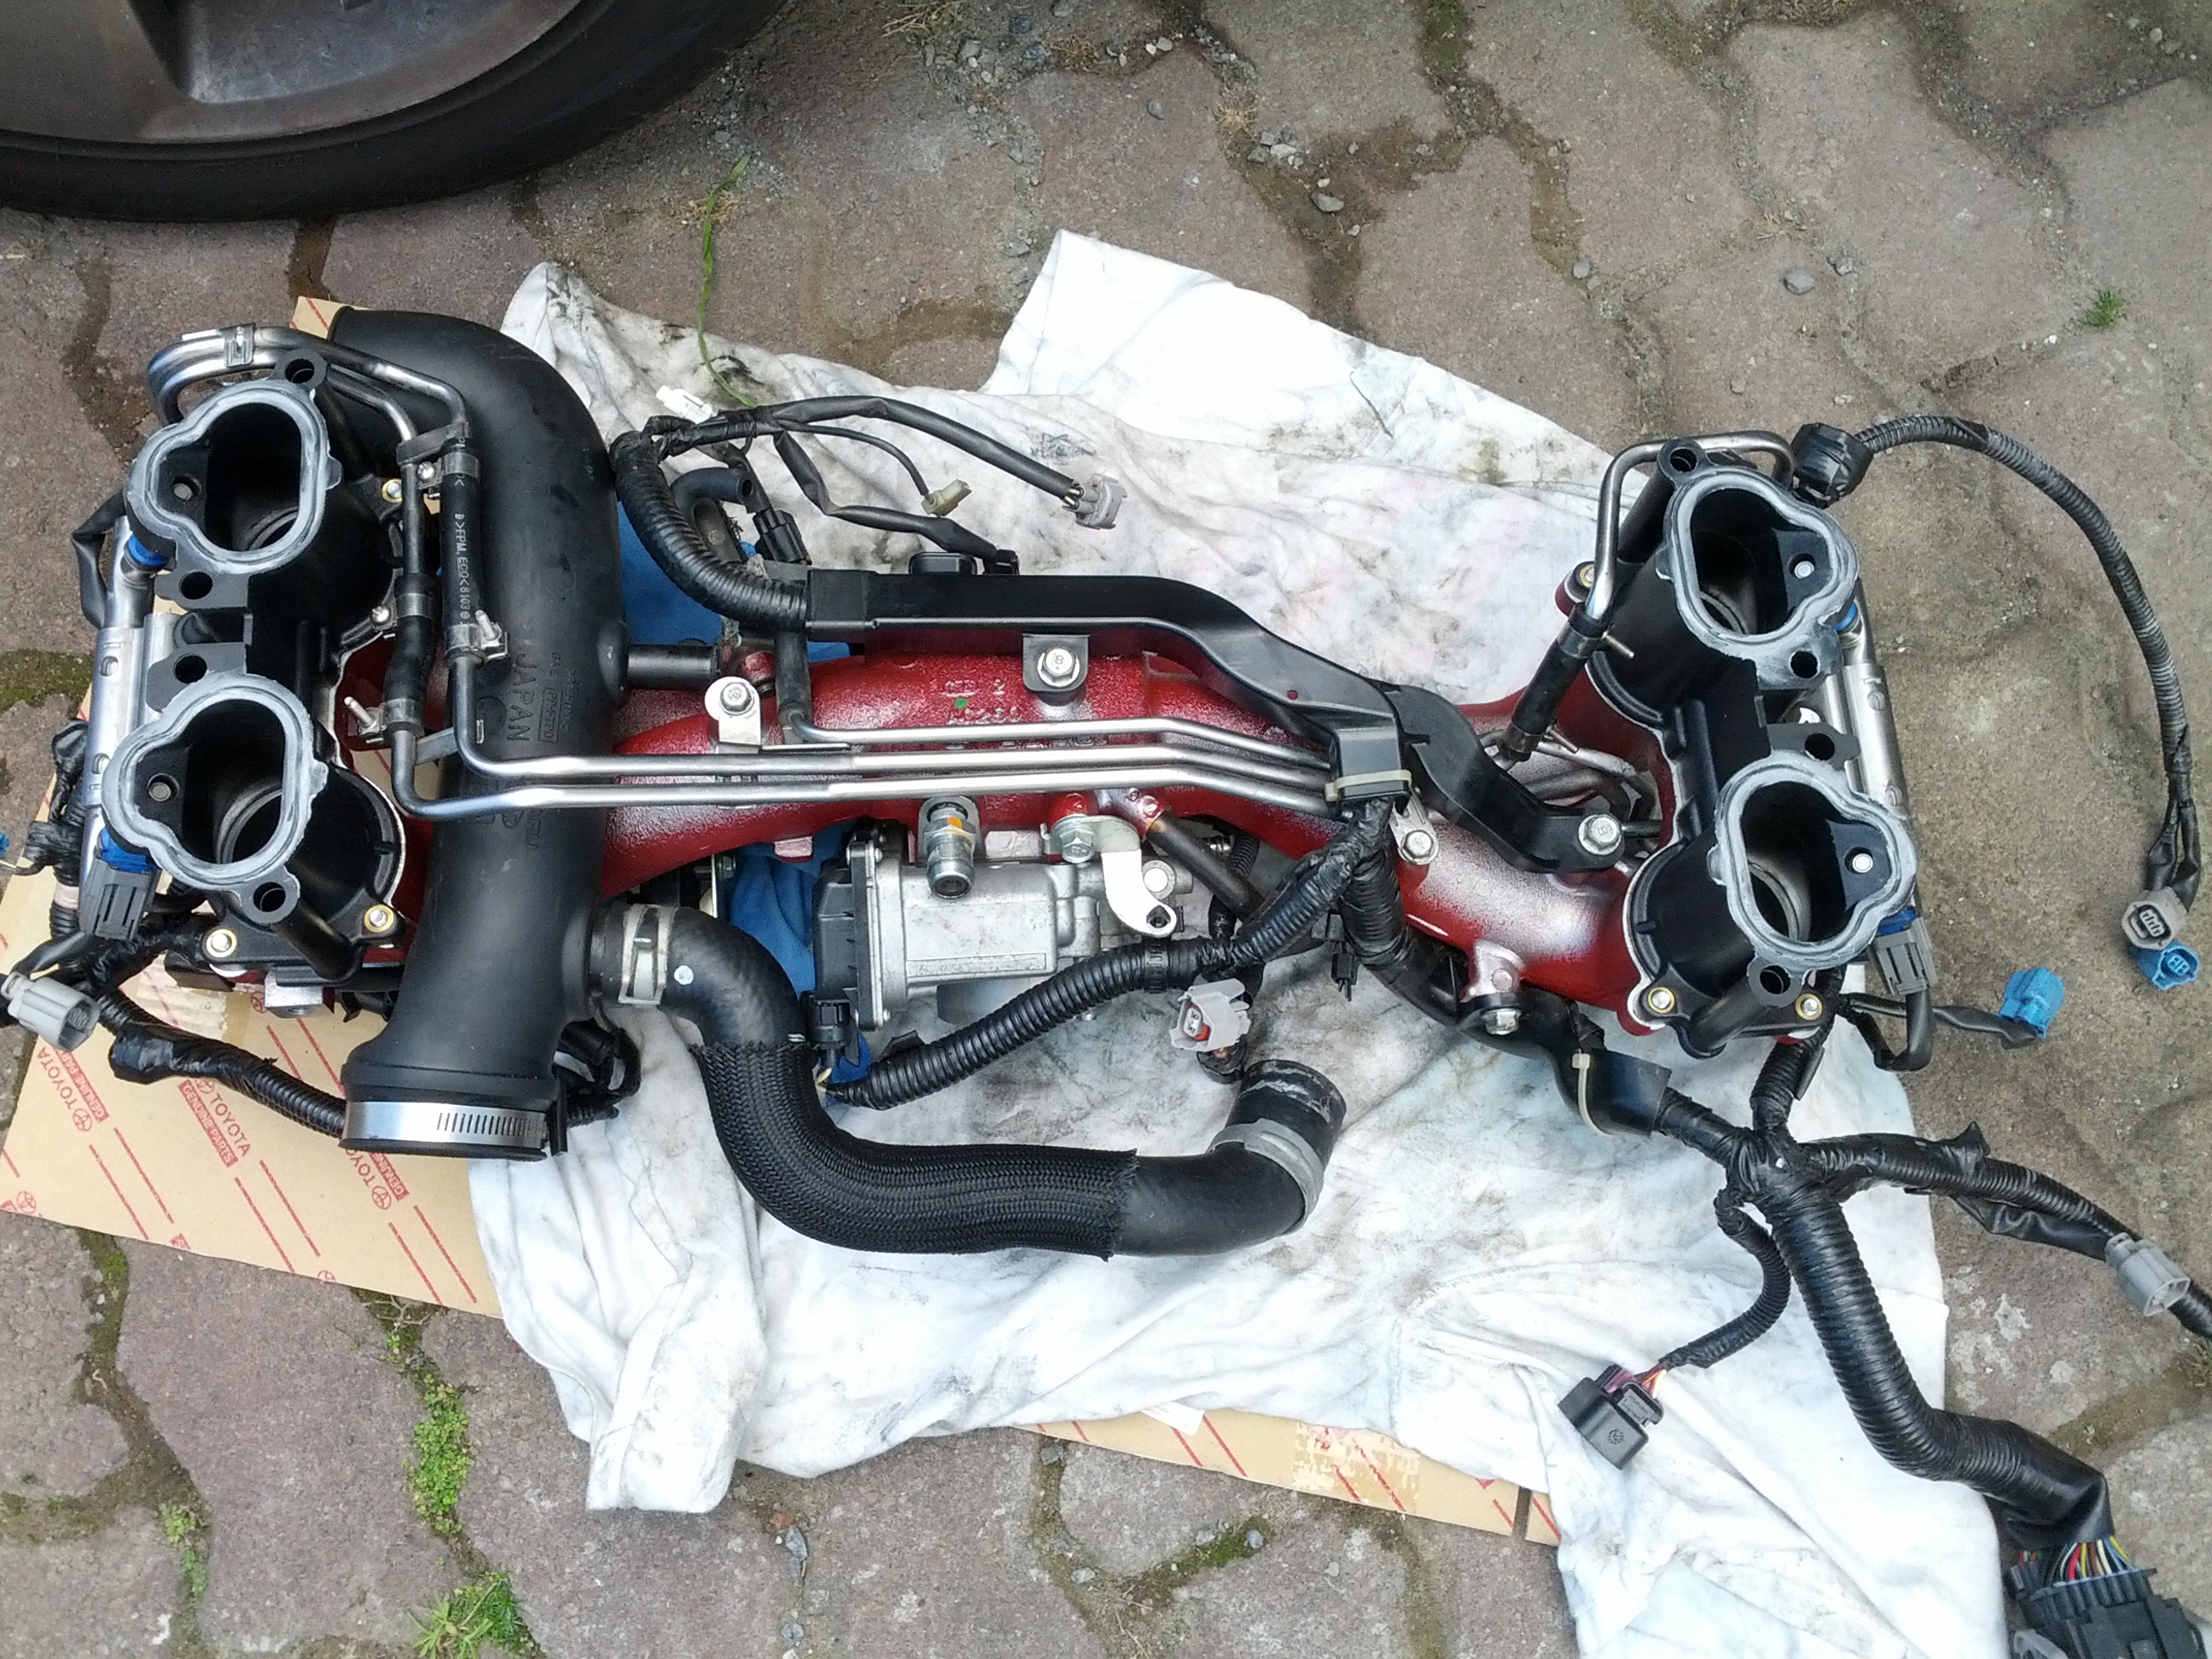
Here is the TGV in all of its glory (the black spacer is Zerolift TGV deletion “kit”):
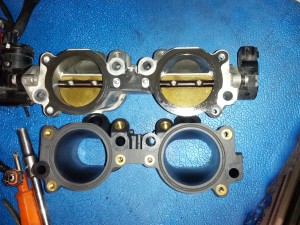
The exercise of TGV removal (aka TGV deletion) for me was a “by the way” thing as I was getting my car retuned anyway (I needed to run 95 octane safely as in New Zealand beyond main cities 98 octane is very scarce).
Due to difficulty of locating the genuine spacers without TGV (these exists and normally found on 2004-2007 WRX STI), I settled for plastic Zerolift TGV deletion kit.
A bit of warning on Zerolift TGV deletion kit: because they are plastic THEY MUST BE TIGHTENED TO CORRECT TORQUE! Which is very low, and feel little bit tighter than finger tight. They will crack otherwise!
Once I reach 100,000kms and have cam belt due, I will replace them with genuine spacers.
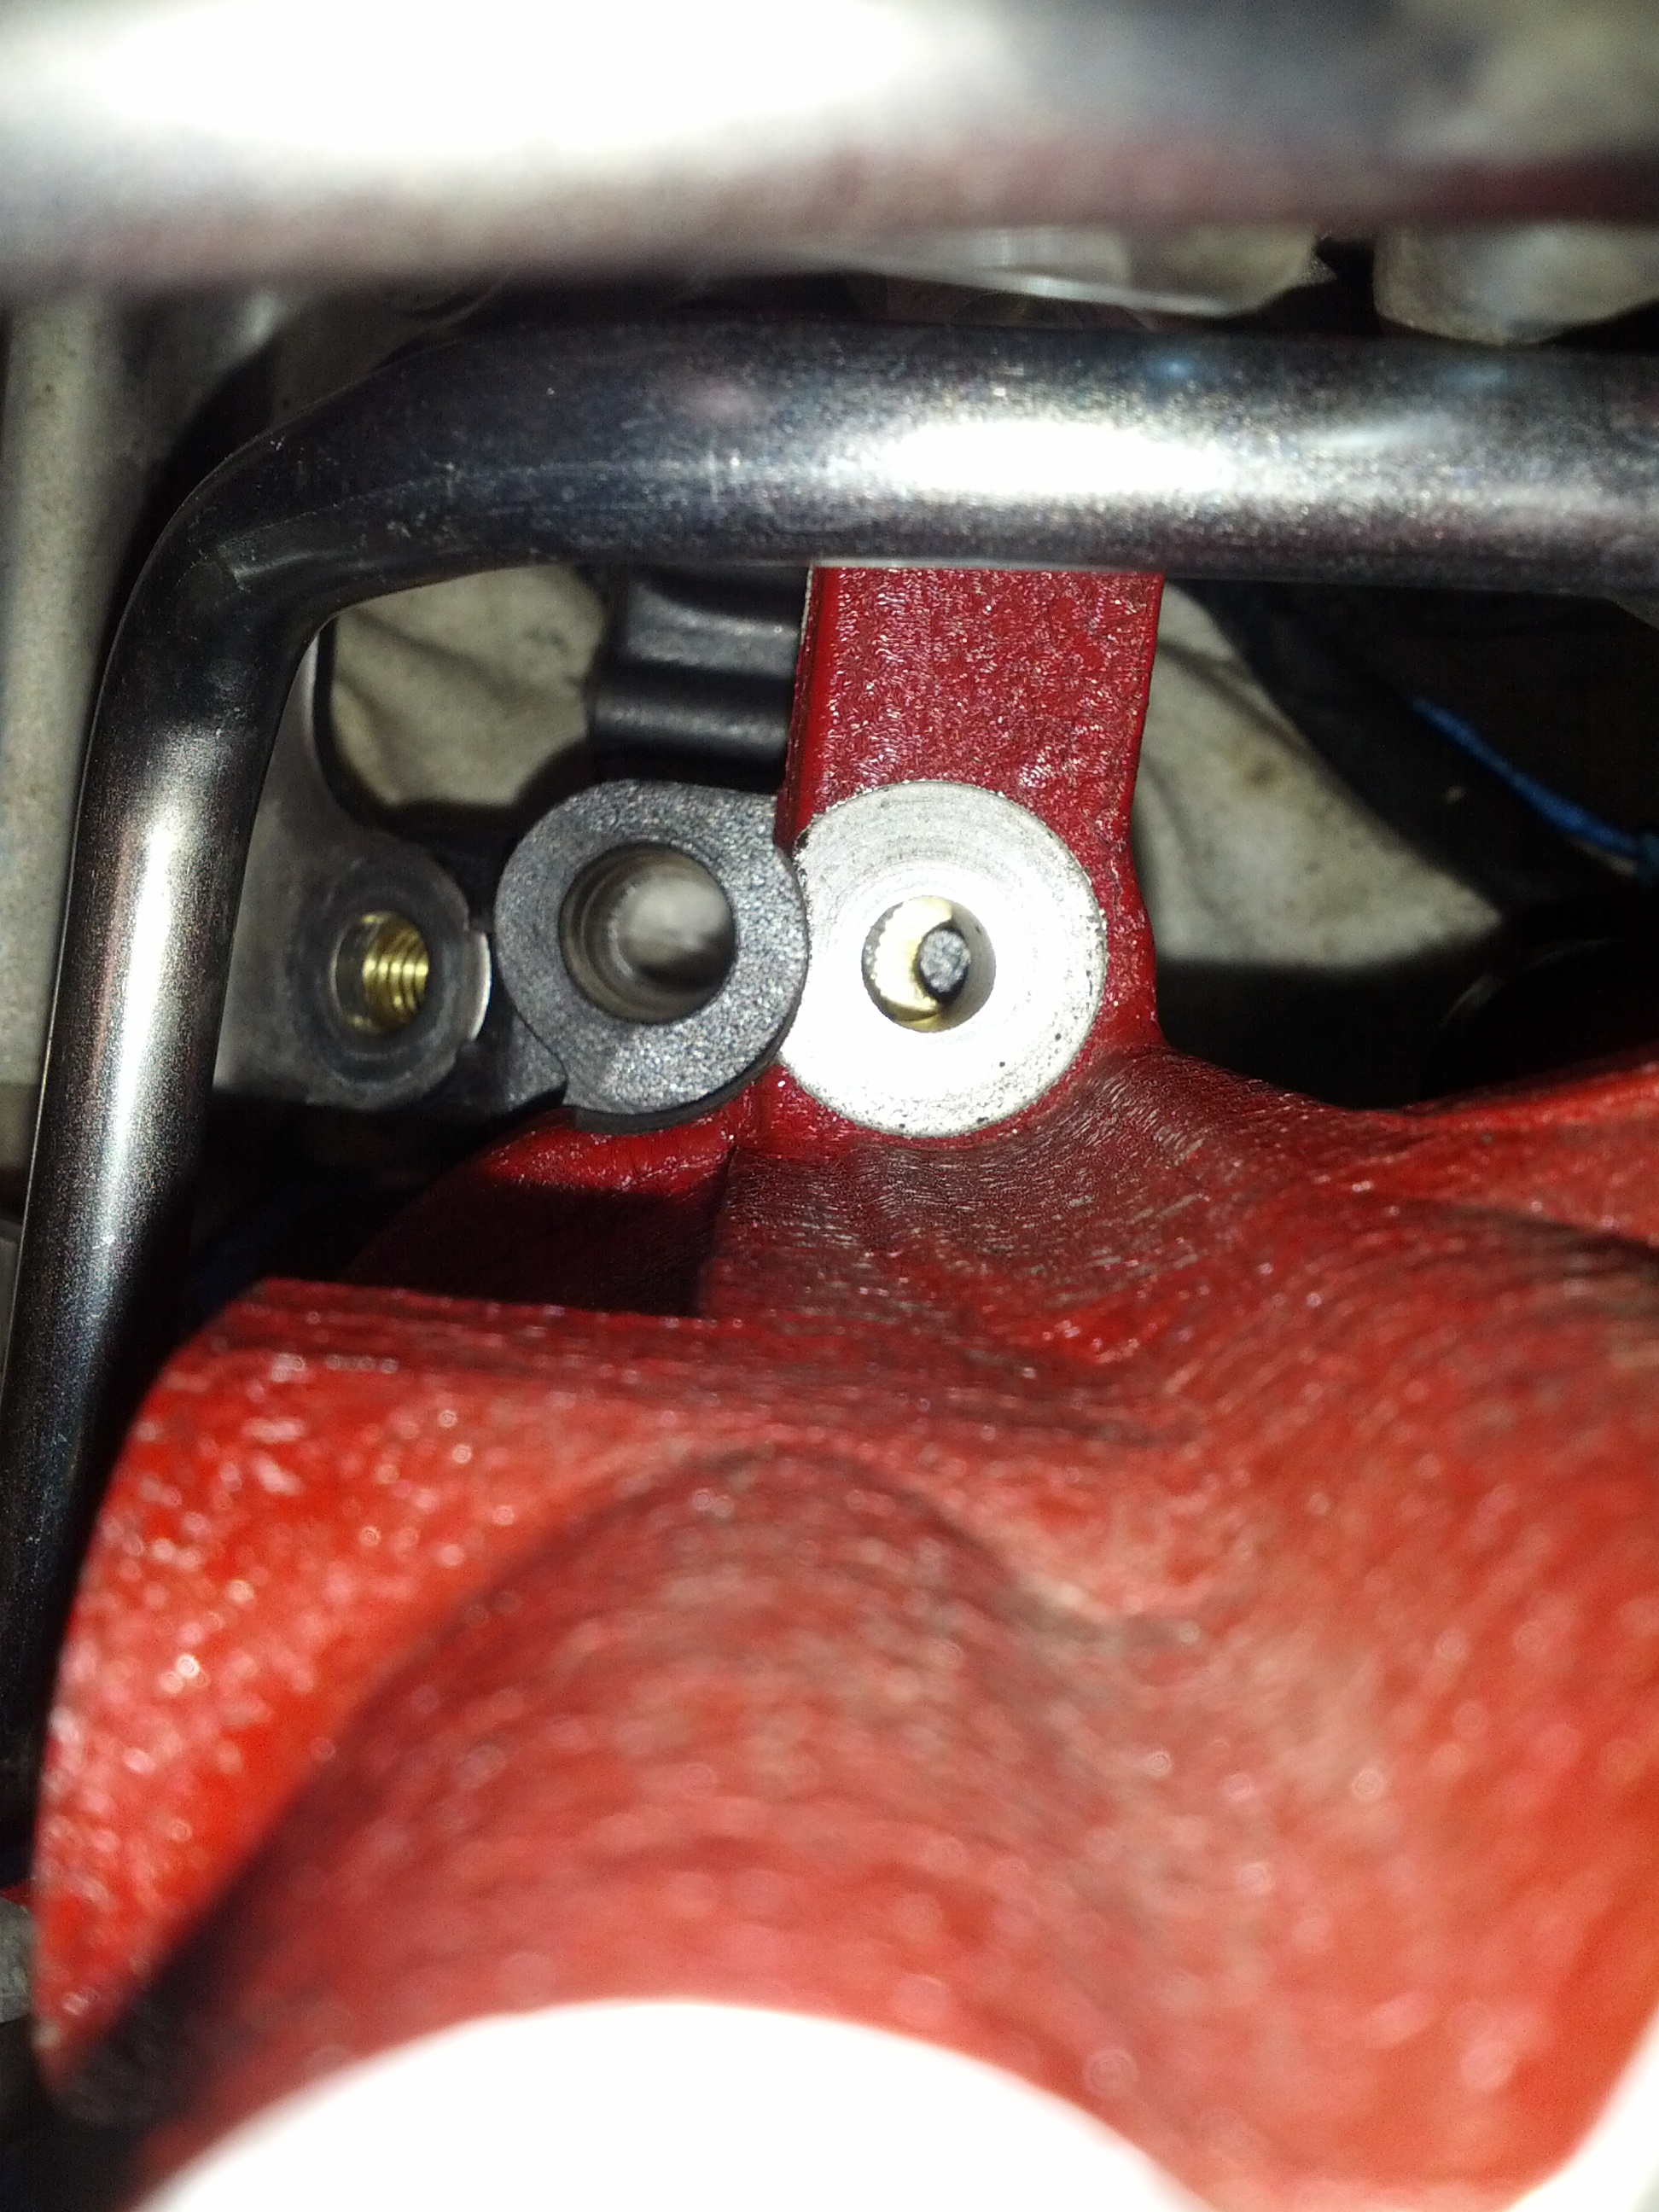
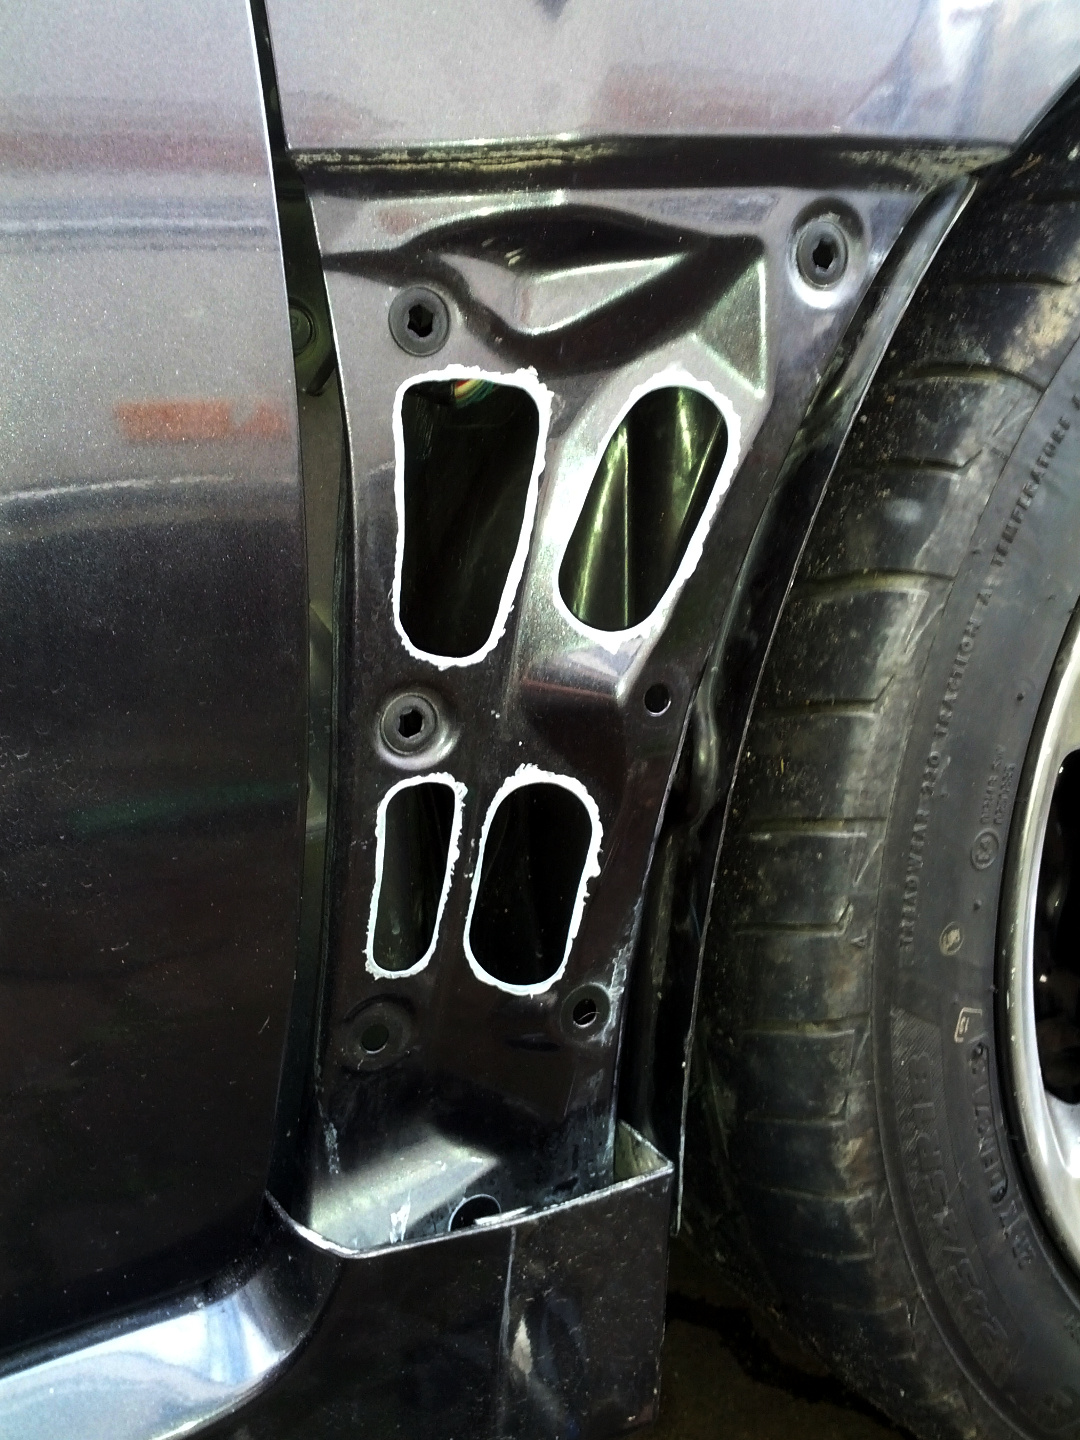
Another thing is because my STI is JDM the Zerolift kit didn’t fit correctly (the middle holes didn’t line up), I had to modify the manifold to fit (slot the holes):

The Zerolift TGV comes with O-rings, and these must be installed evenly (a bit of exercise for fingers). Do not use manifold gaskets!
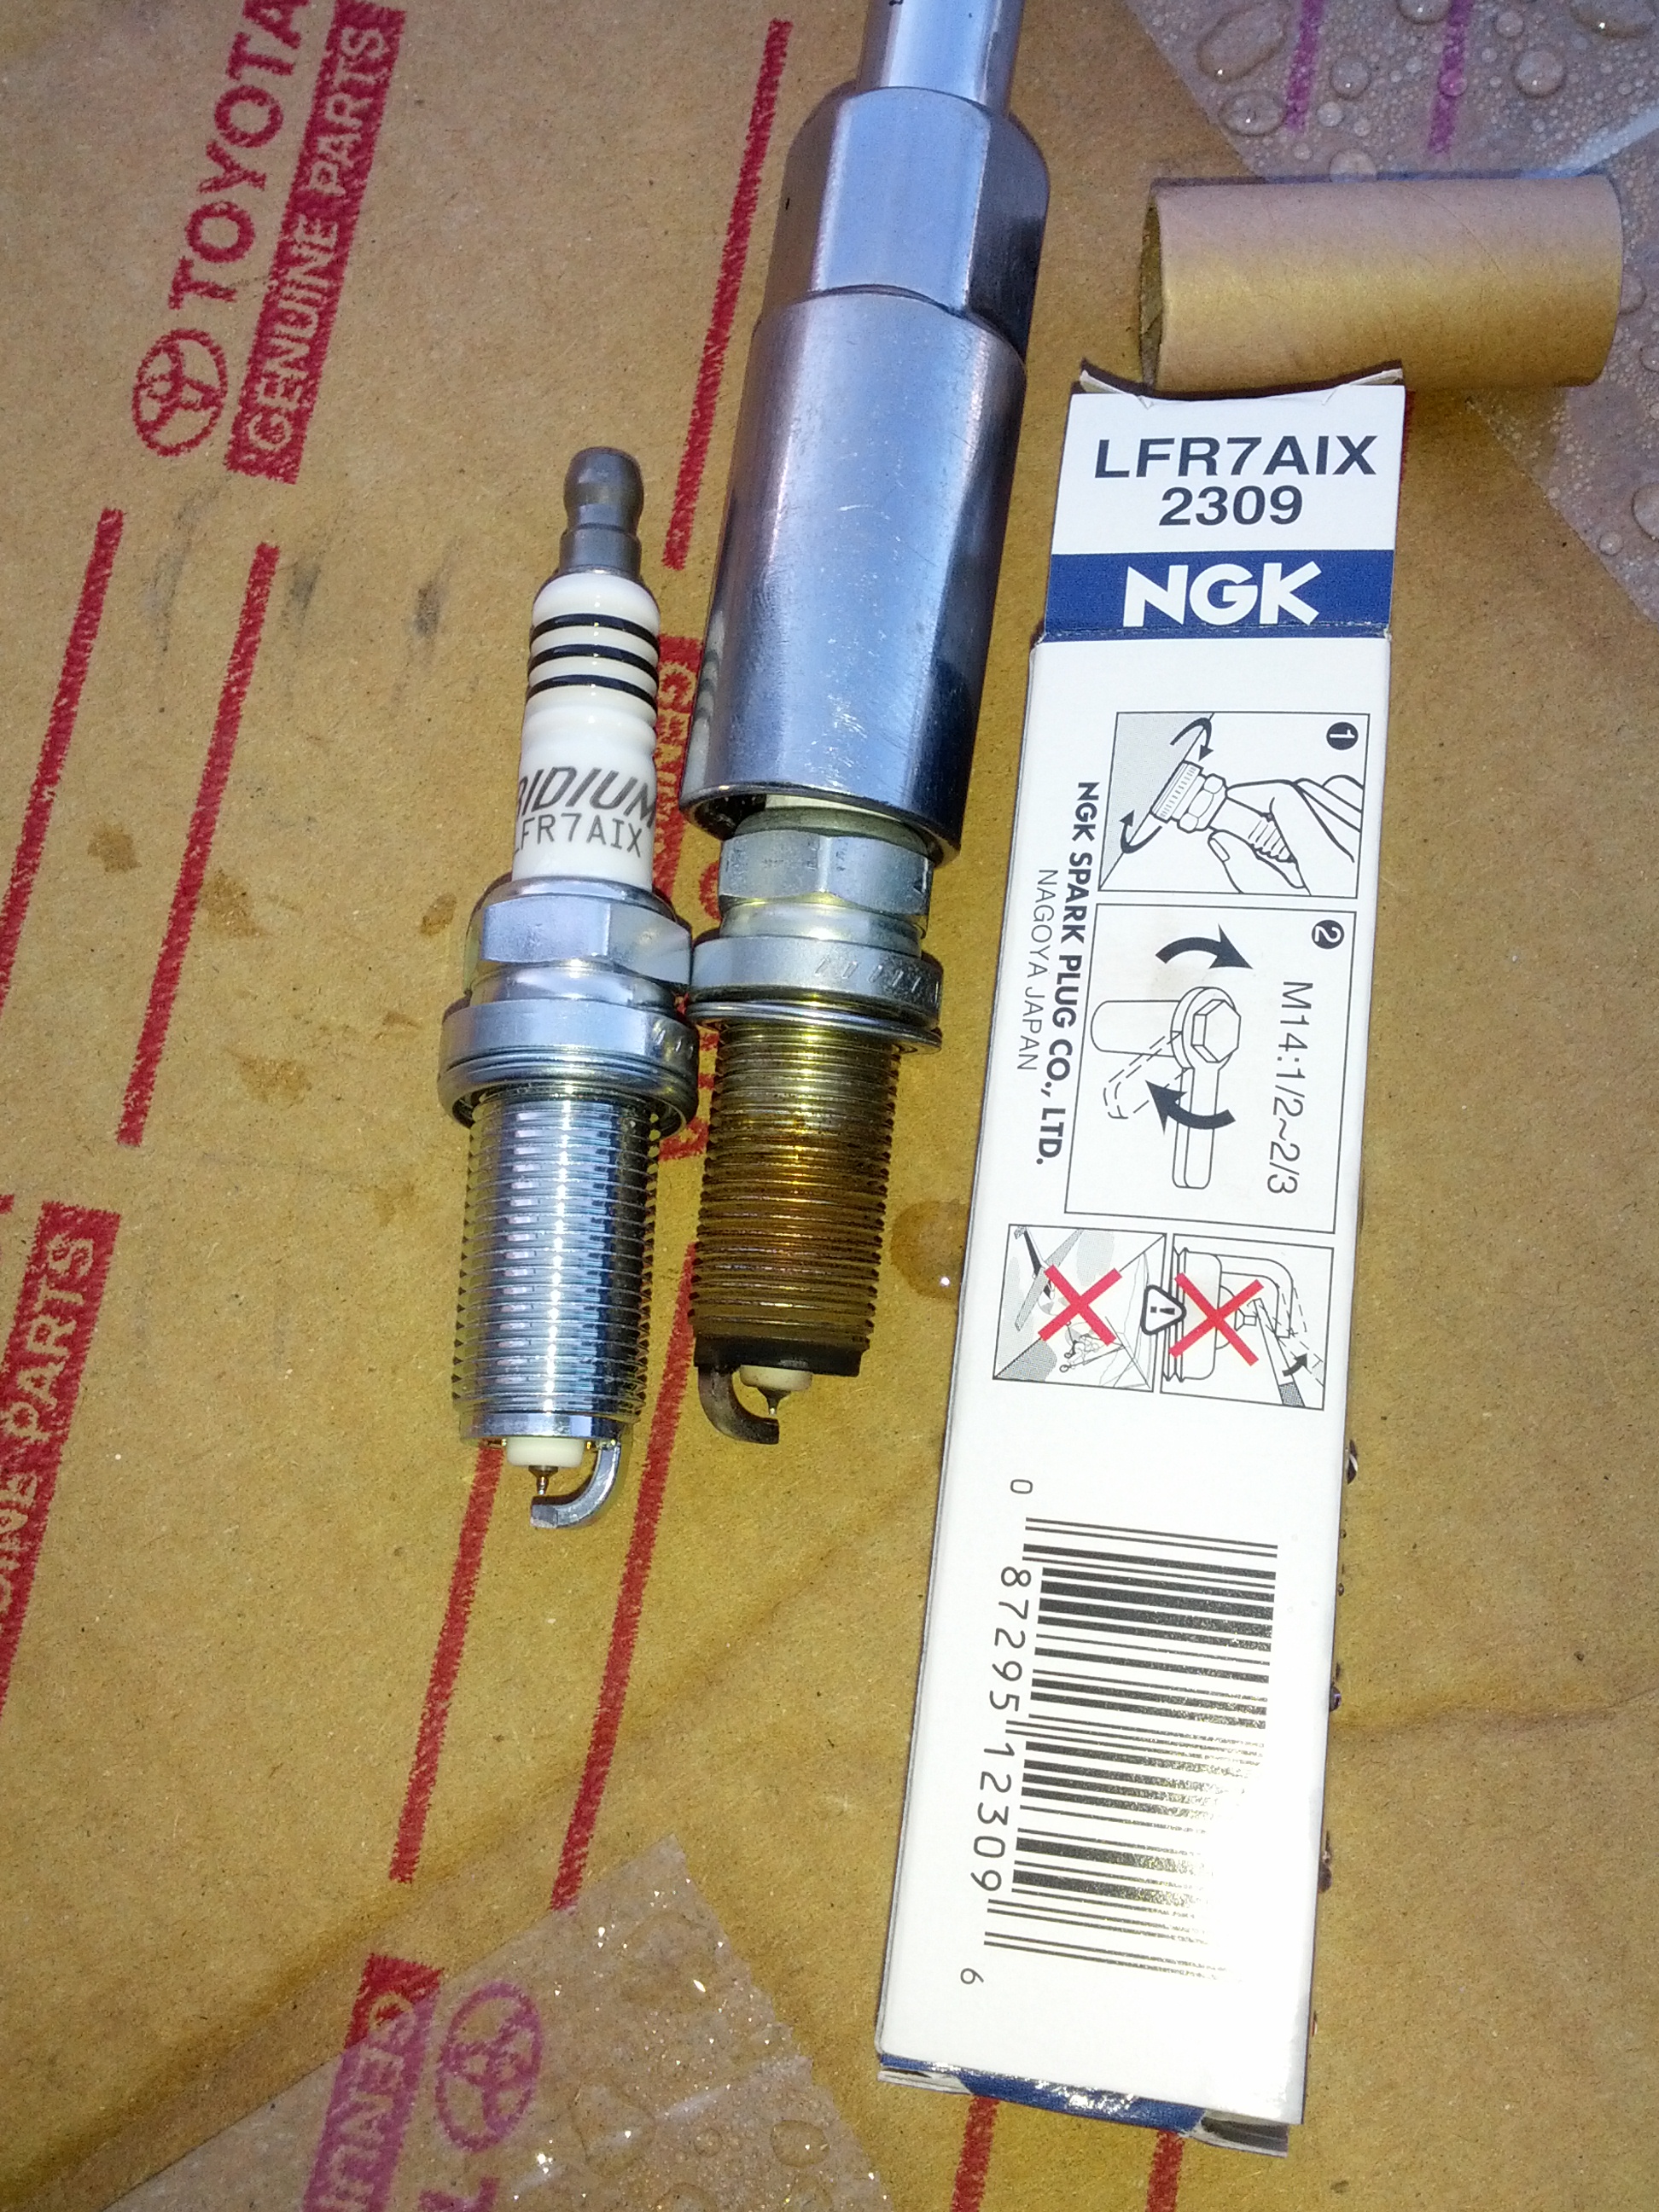
At the same time I decided to do the spark plugs, I settled for LFR7AIX (one range colder, iridium). Note: unlike previous EJ20, EJ207 (at least on WRX STI) has long reach spark plugs!
Now to the process (it was my first time working on STI)…
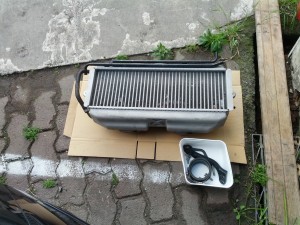
Intercooler and battery out:
Remove BOV:
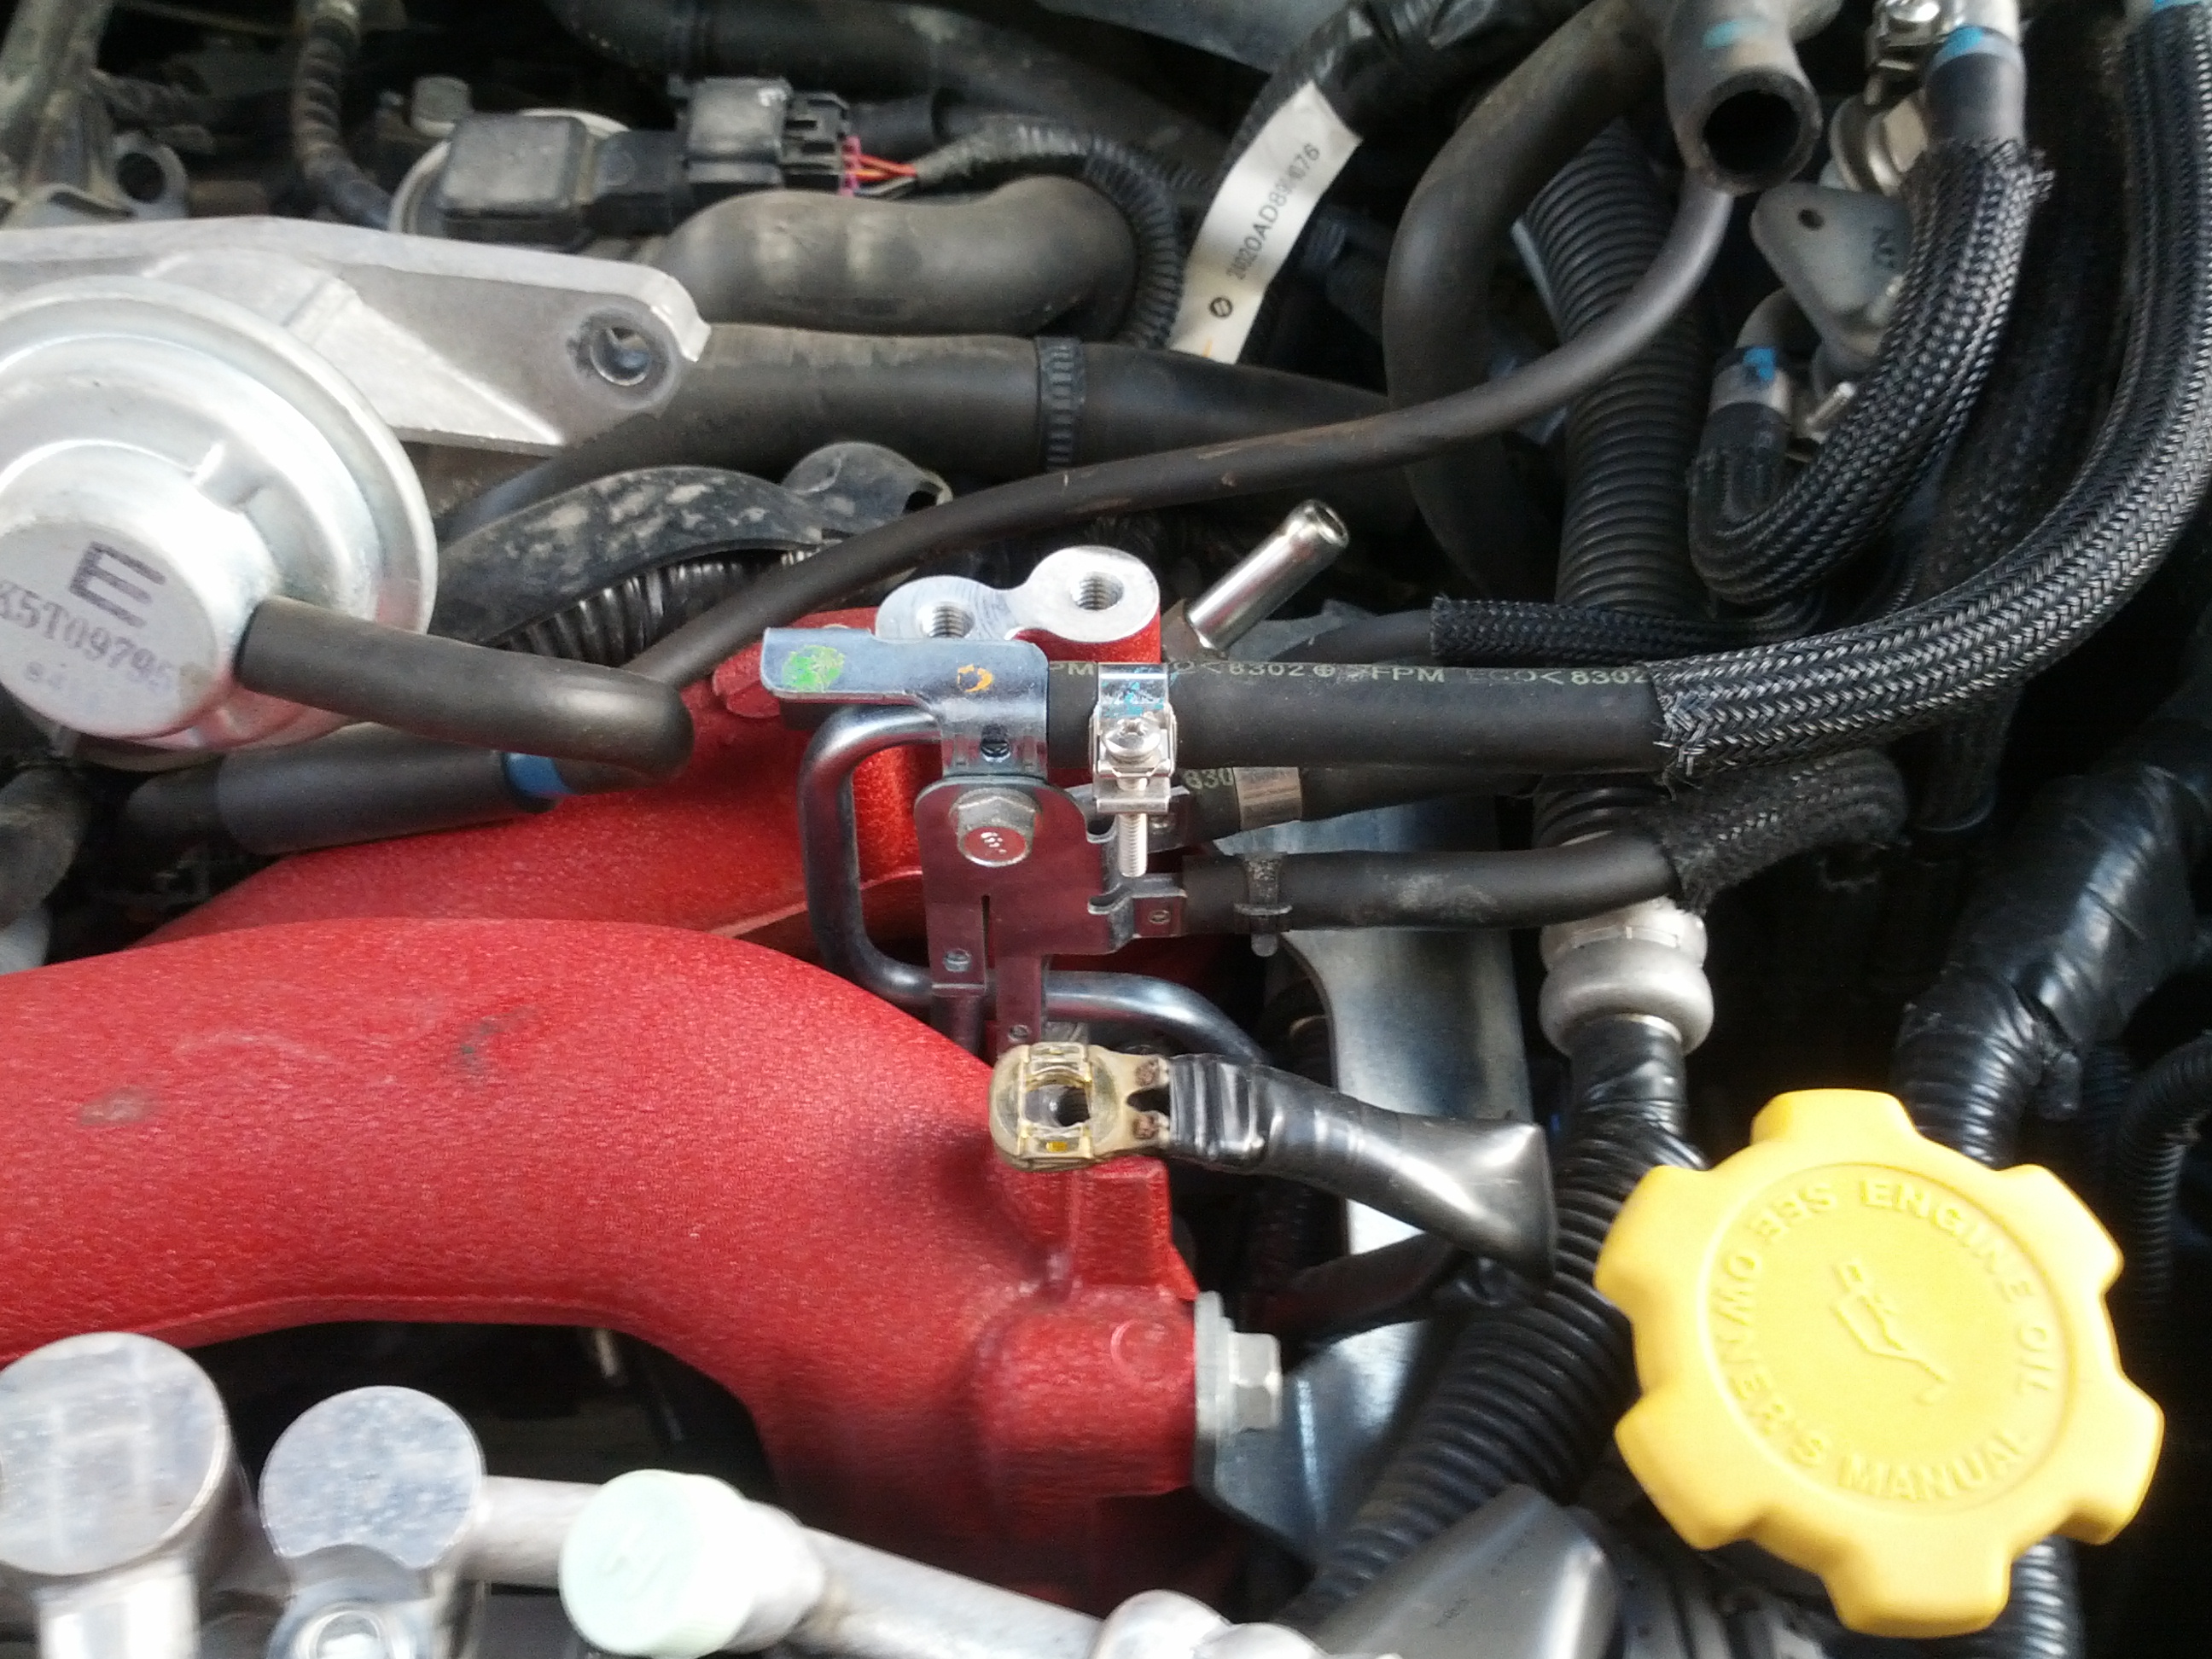
Remove earth lead and fuel lines:


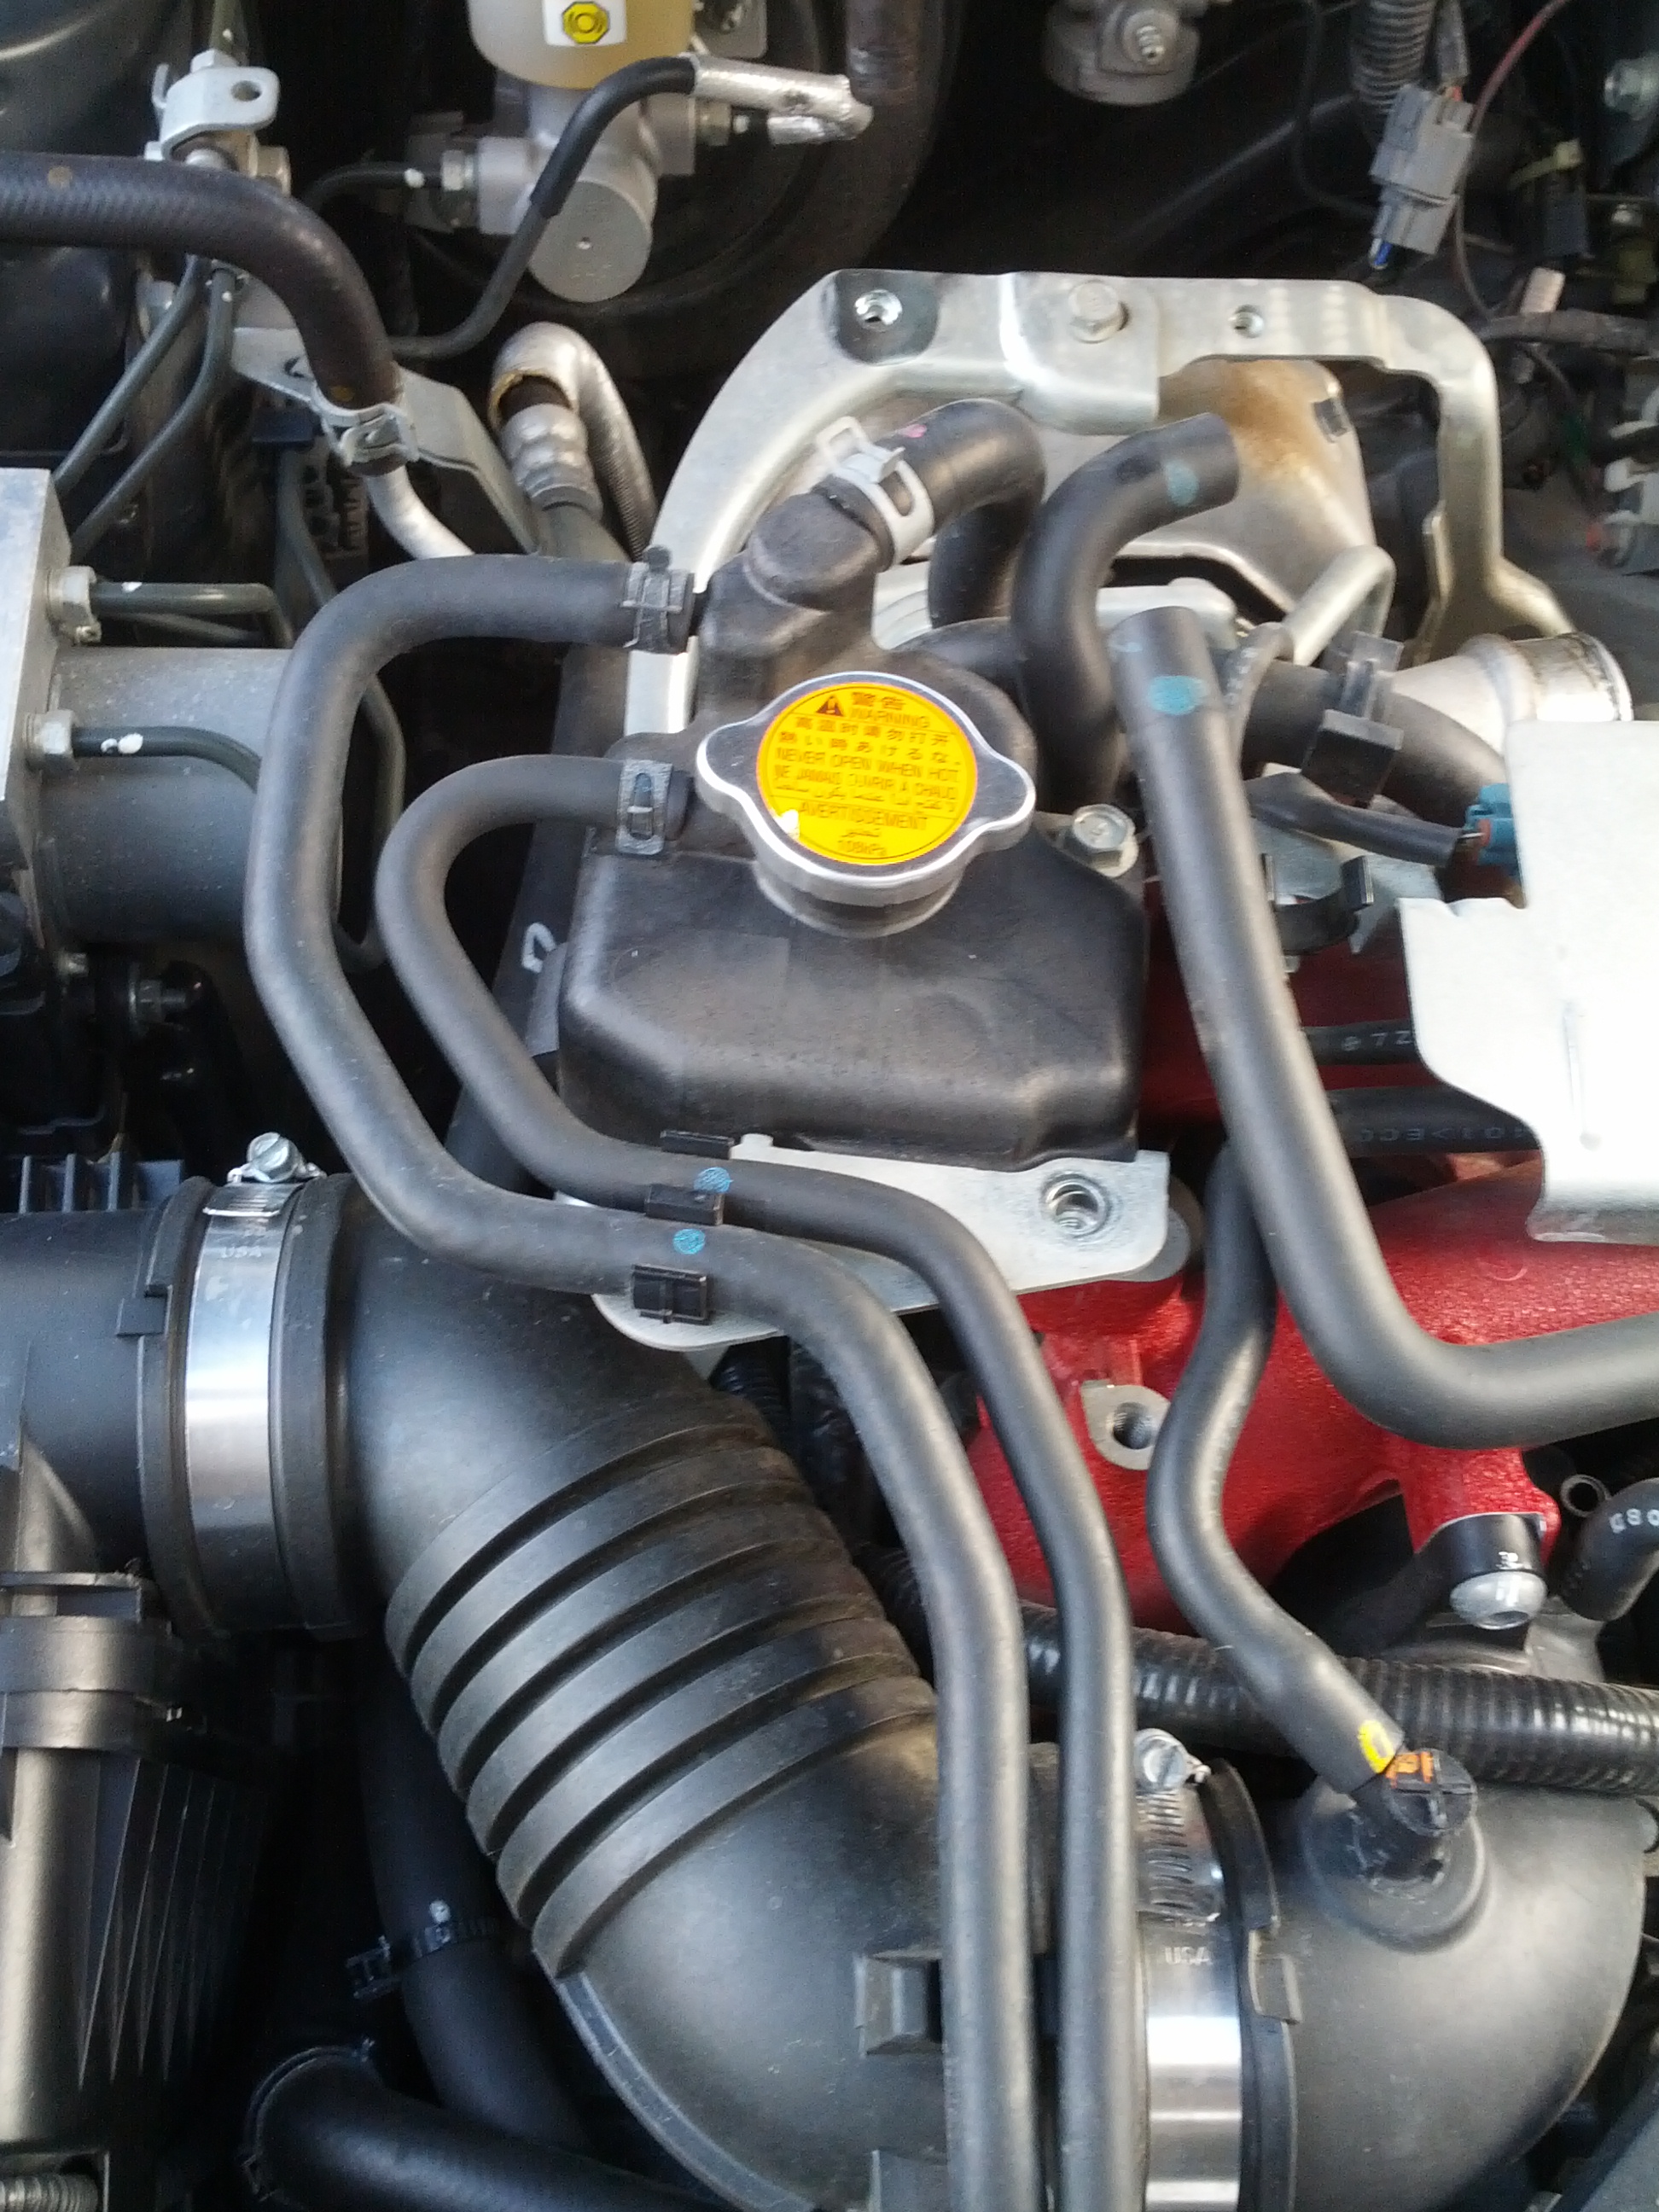
Remove coolant bottle:

Remove air pump hoses:
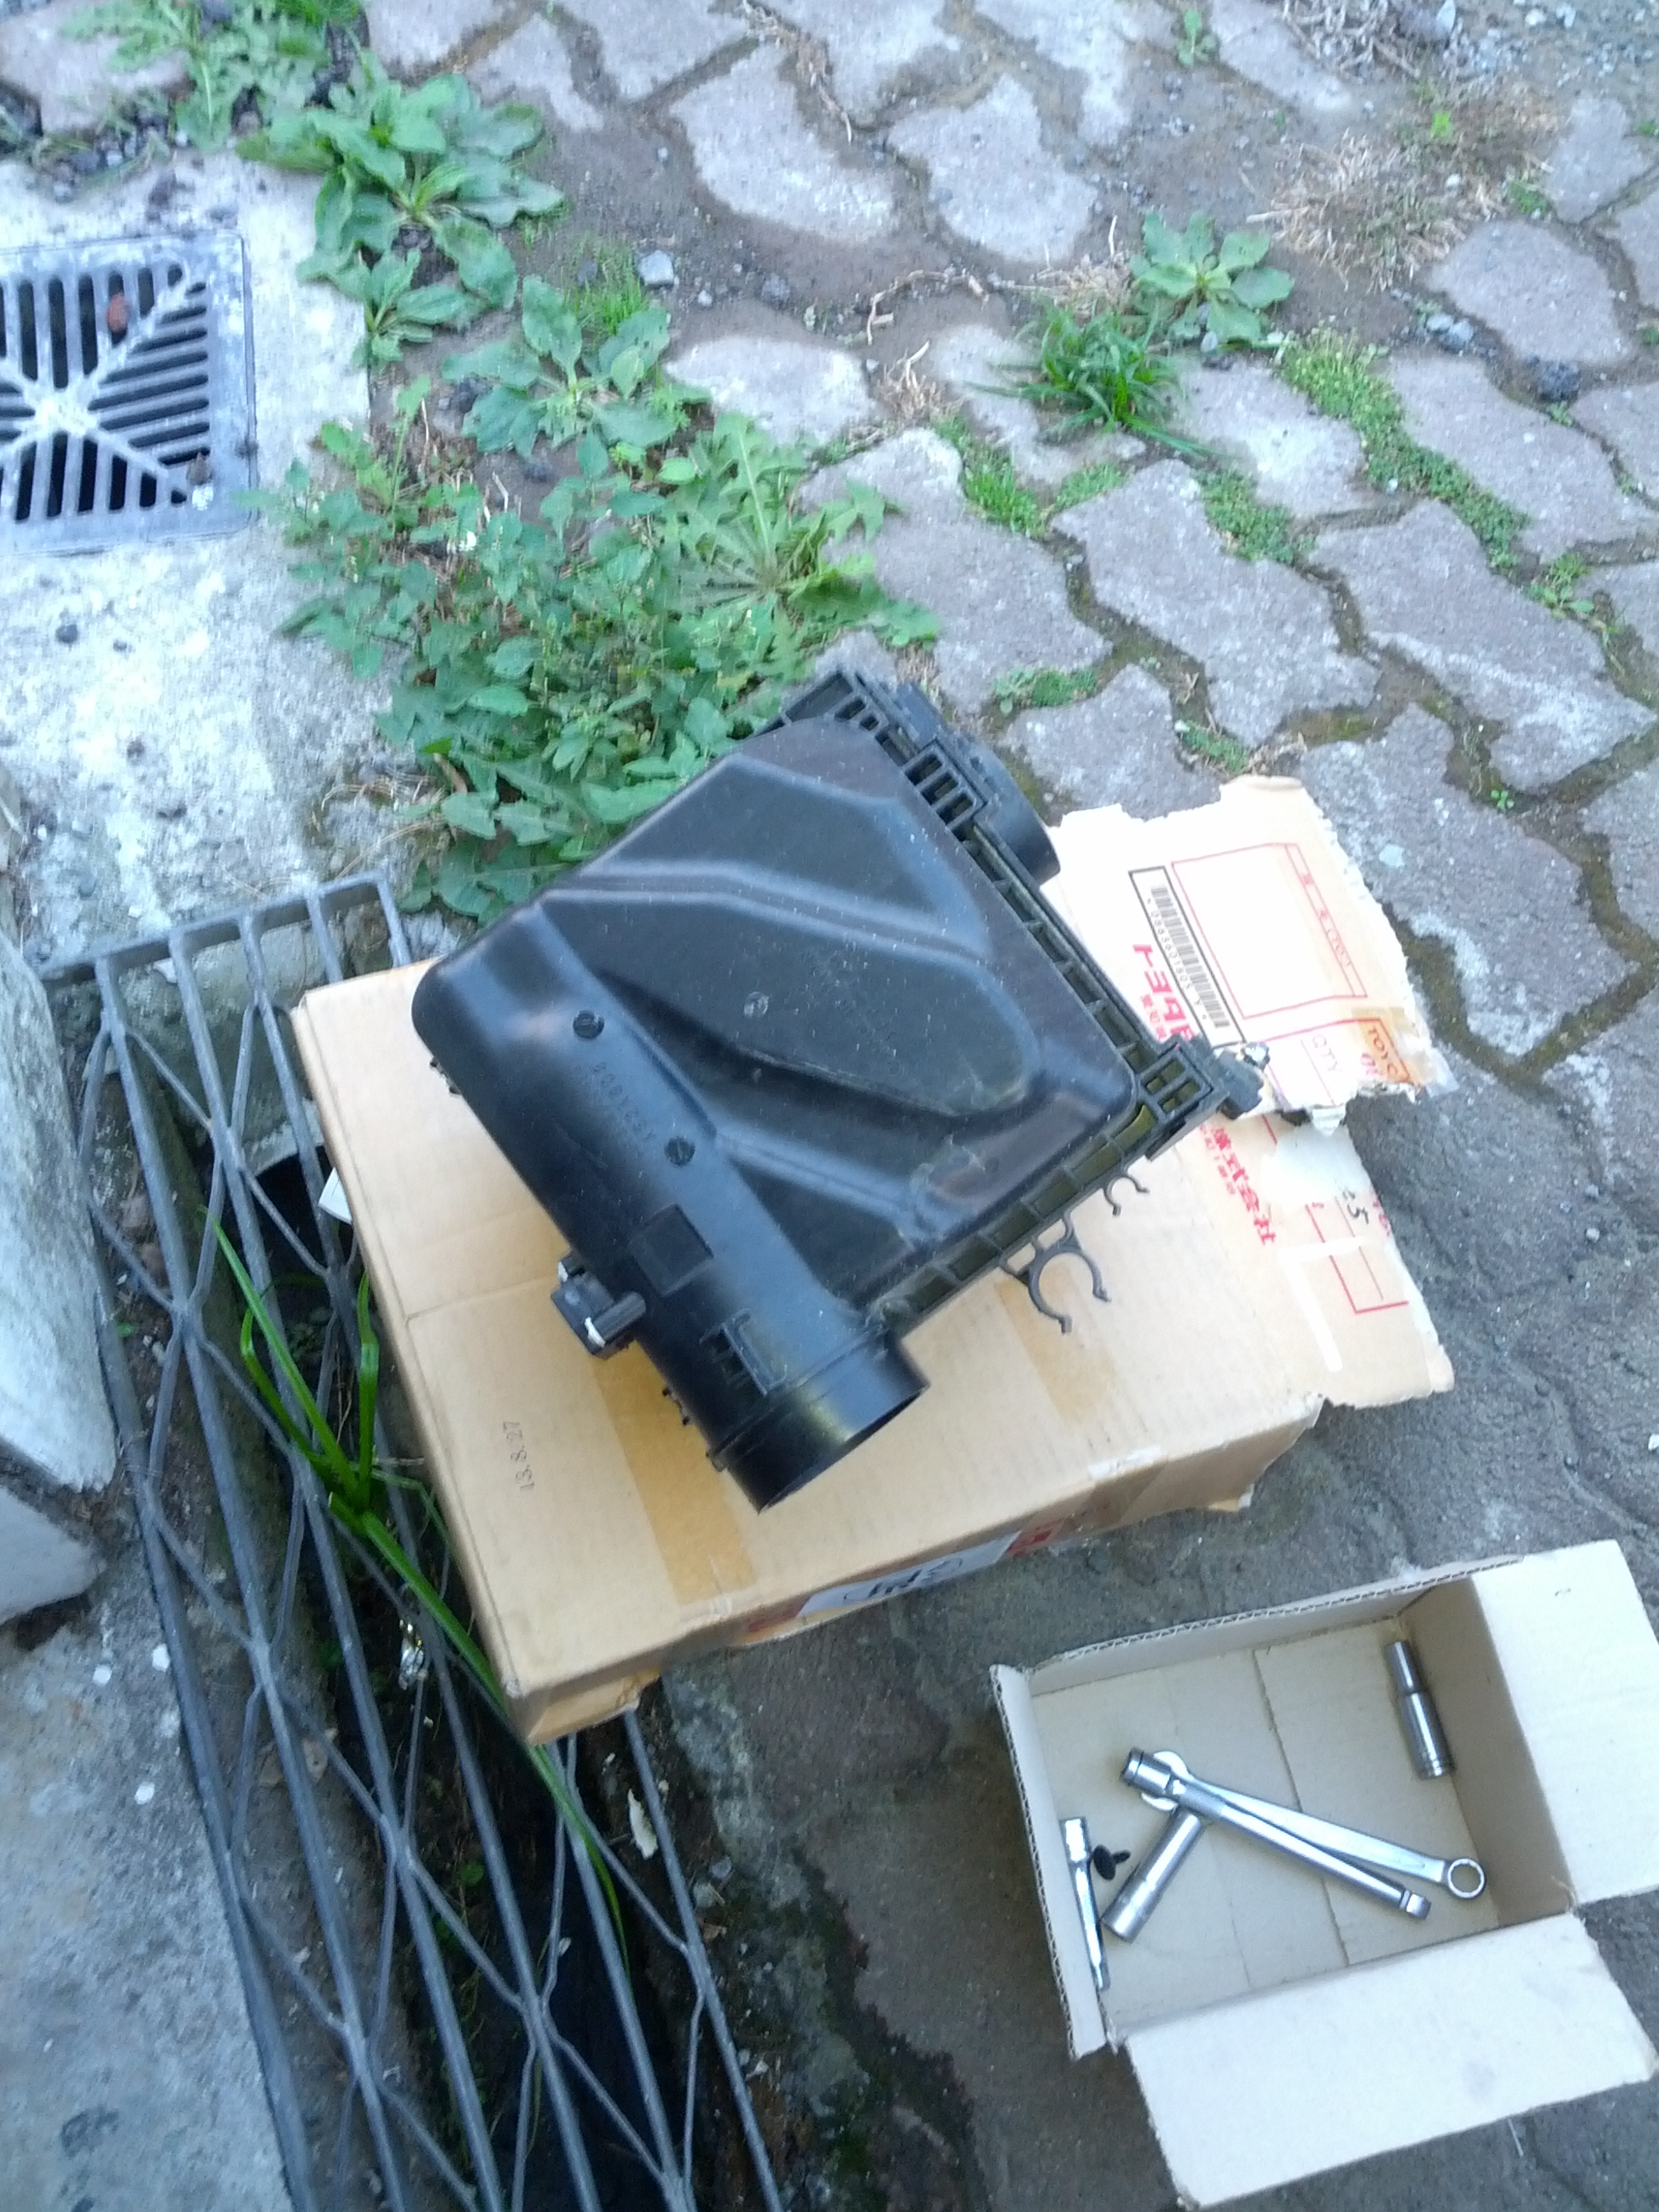
Remove air box:

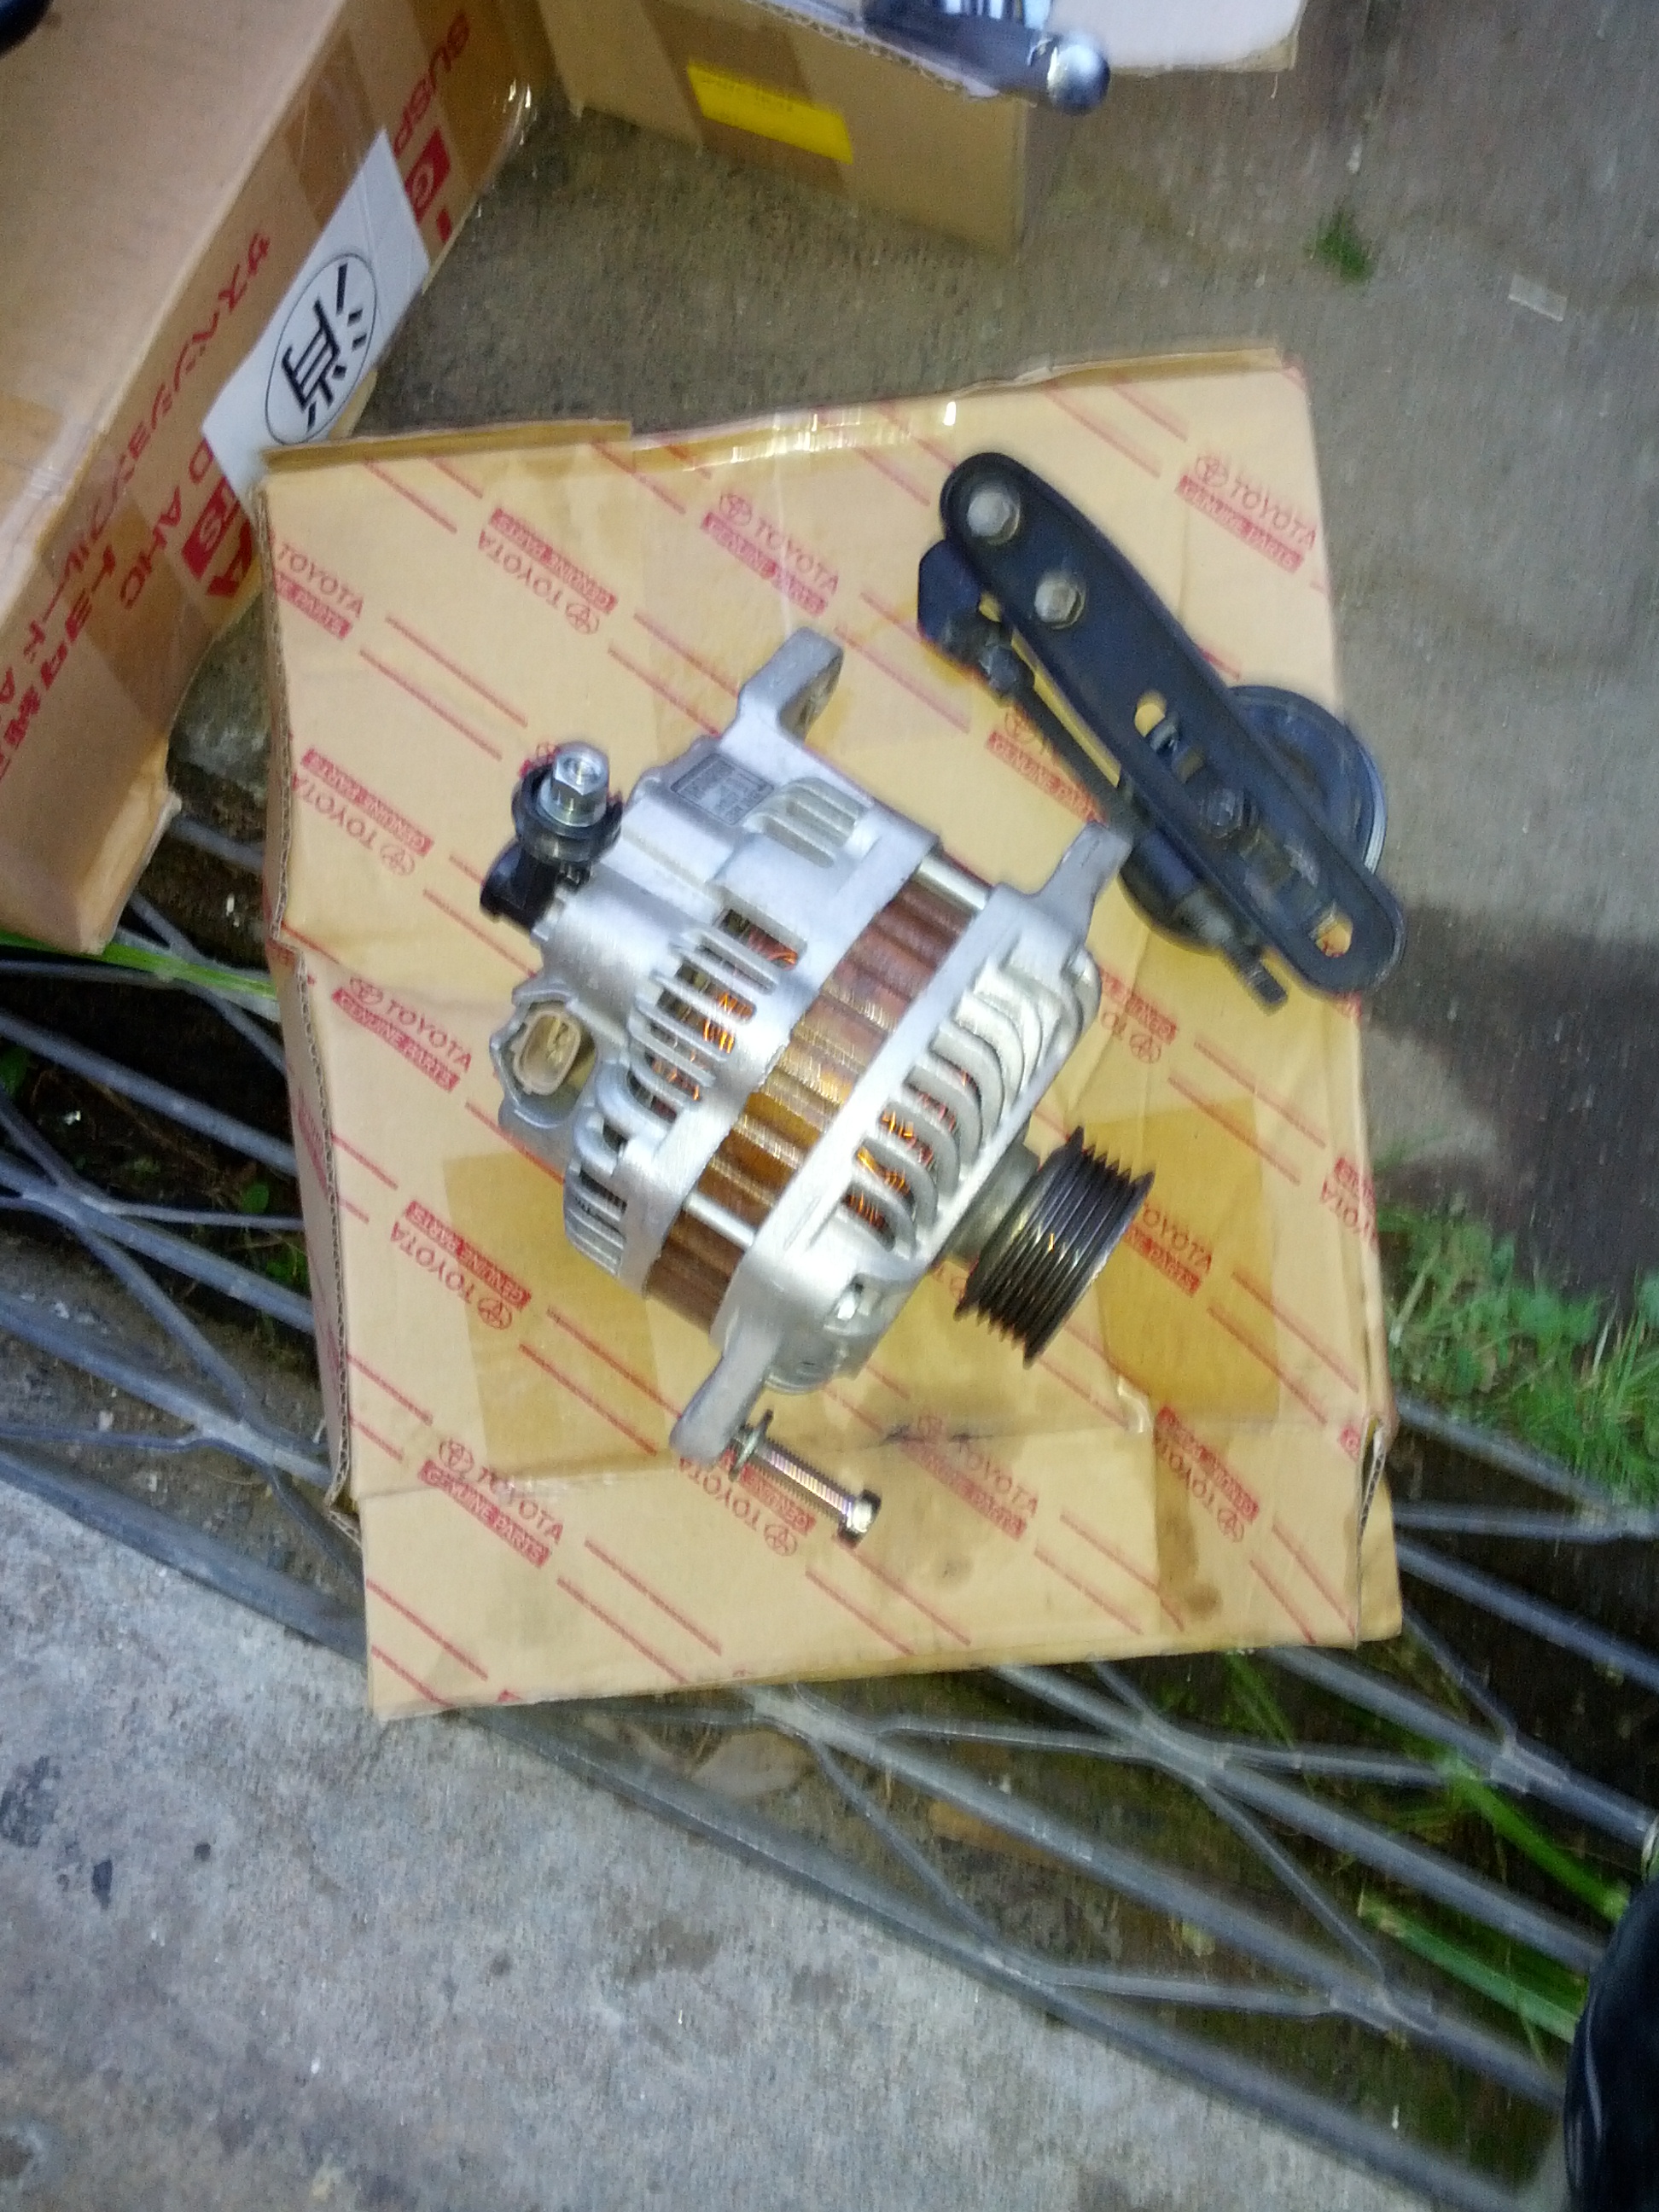
Remove alternator:

Misc:
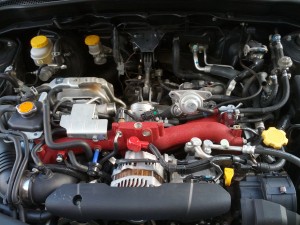
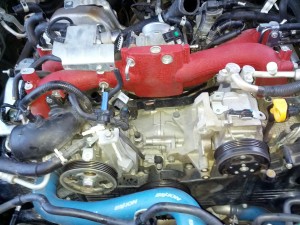
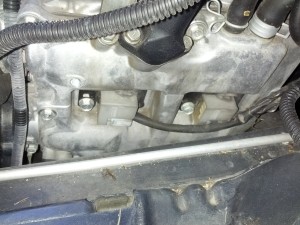
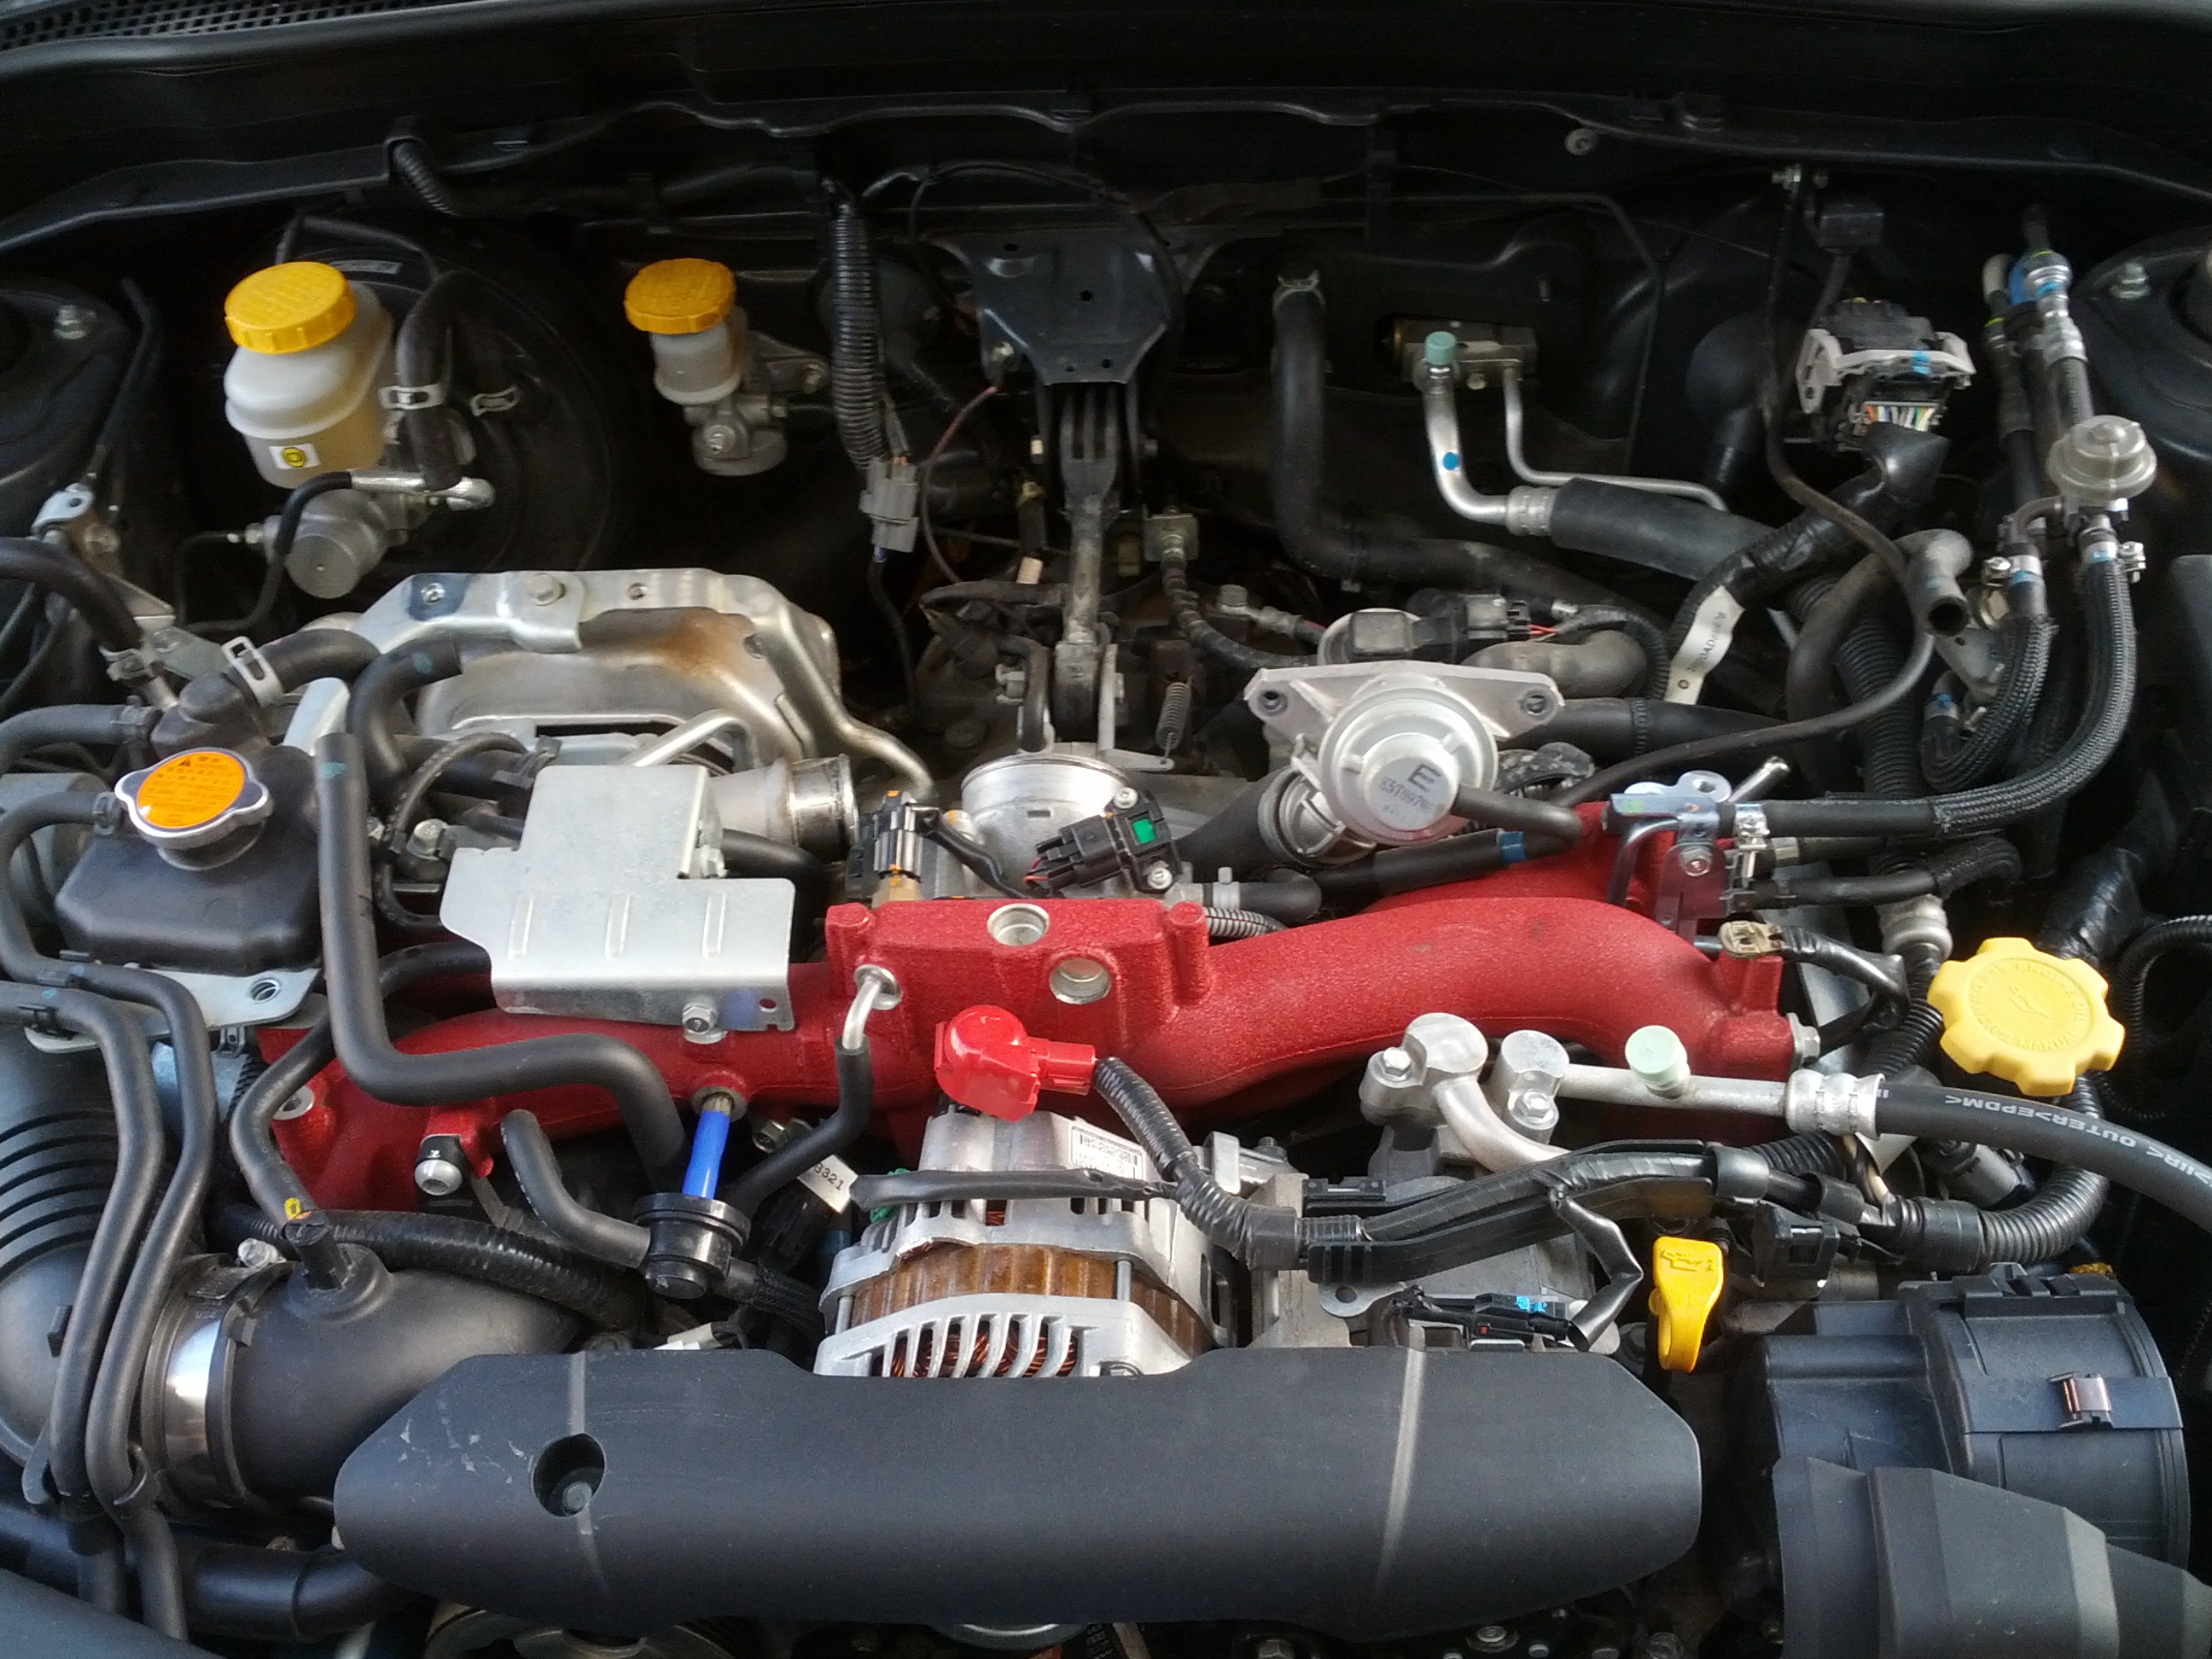
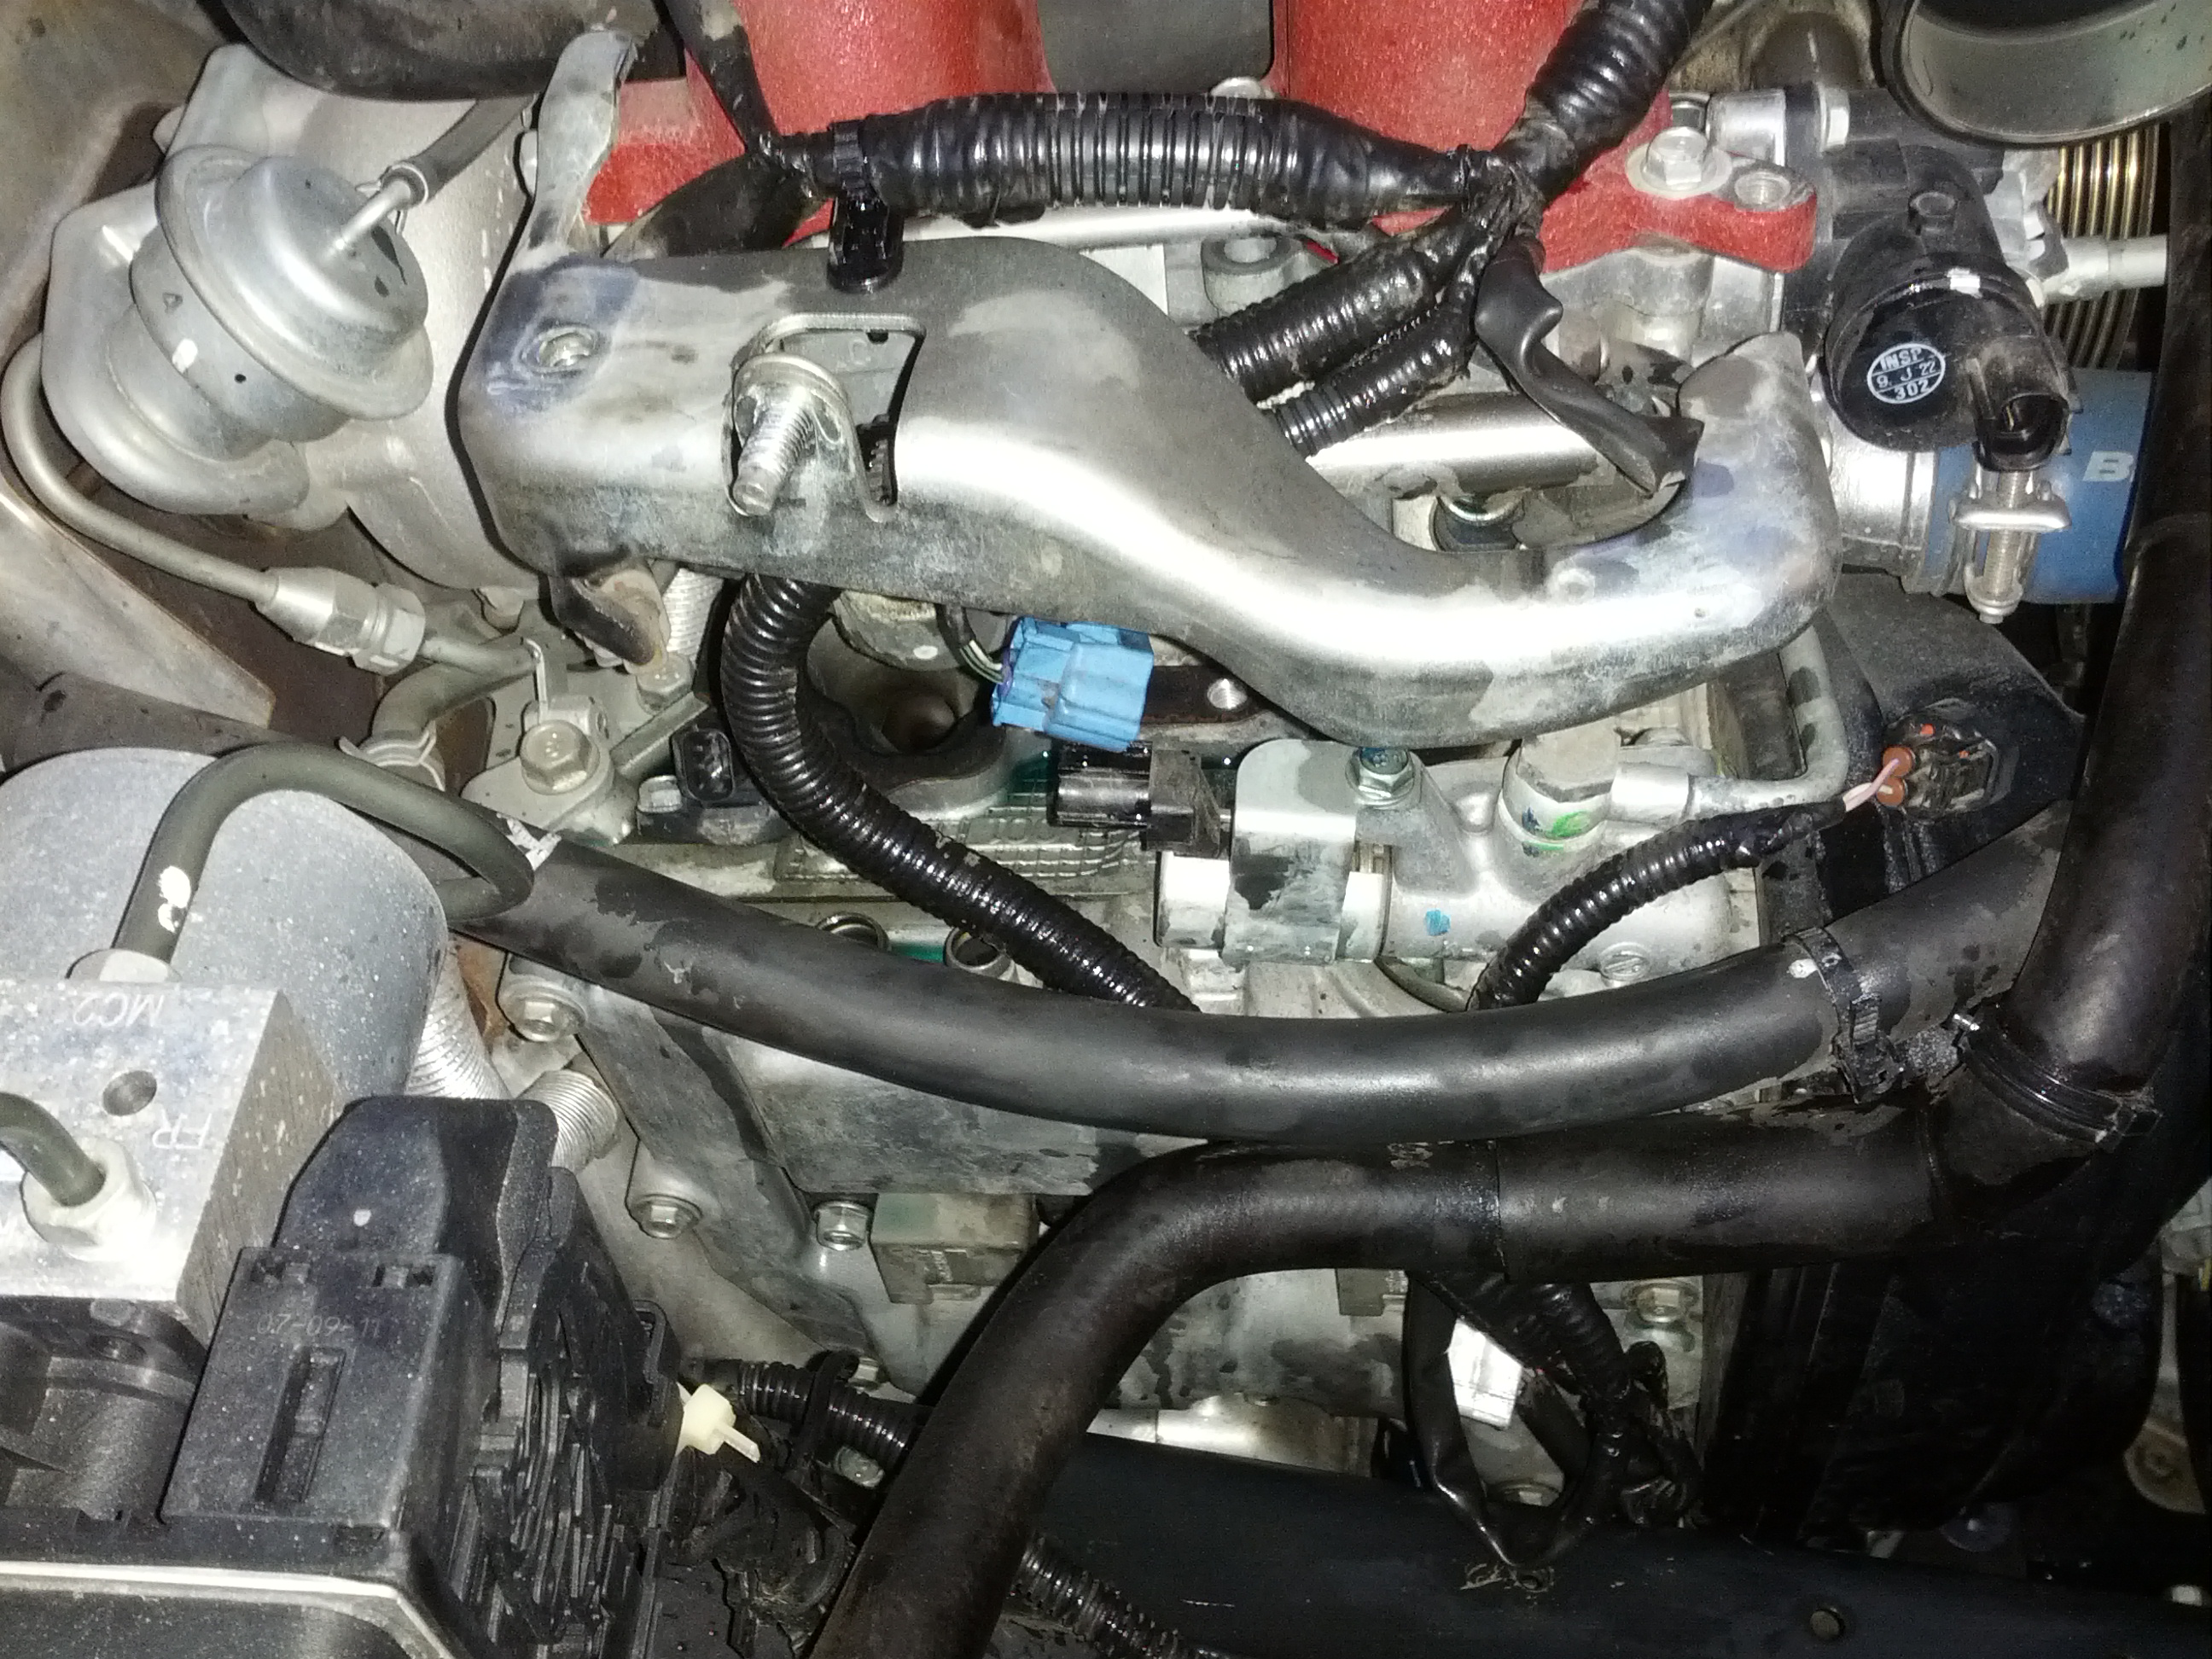
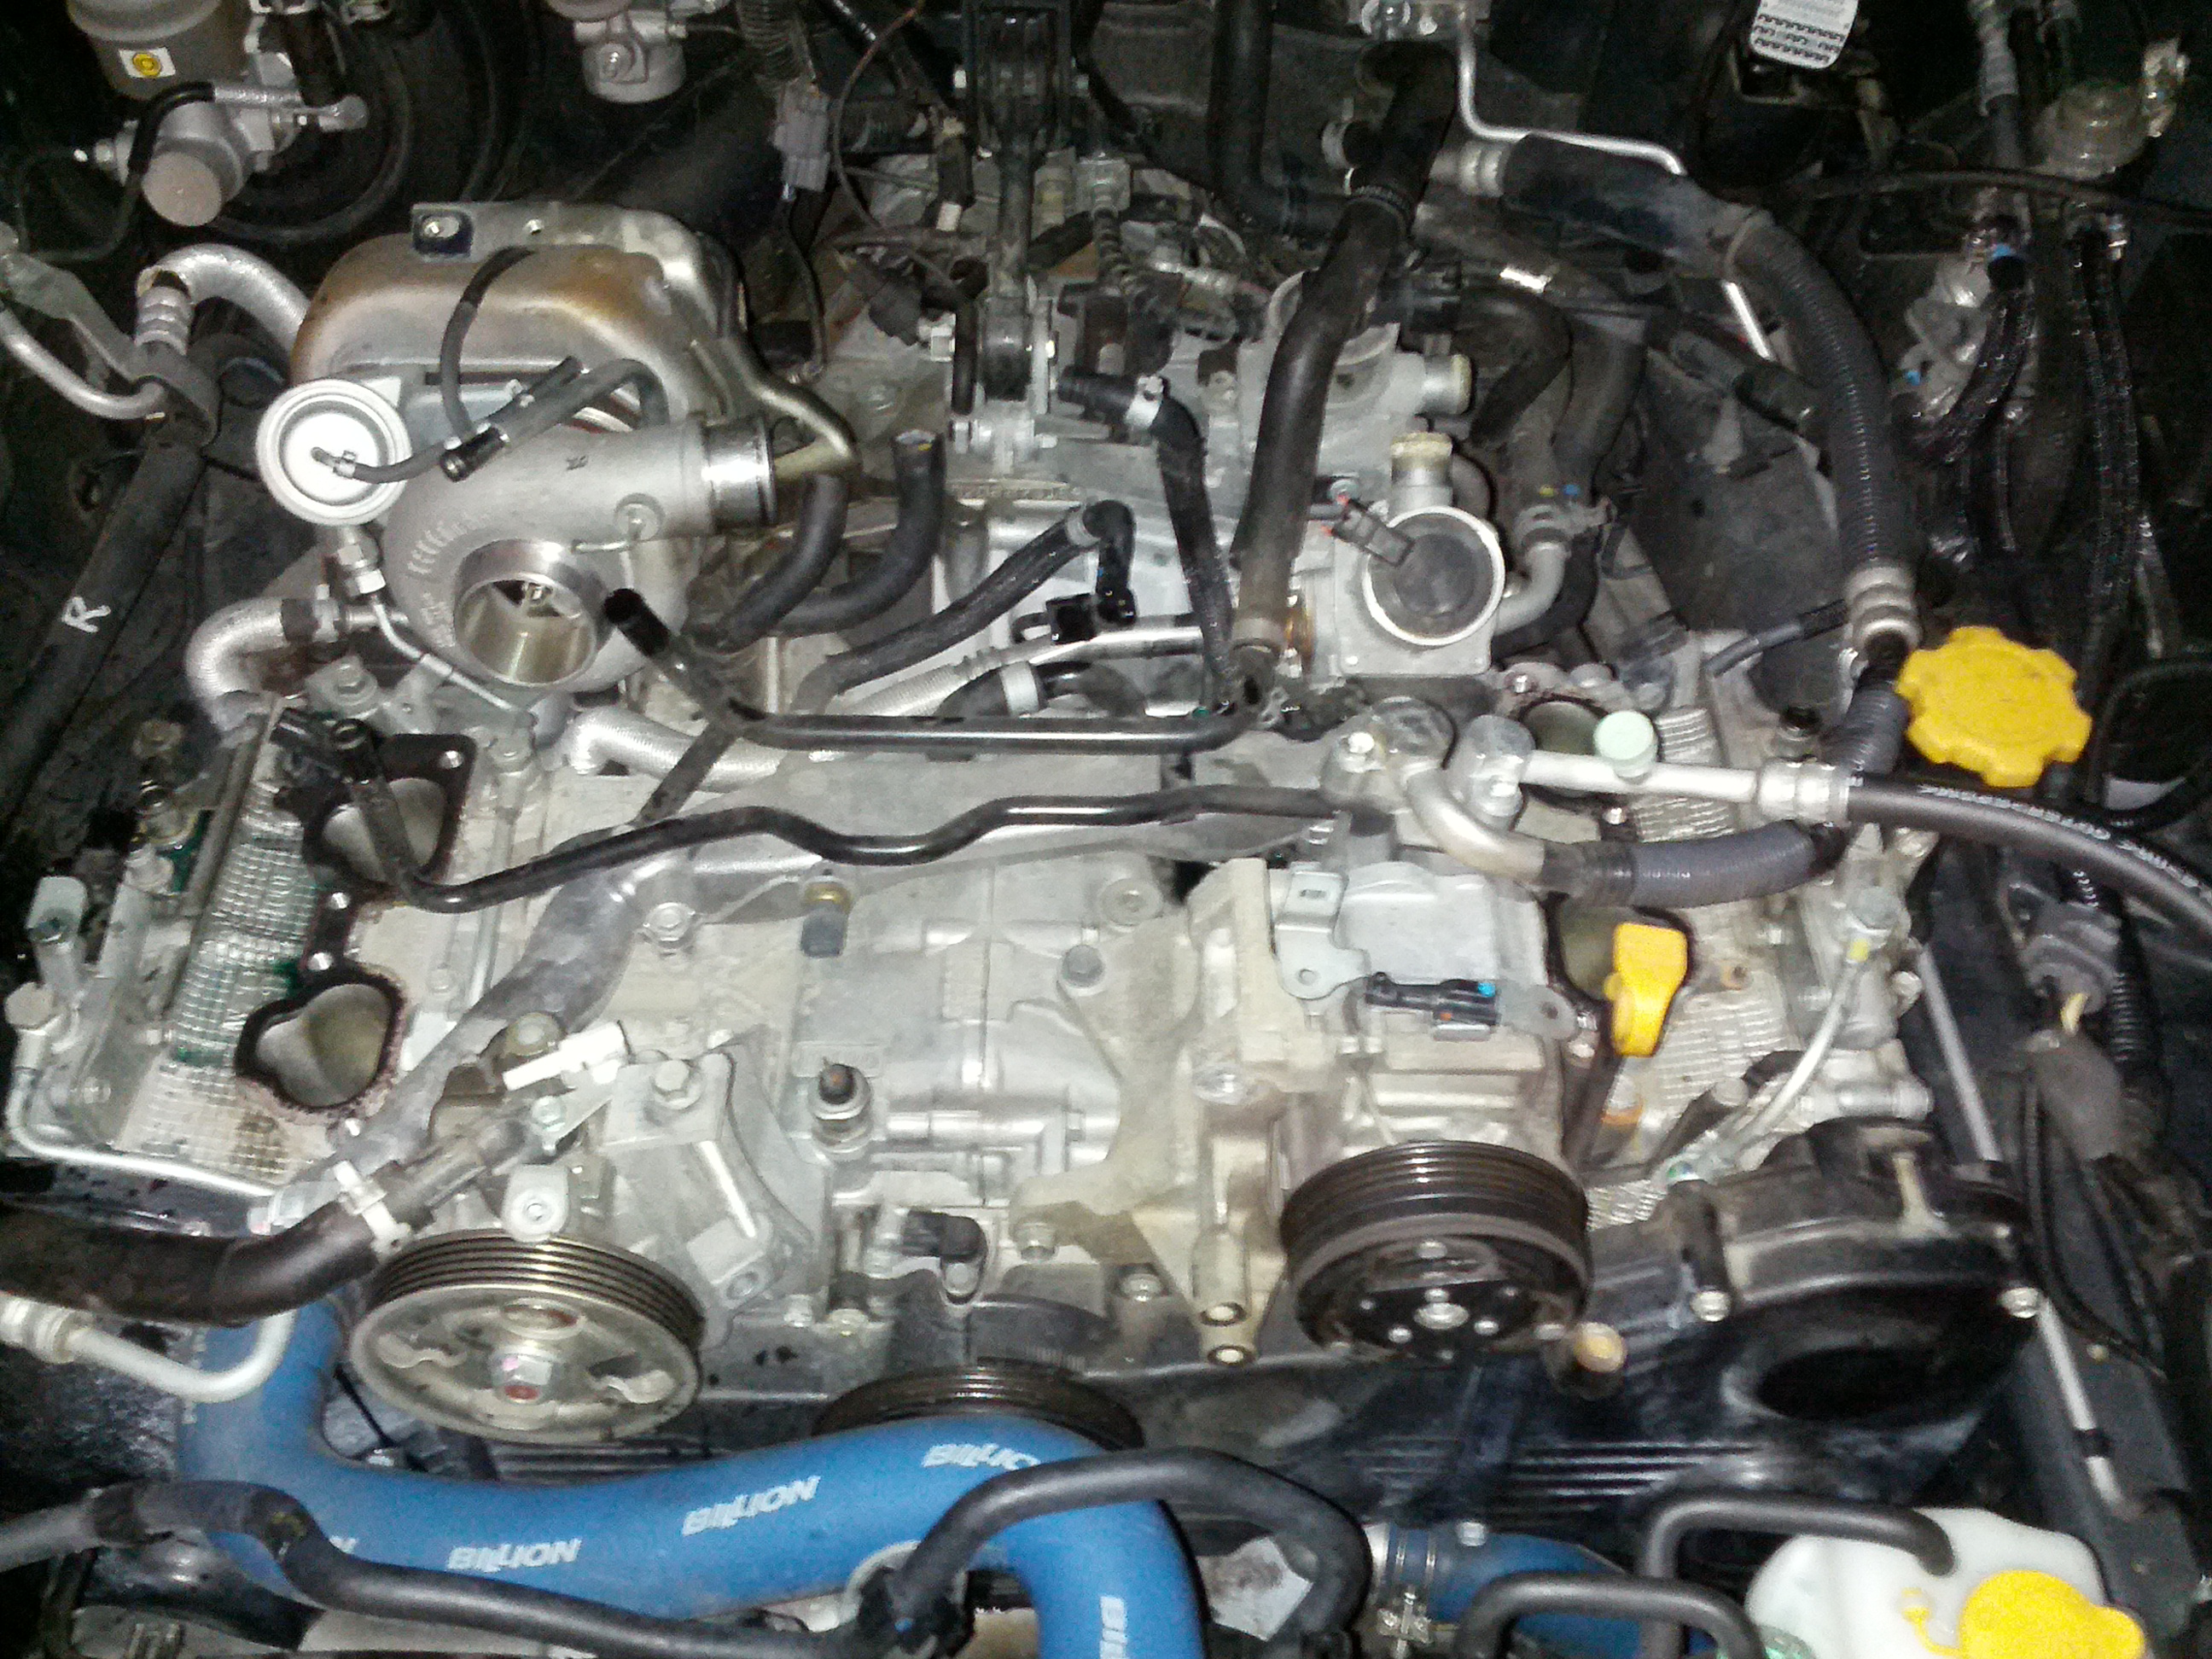
The main loom will need to be disconnected from the plug near firewall, and then after unbolting and unclipping numerous hoses the manifold comes straight up (almost):


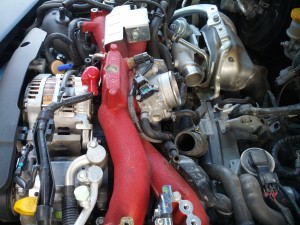
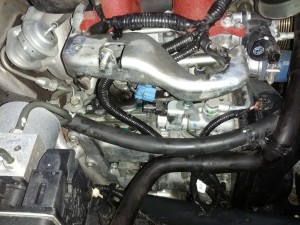
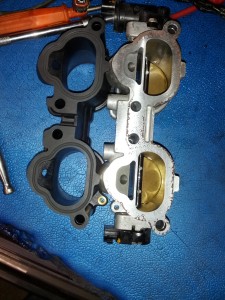
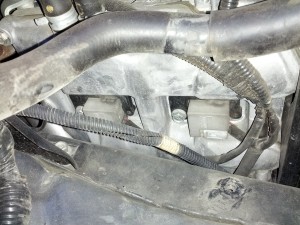
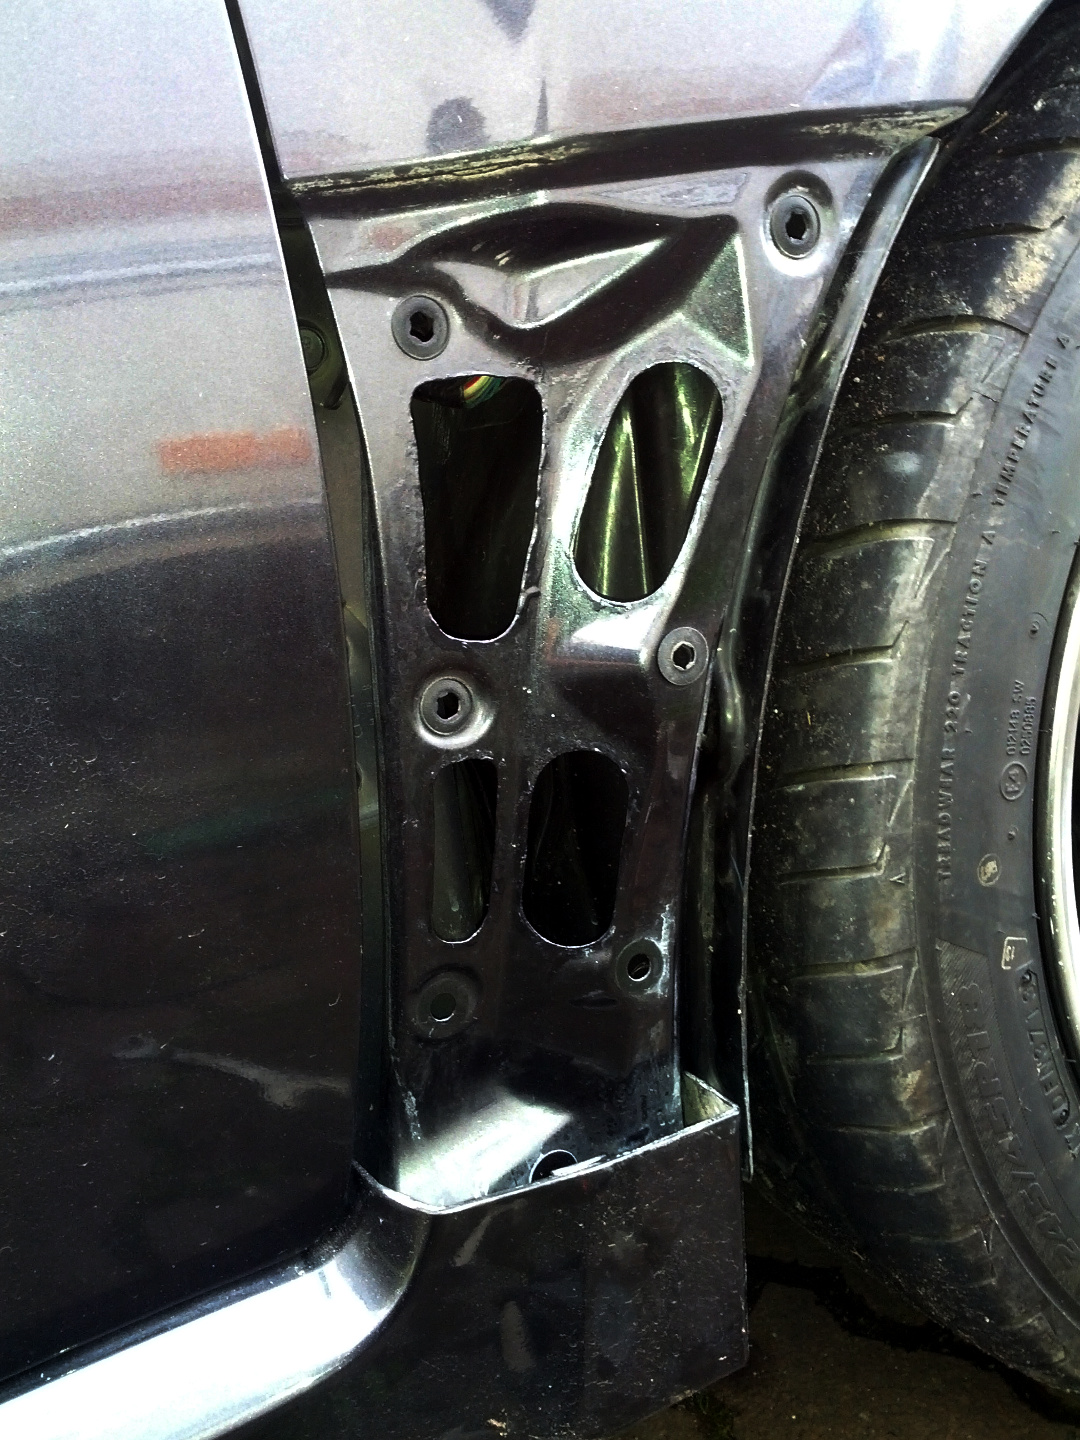
More of TGV:

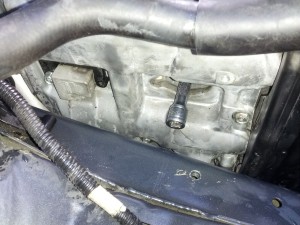
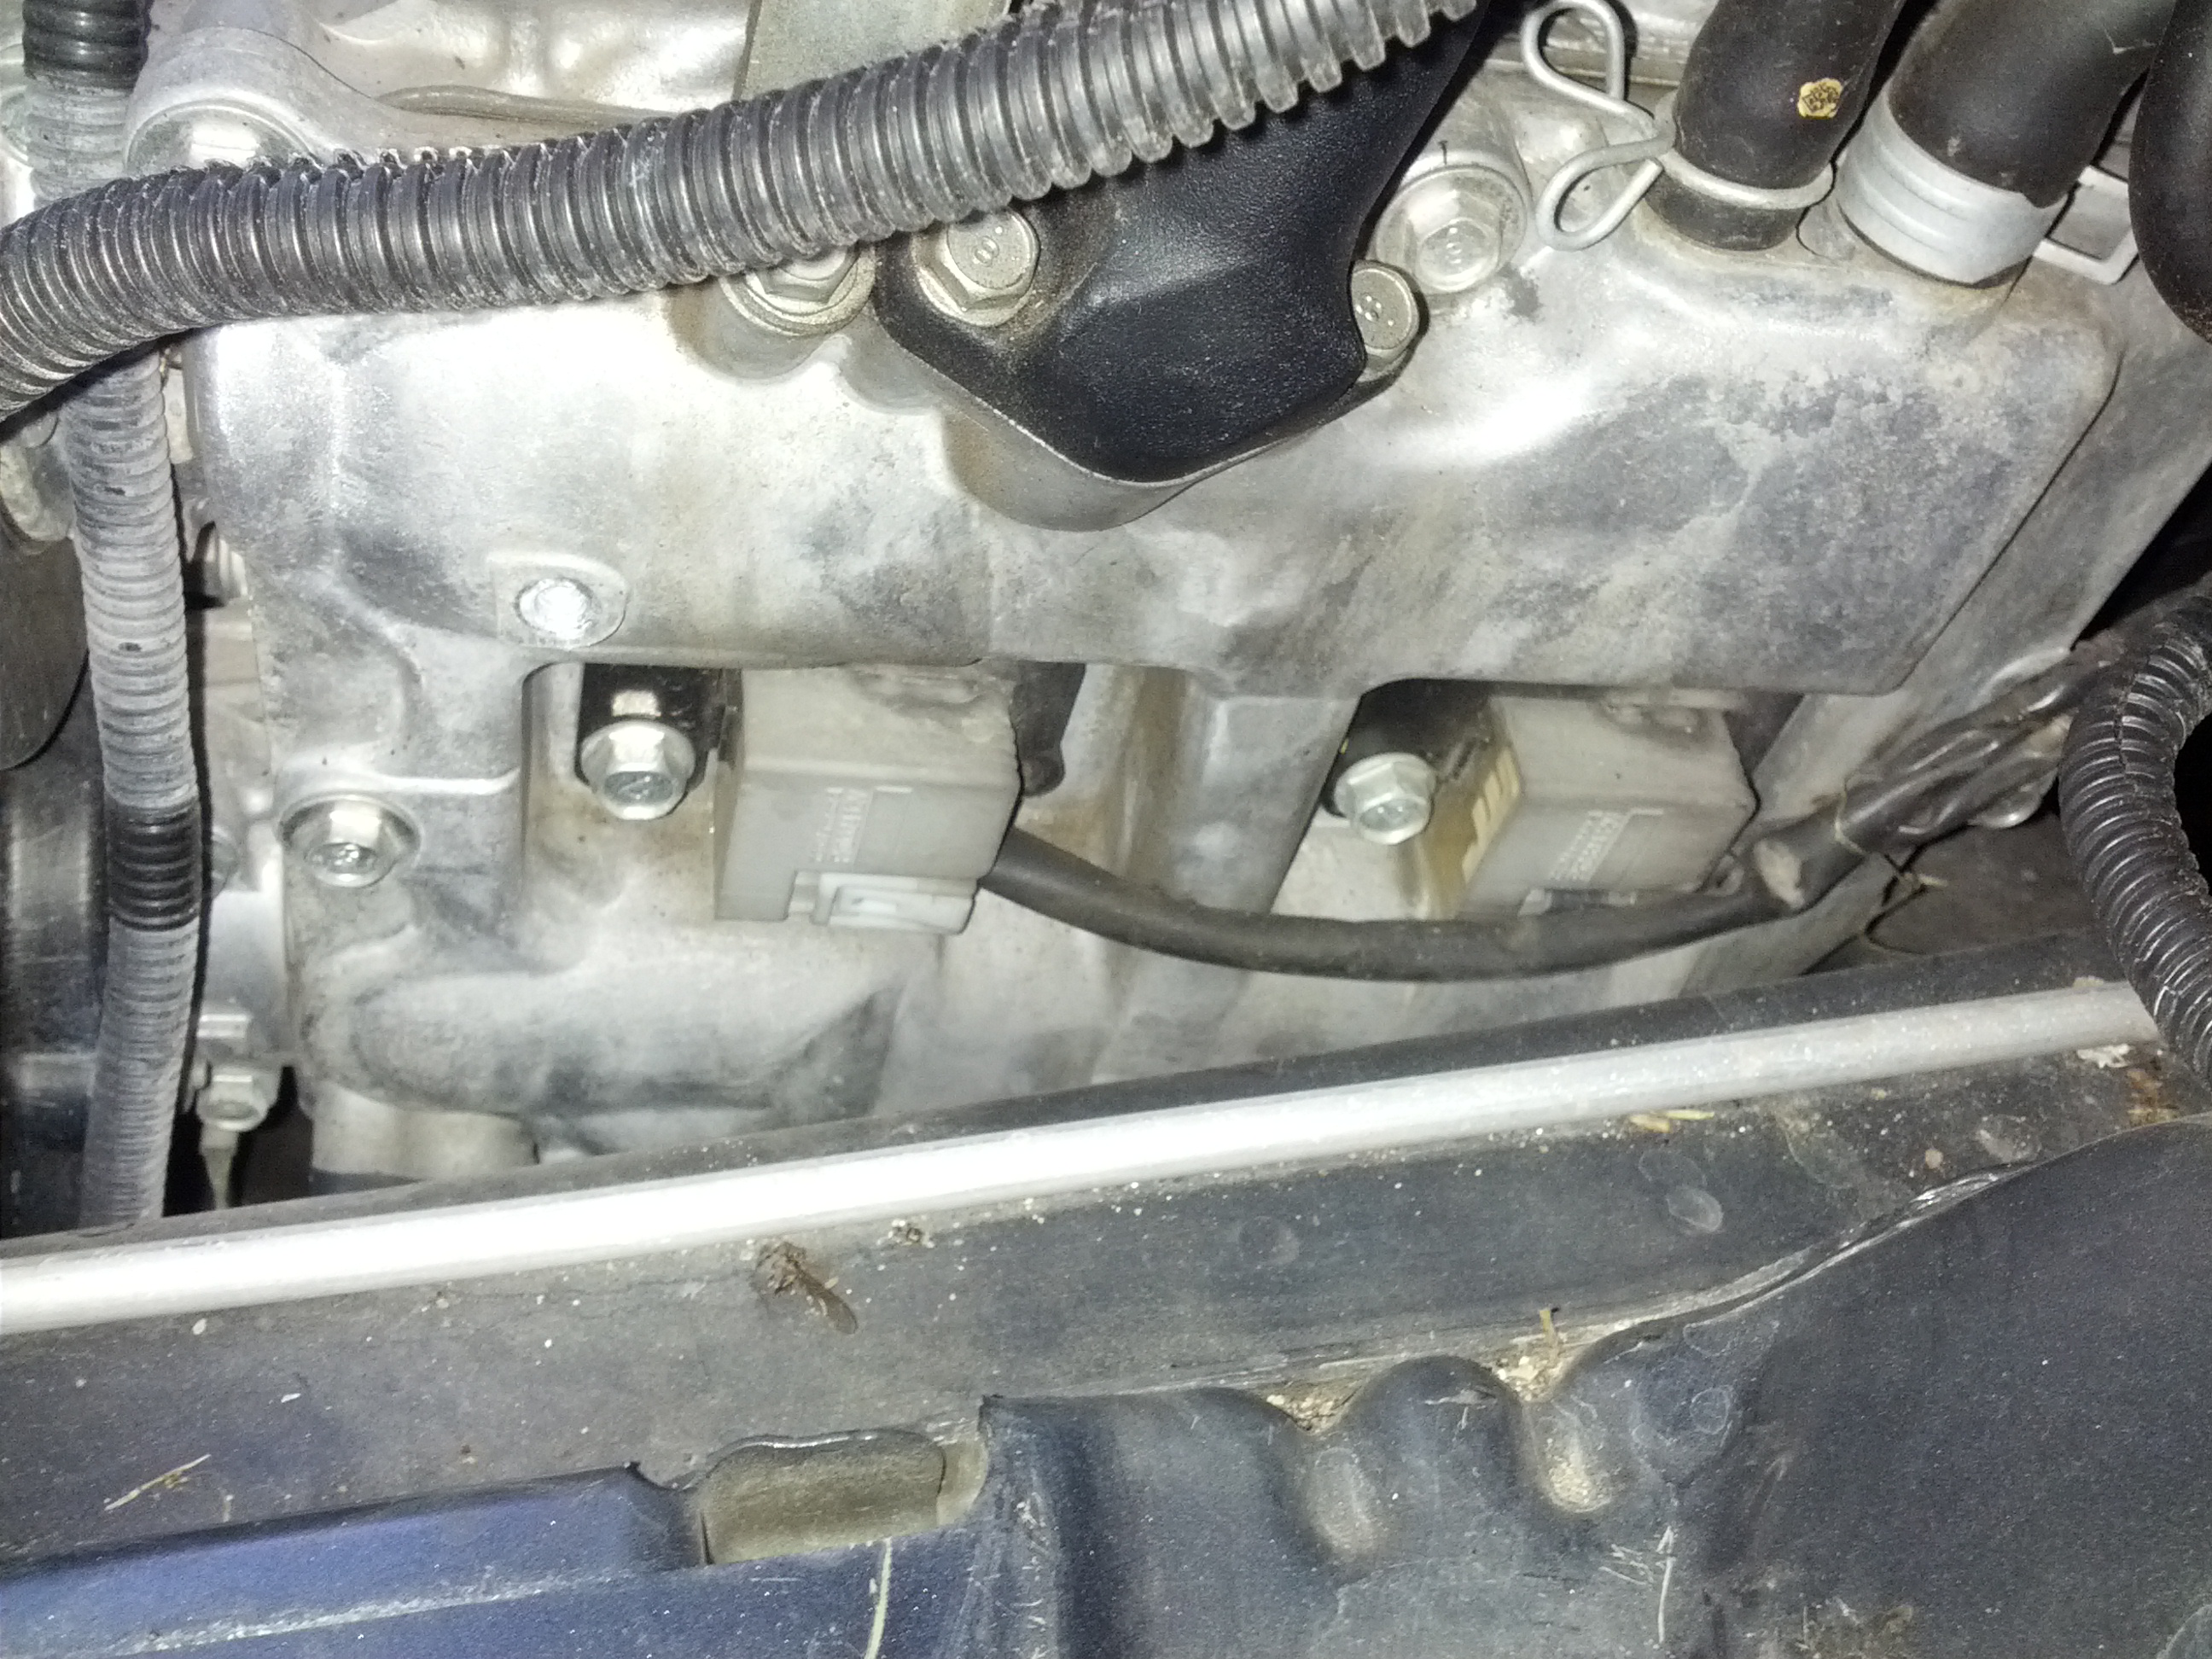
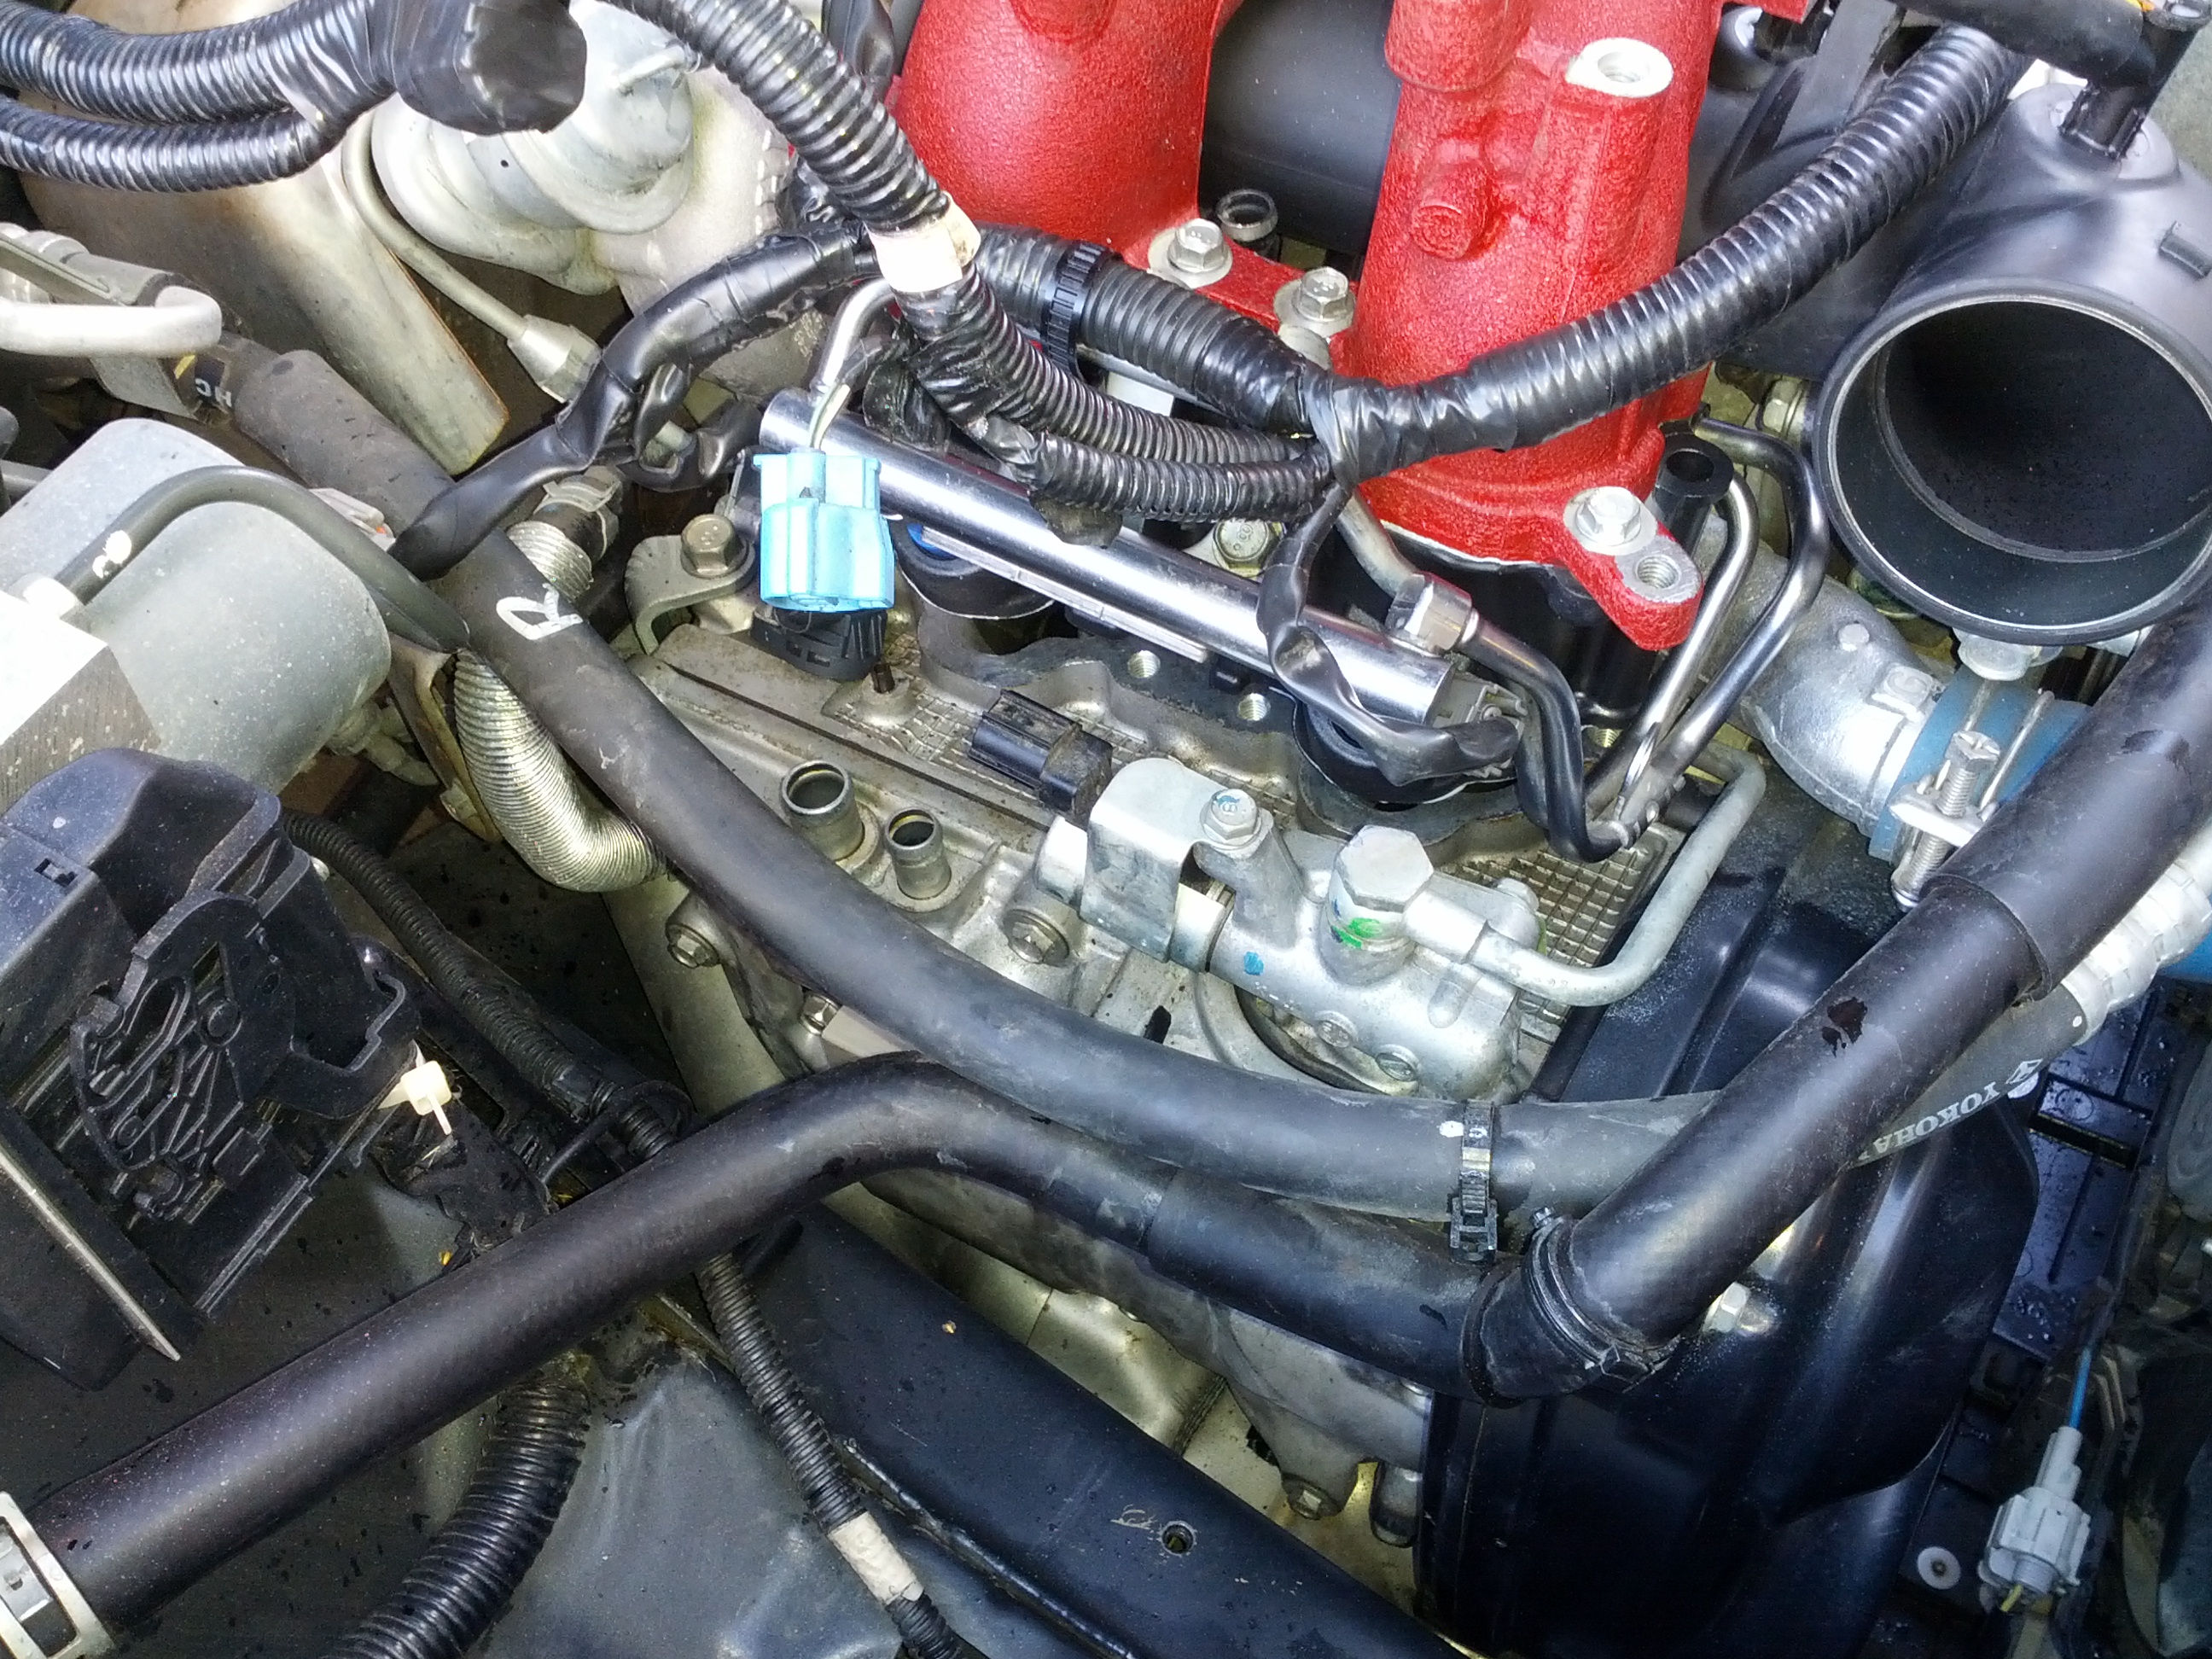
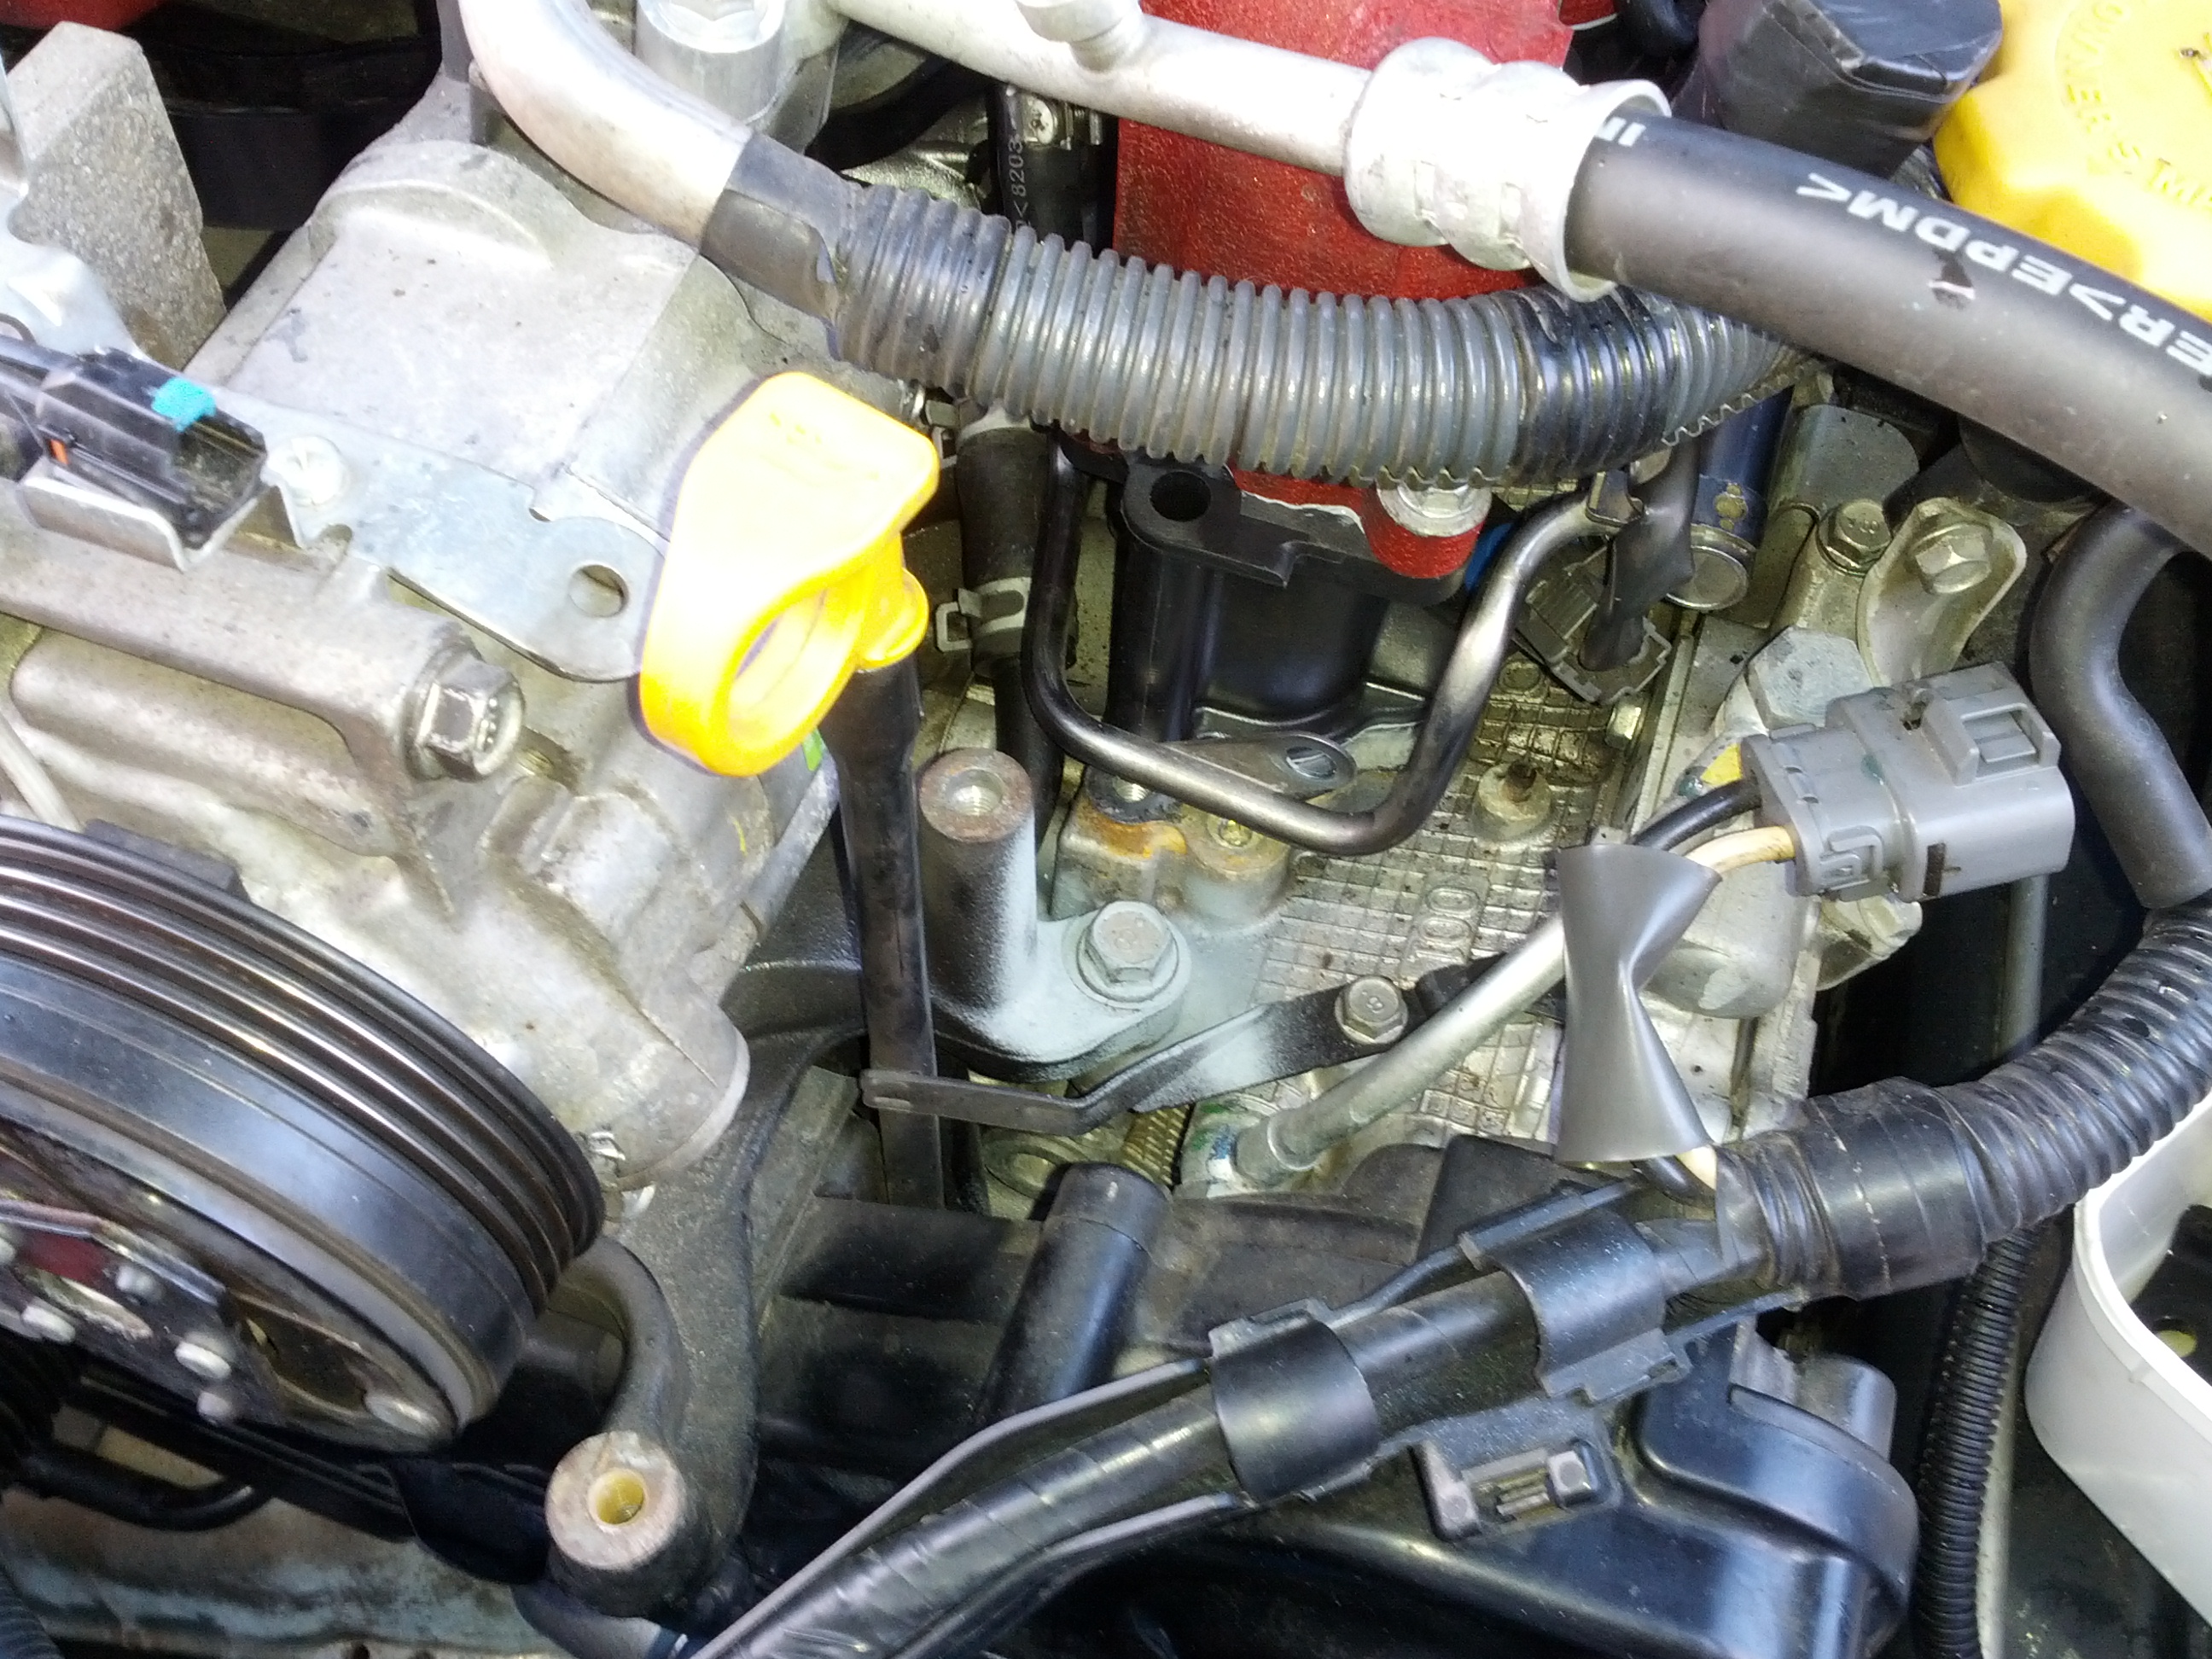
Now for the spark plug change.
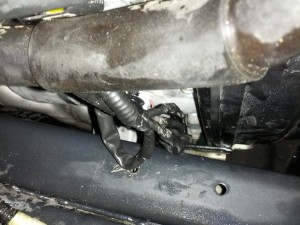
The access if fairly limited but no need for special tools or jacking or pushing the engine:
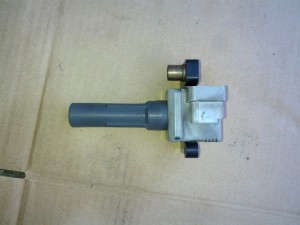
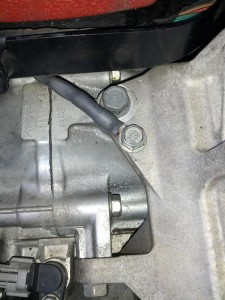
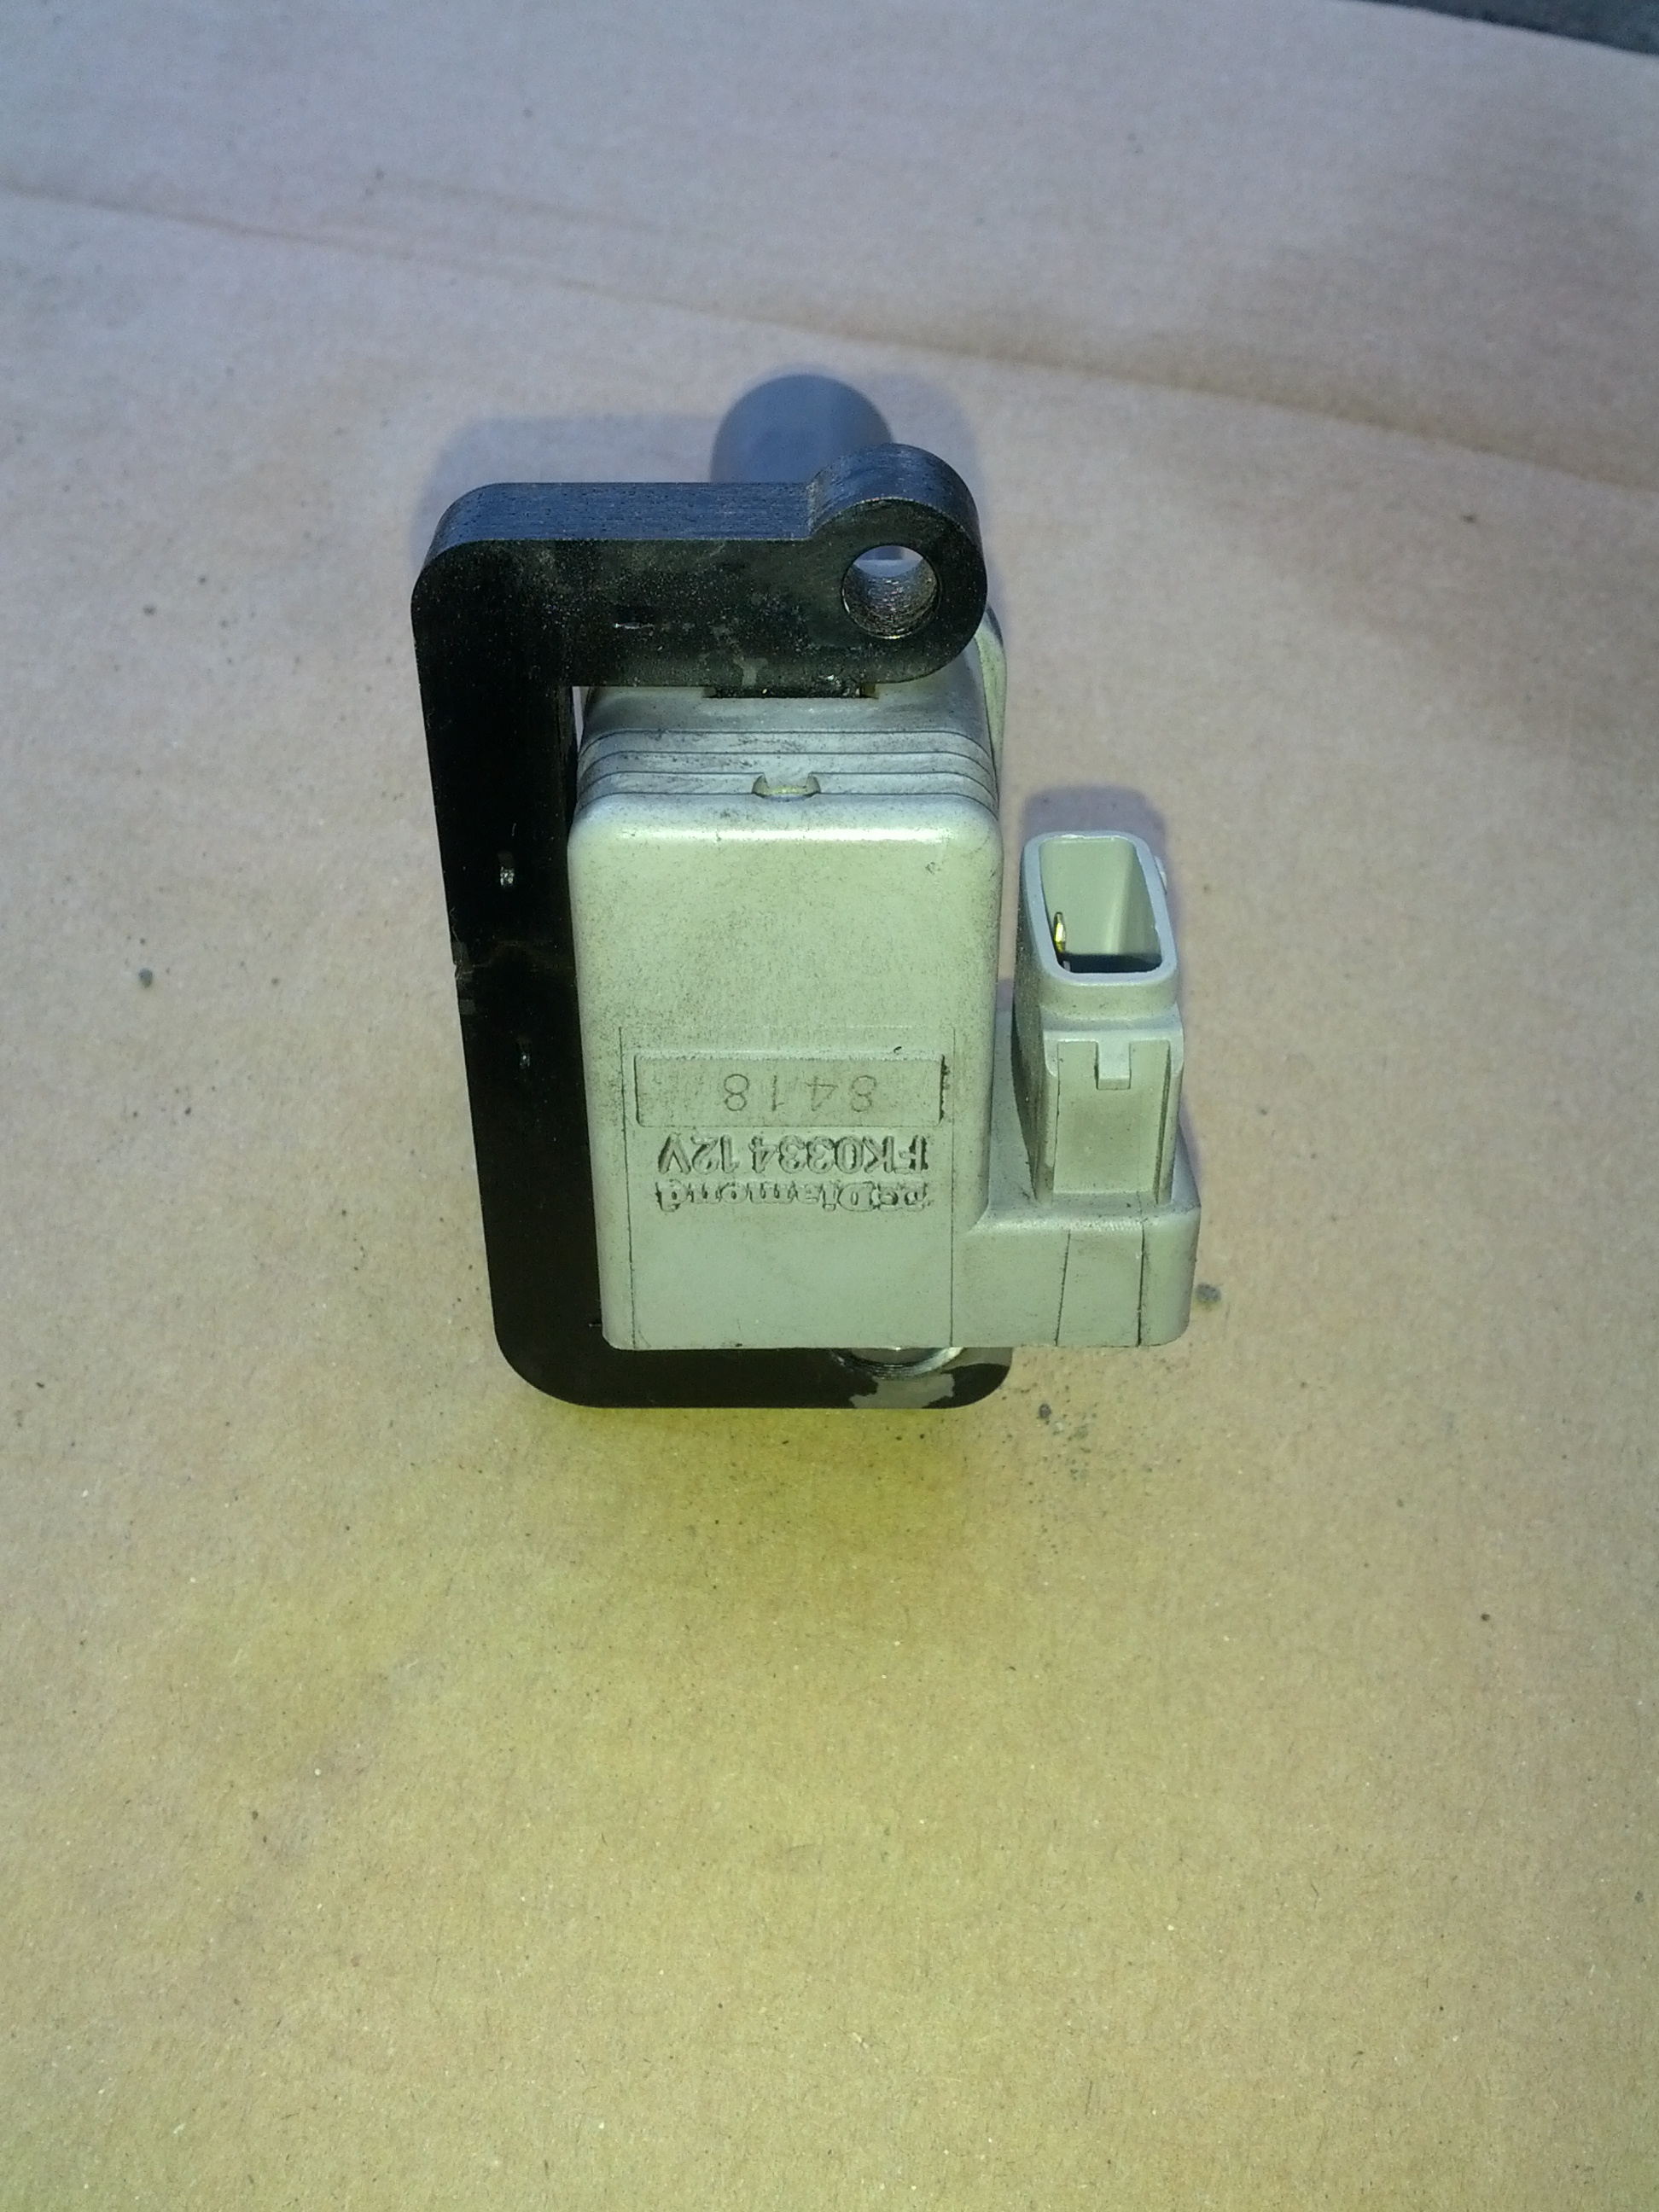
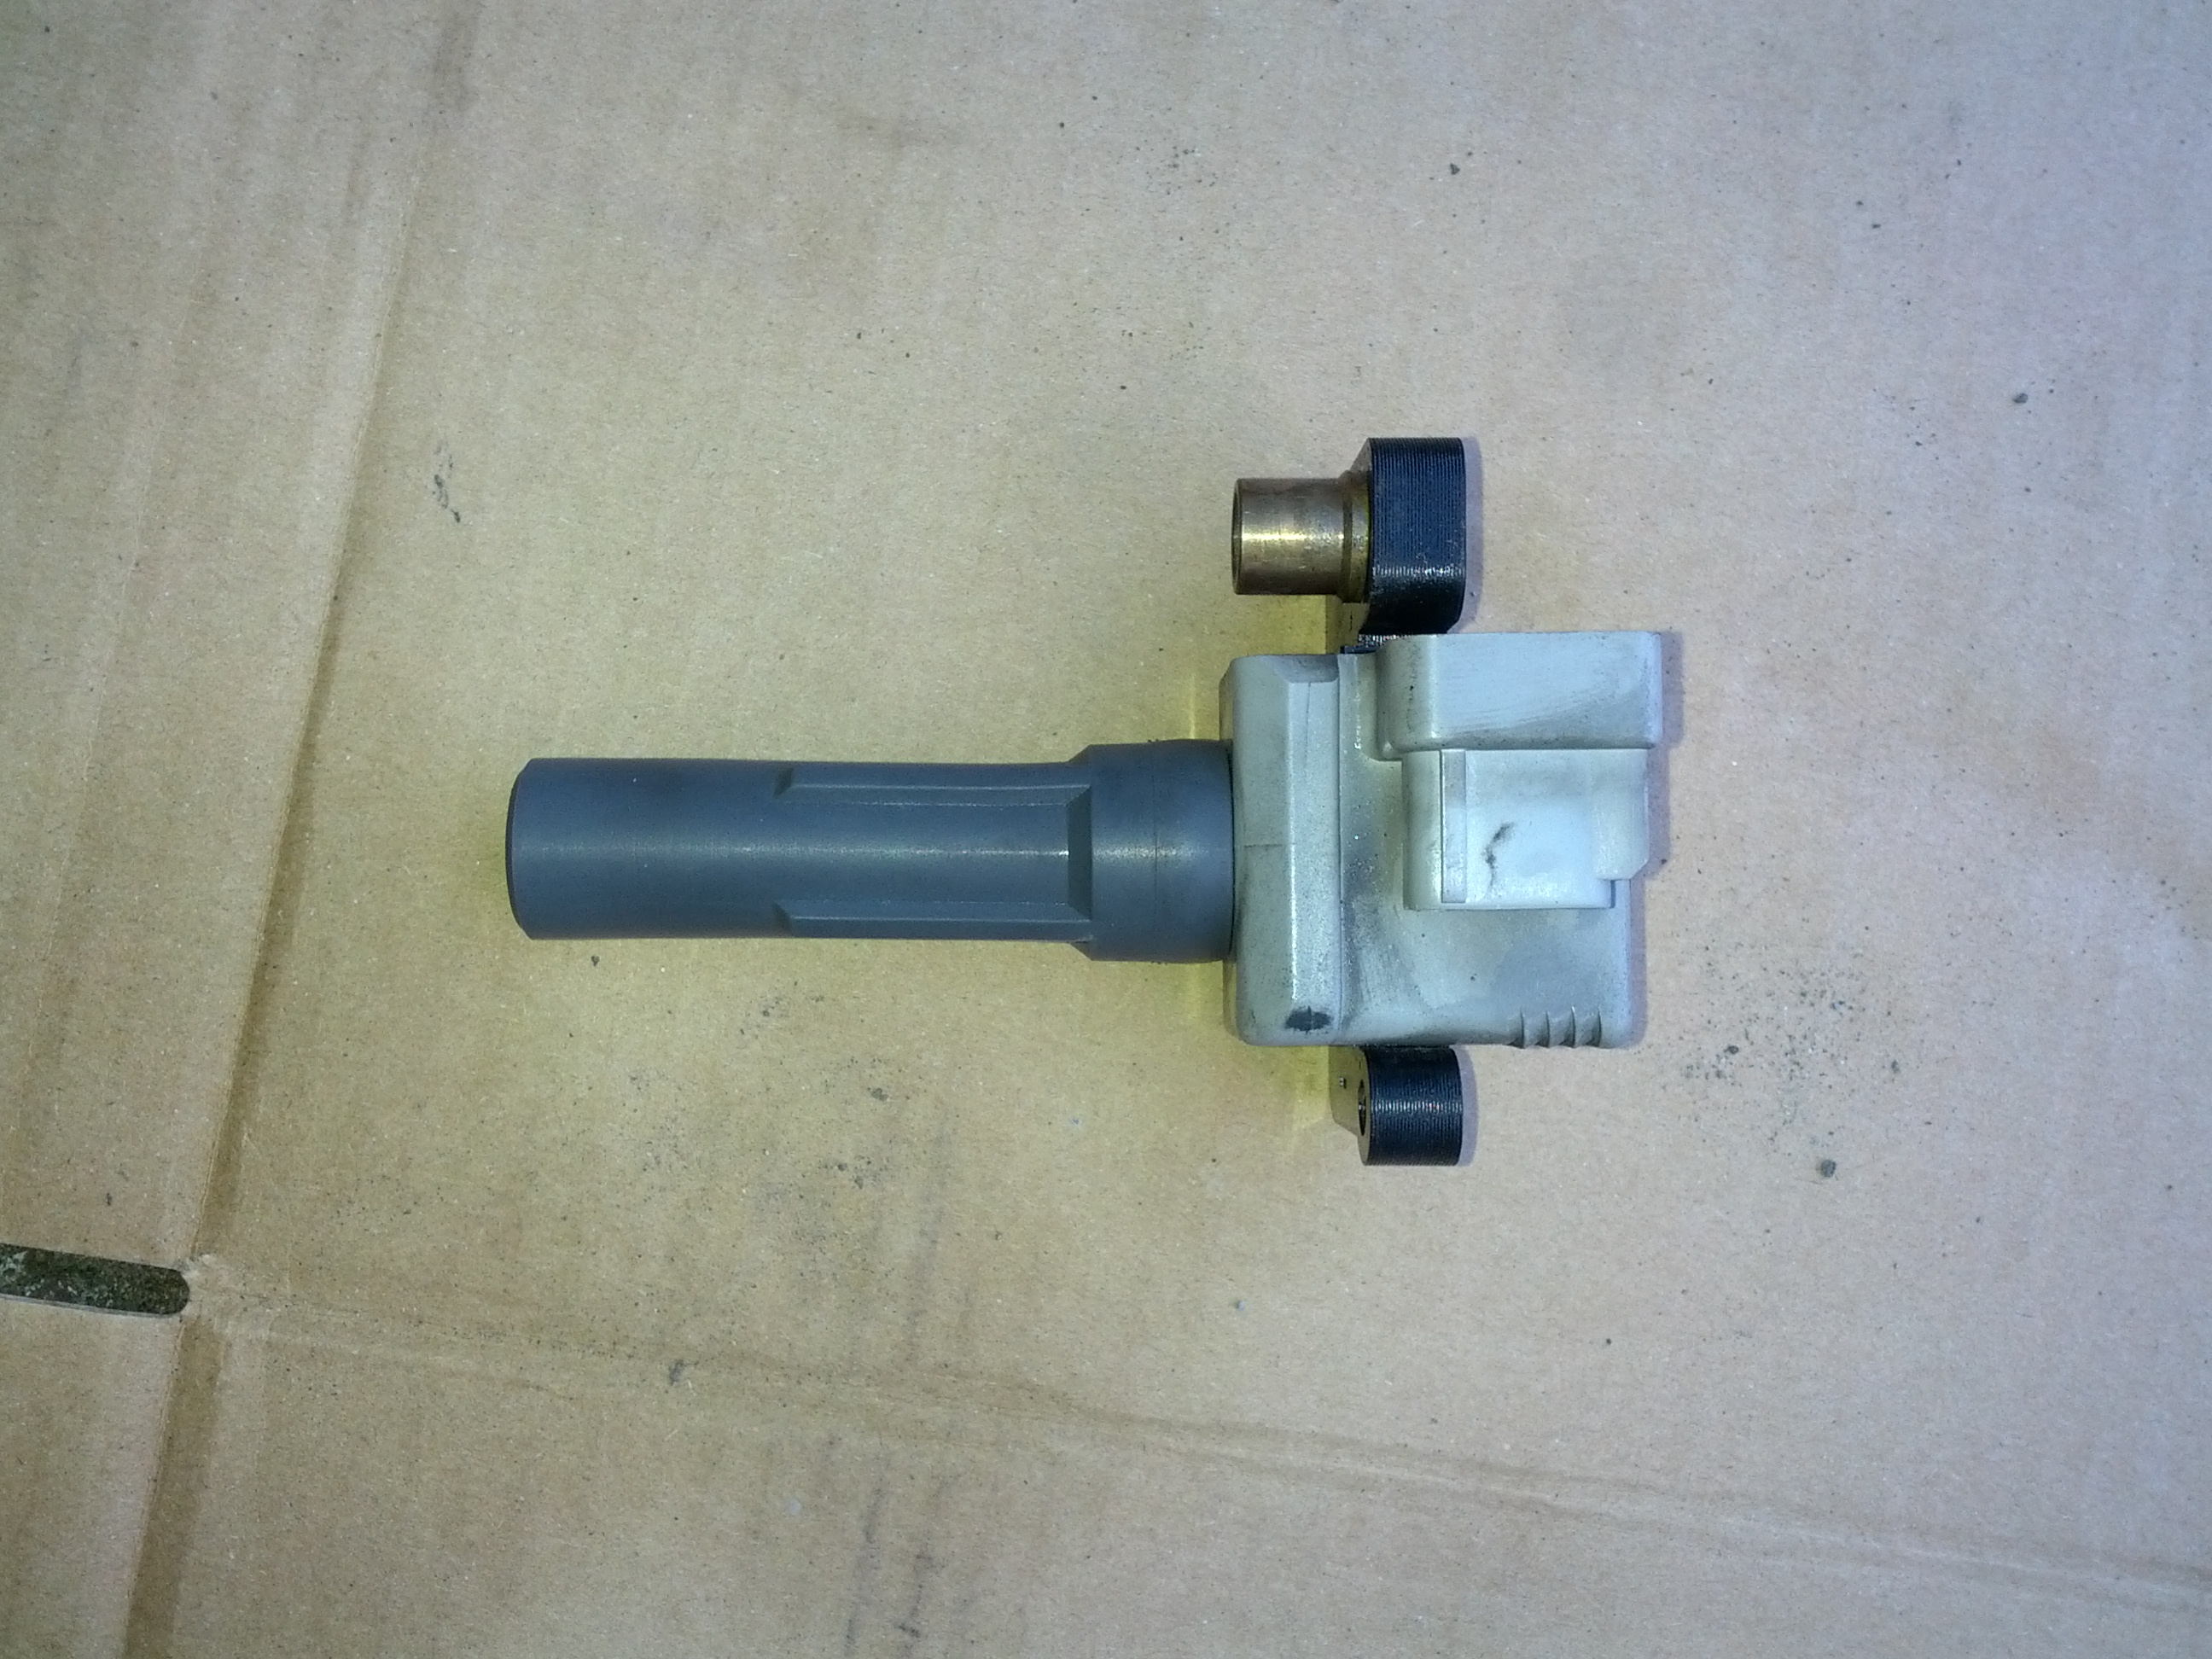
The coil is held by 12mm bolt and comes out with a bit of wiggling.
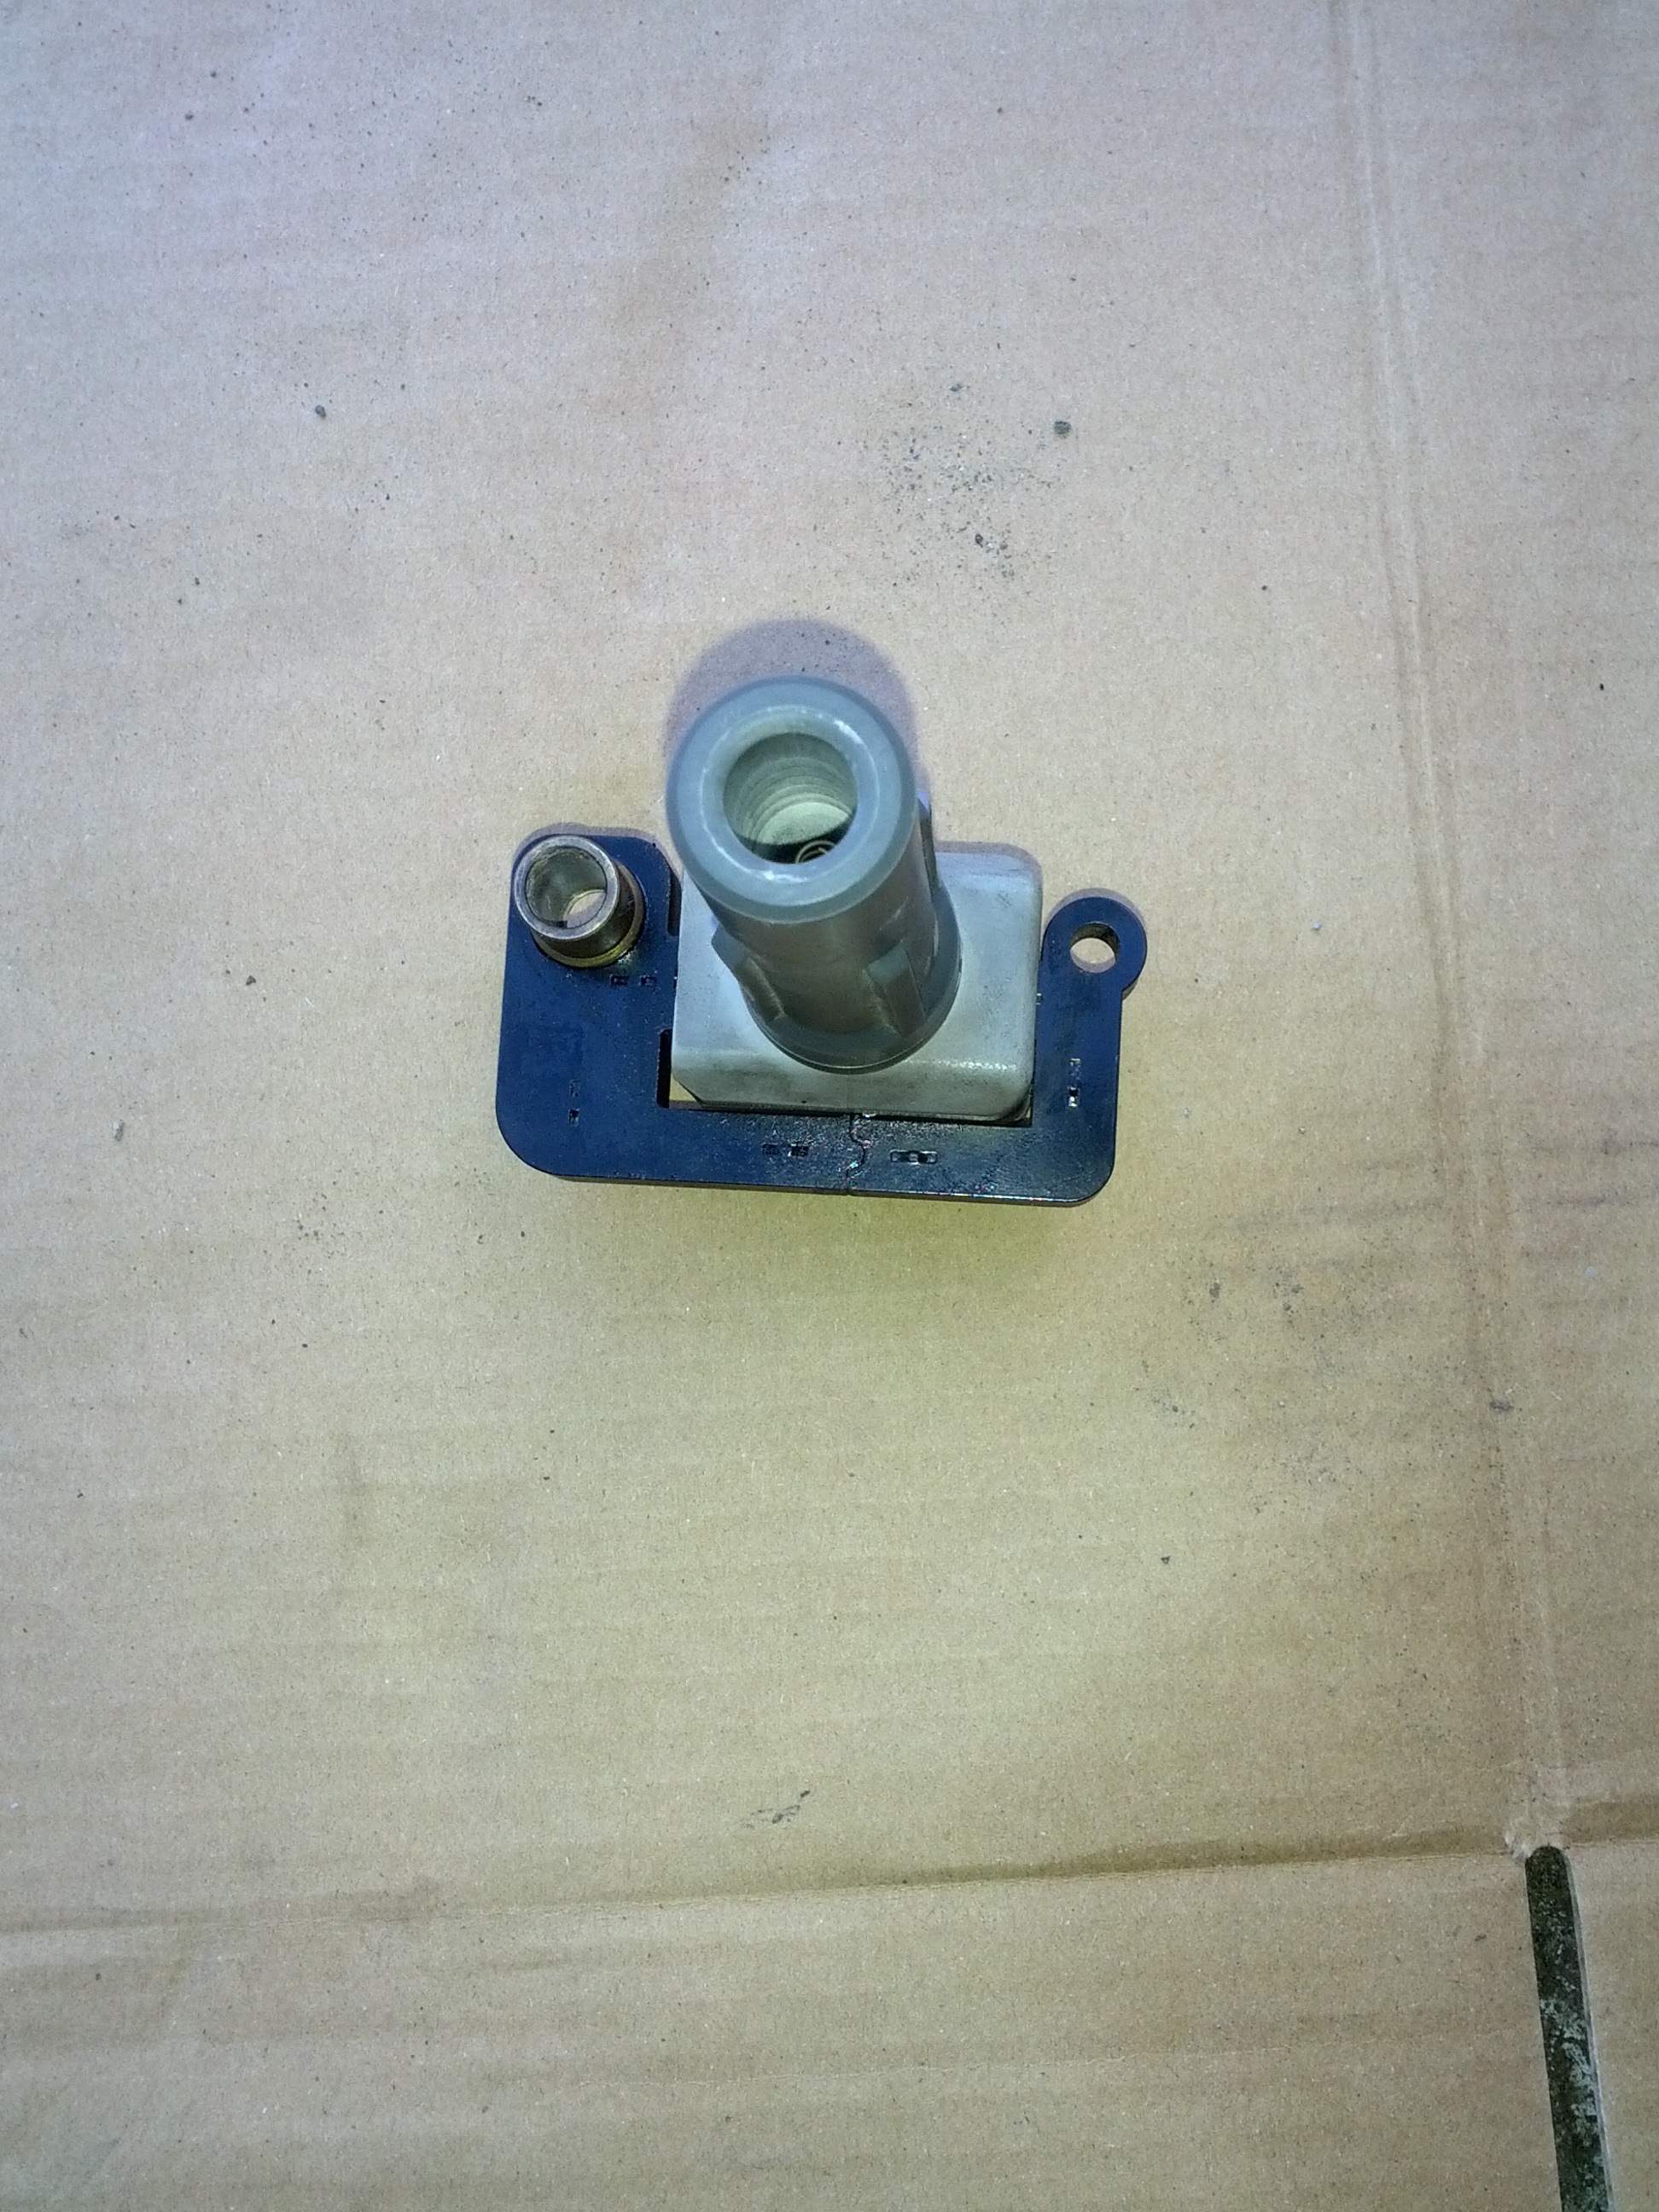
The coil:


The spark plug:

Back to the TGV.
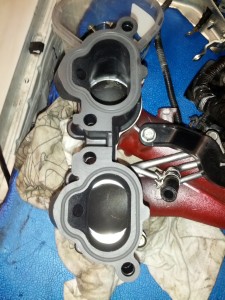
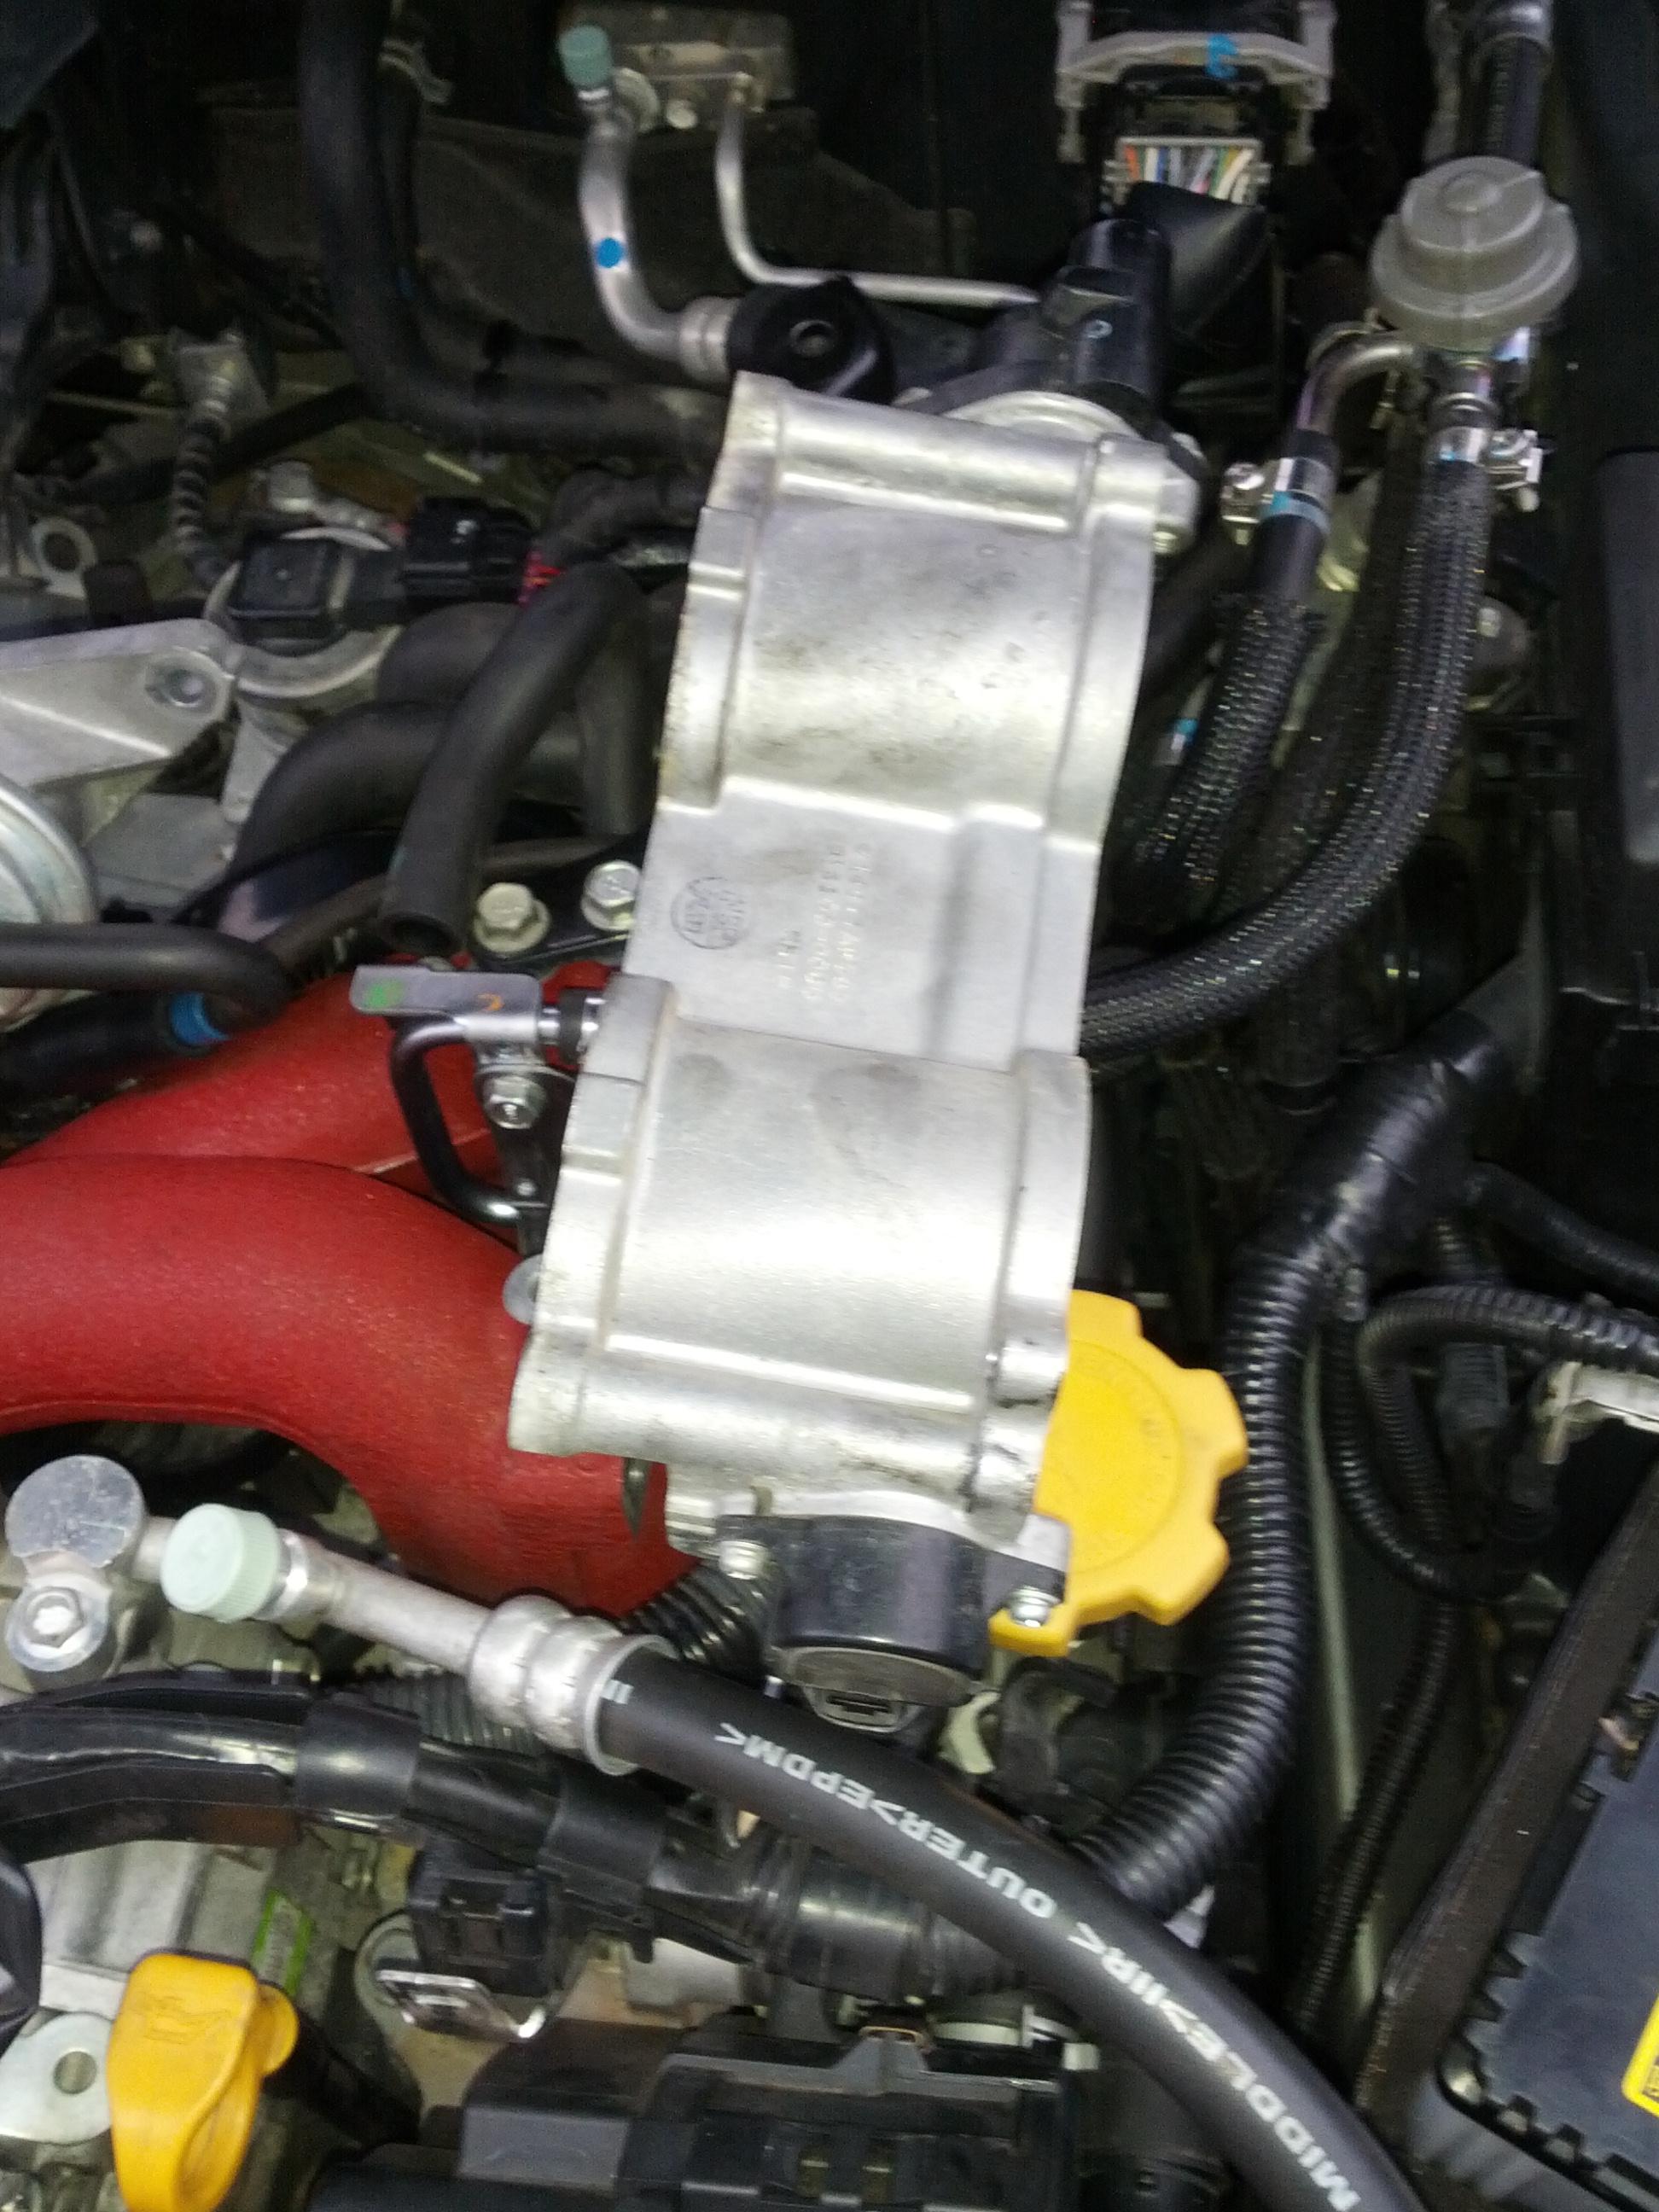
Assembled manifold with TGV deletion kit:


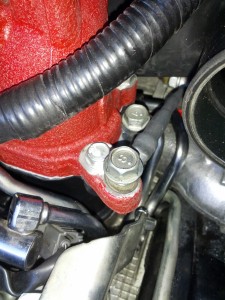
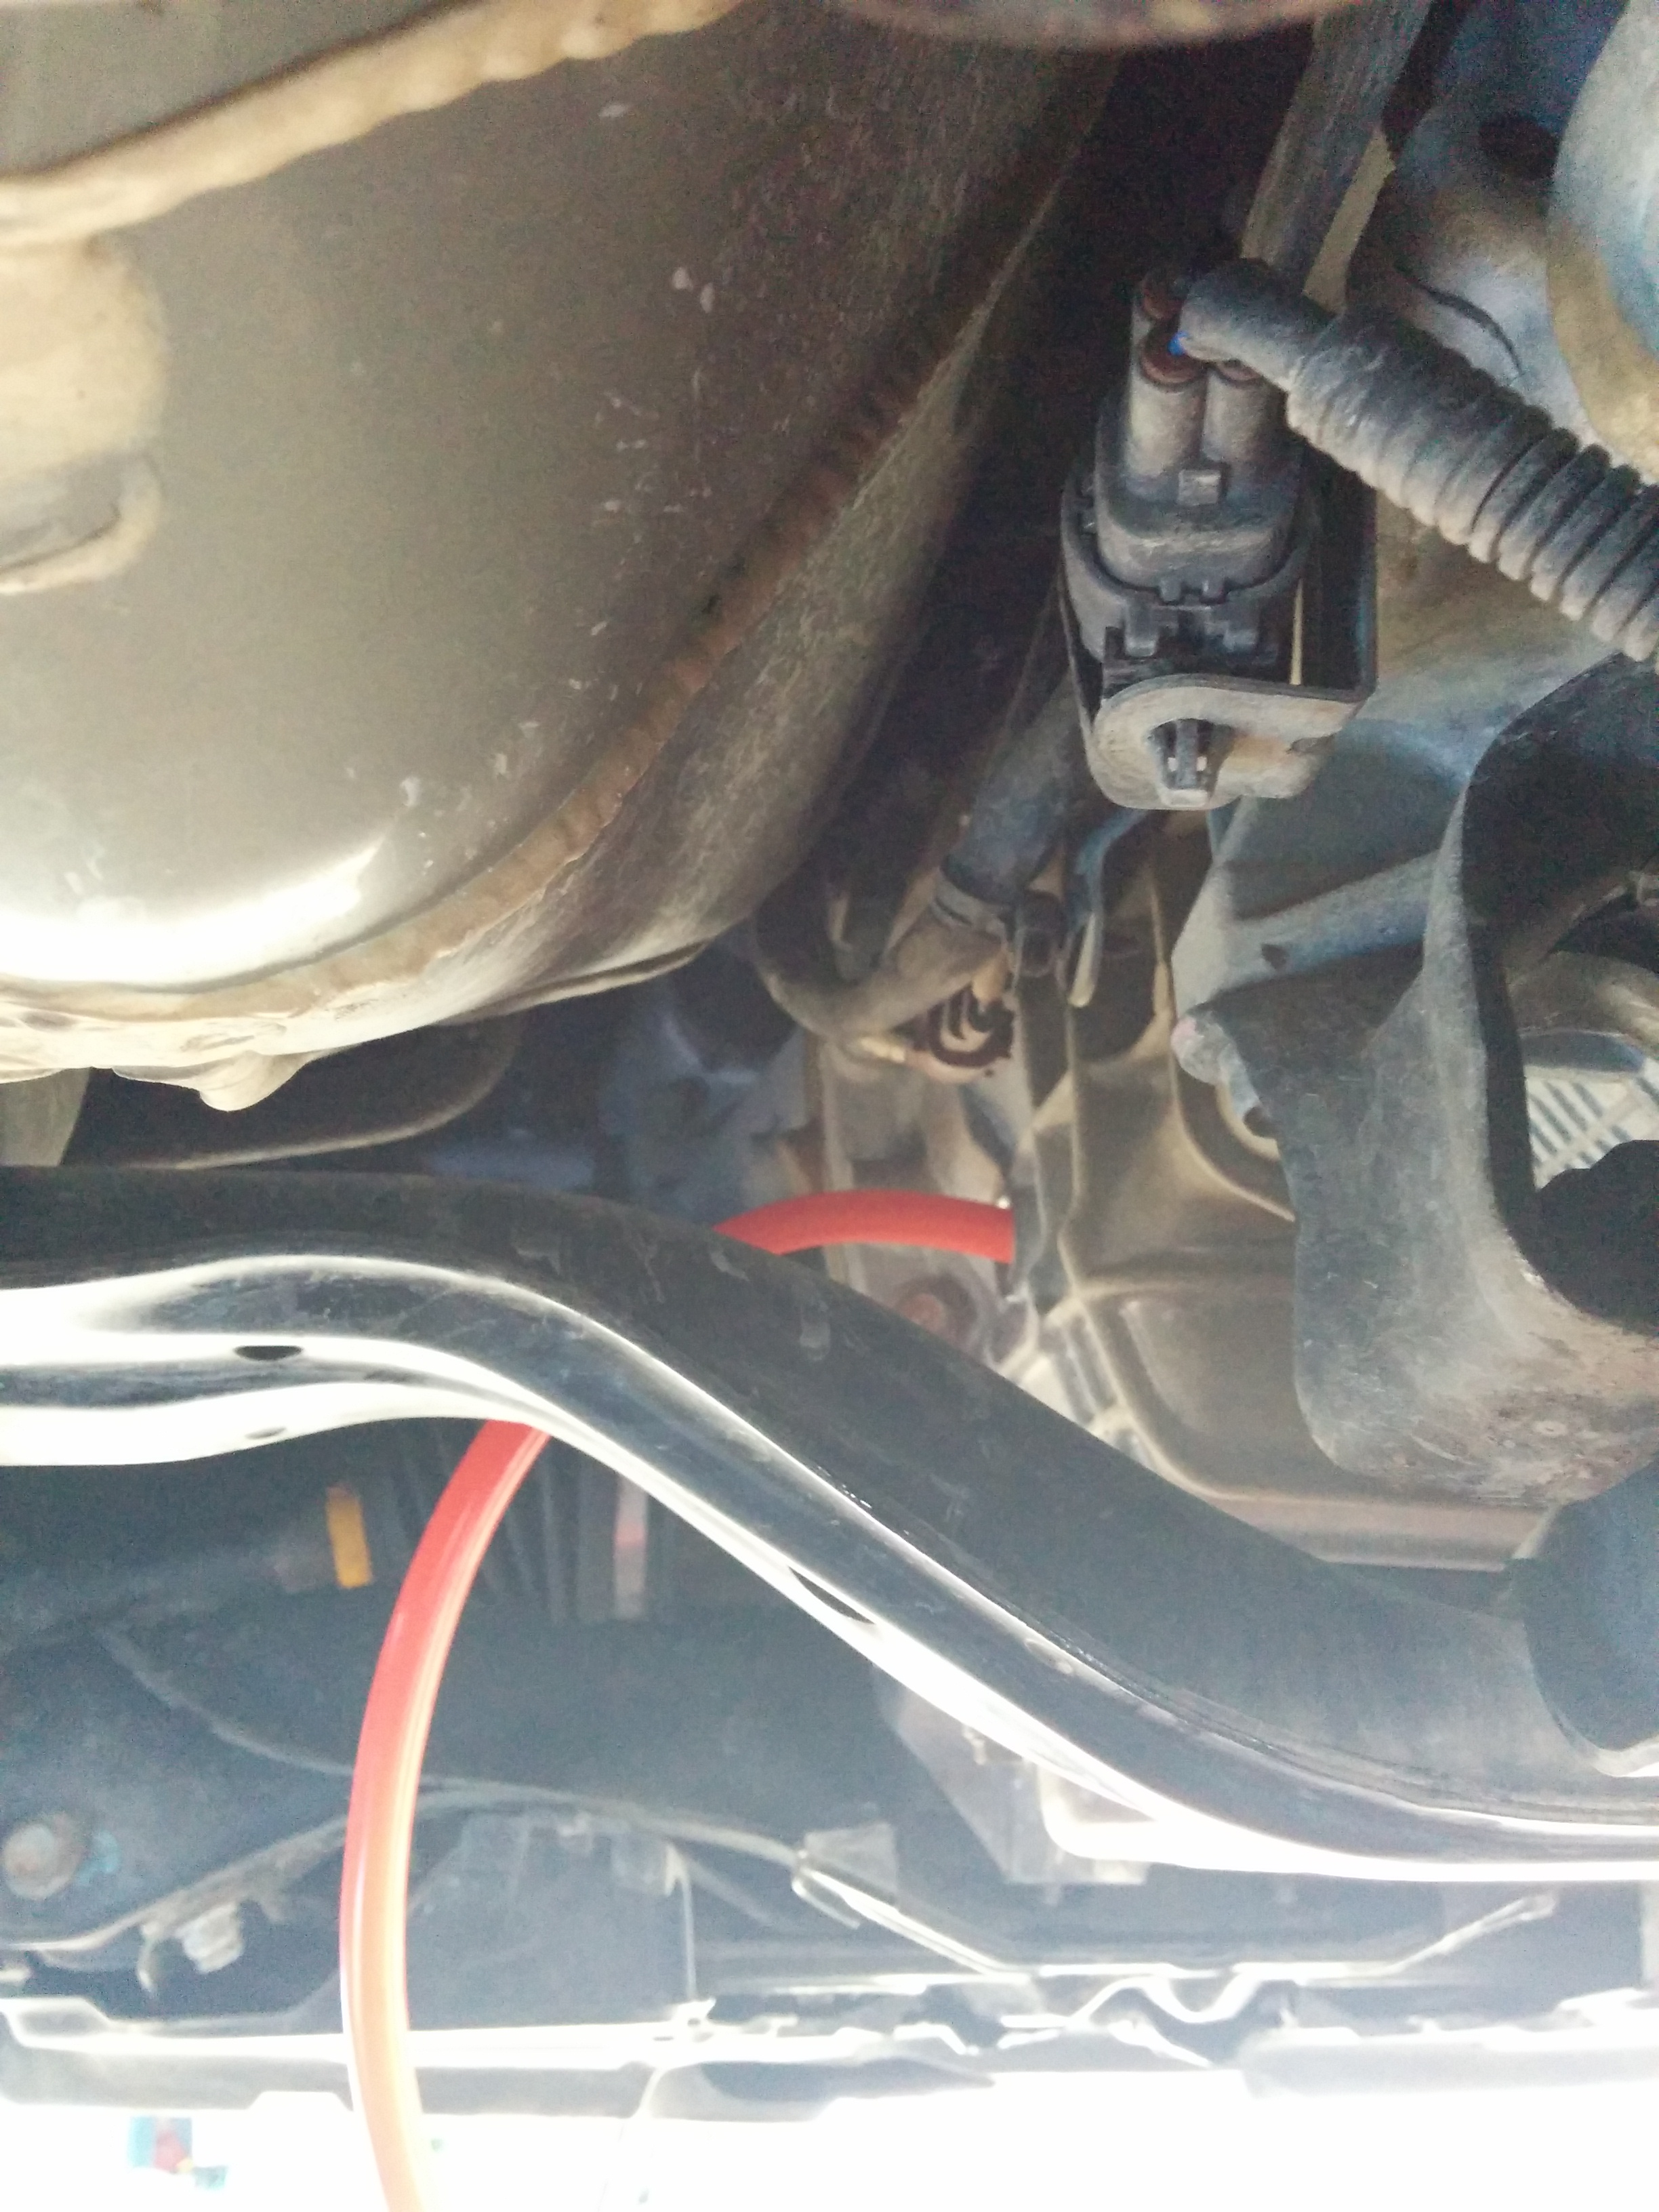
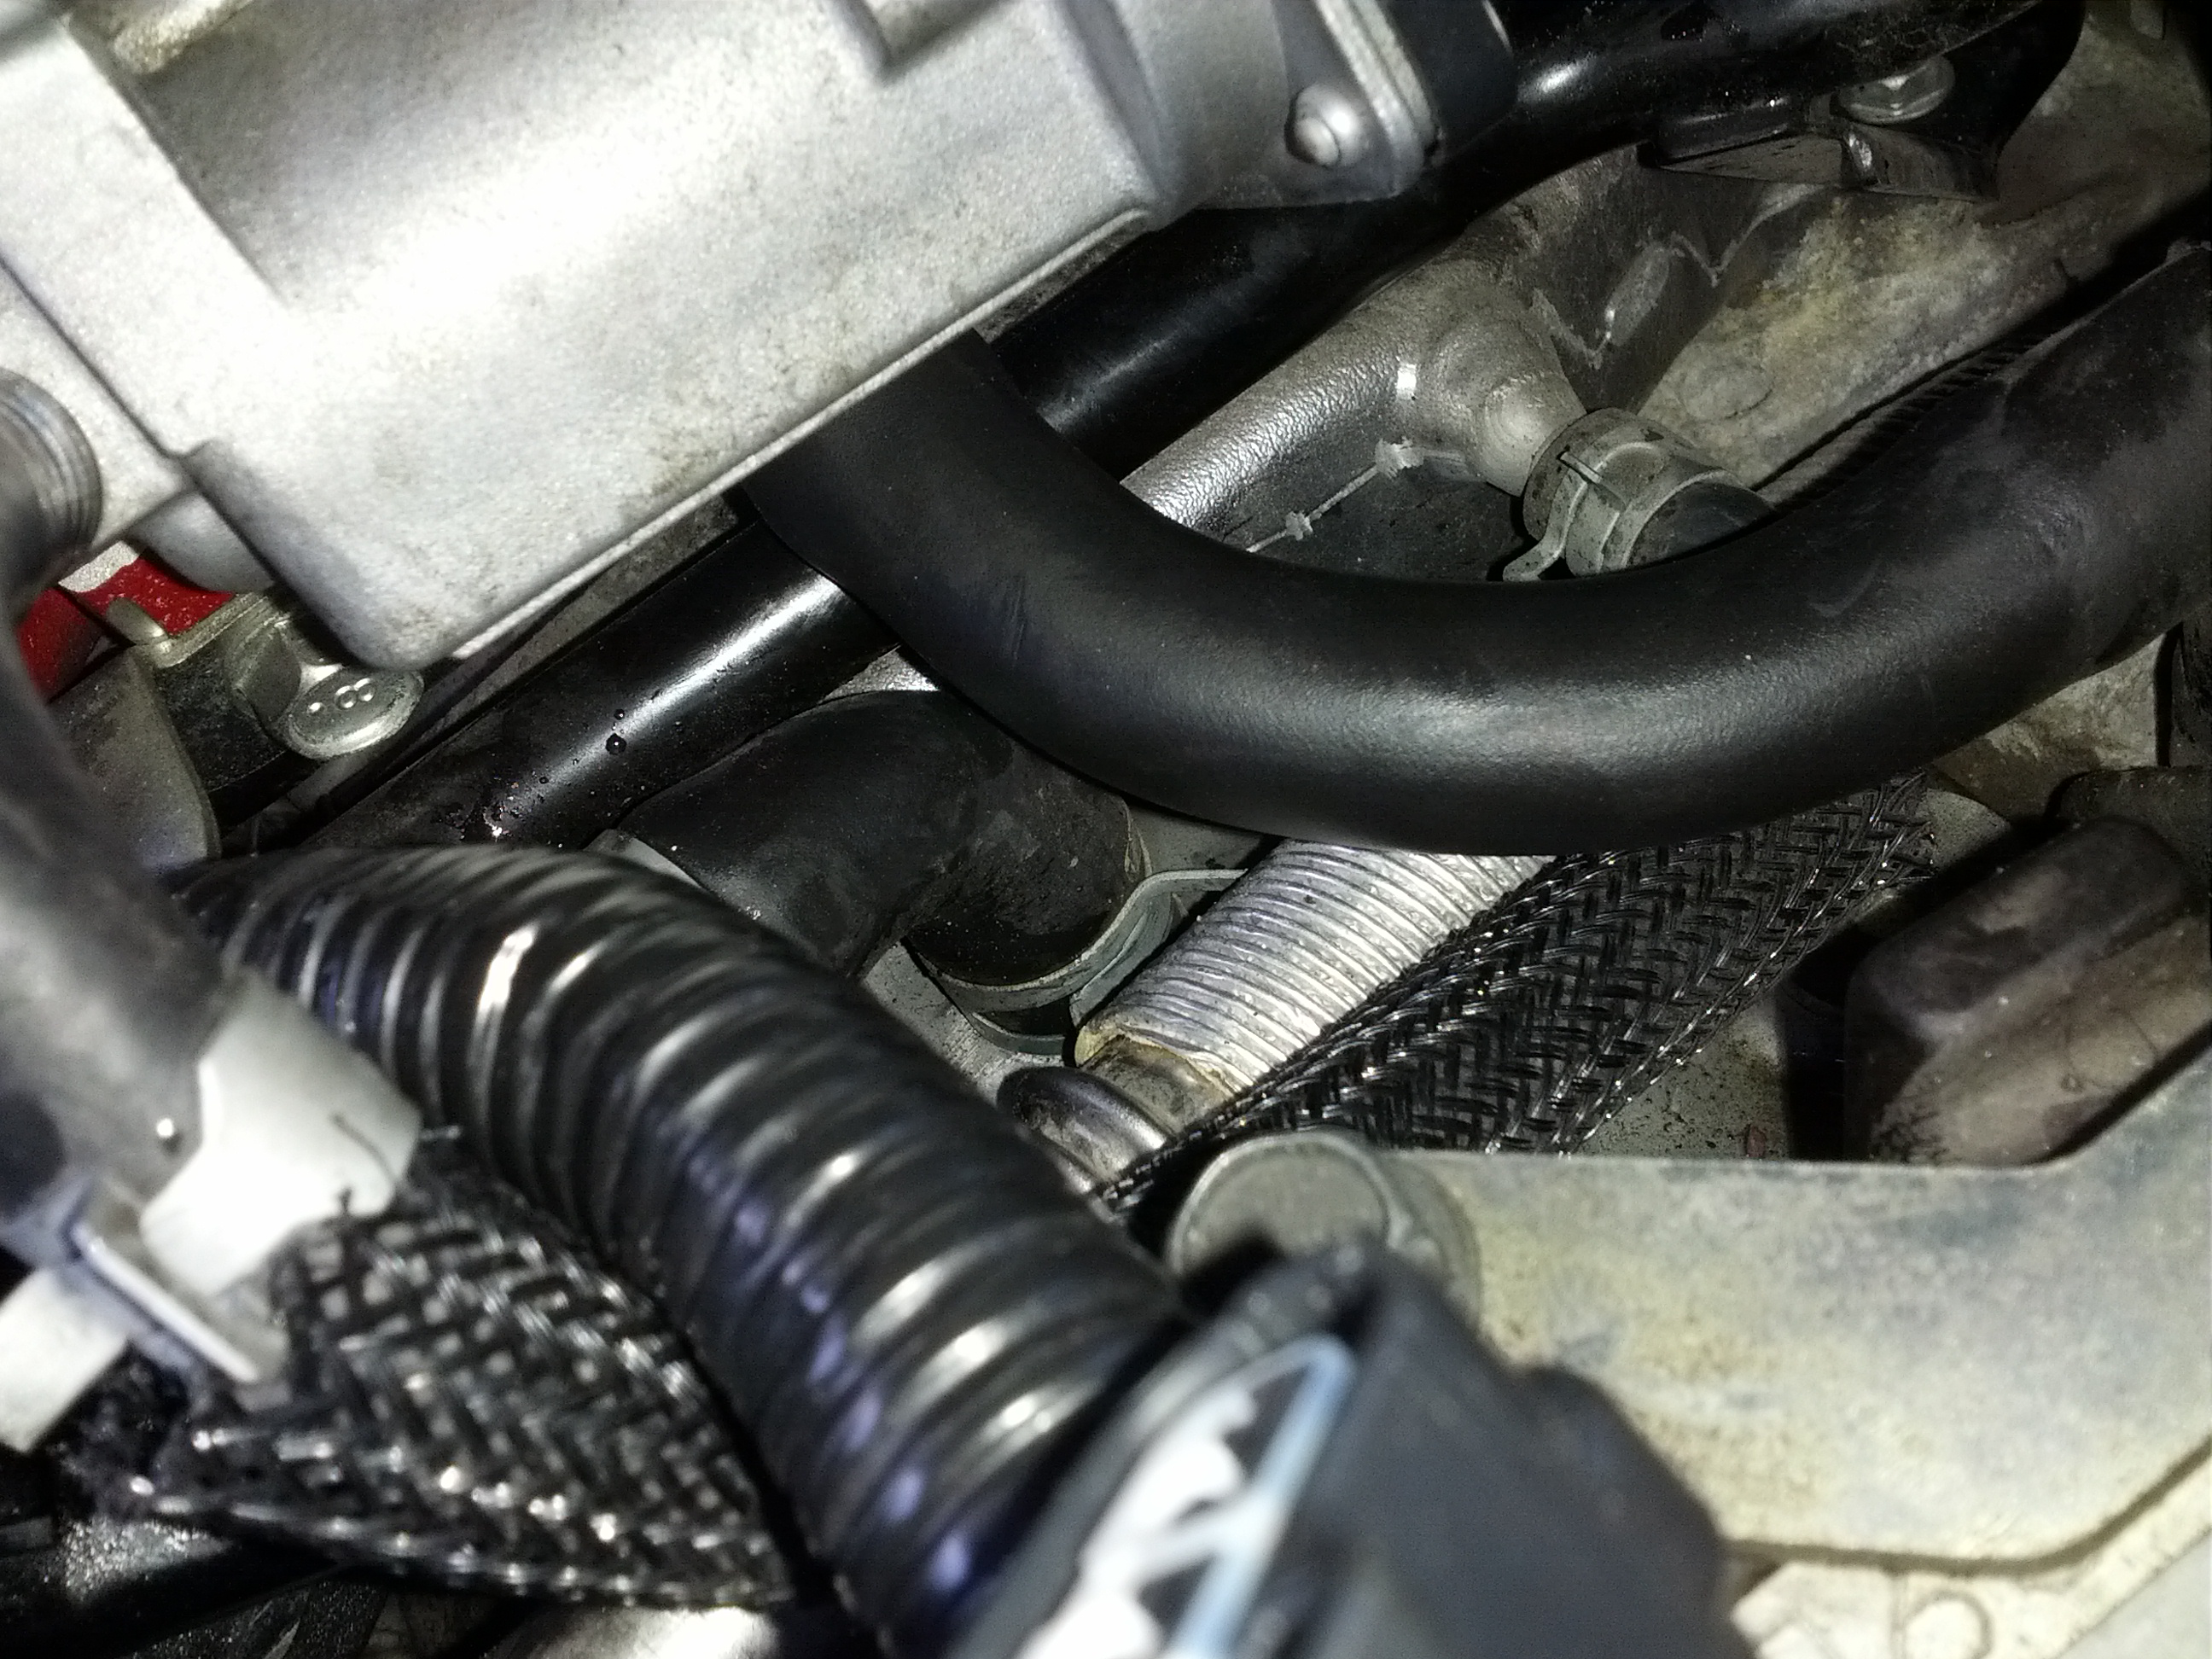
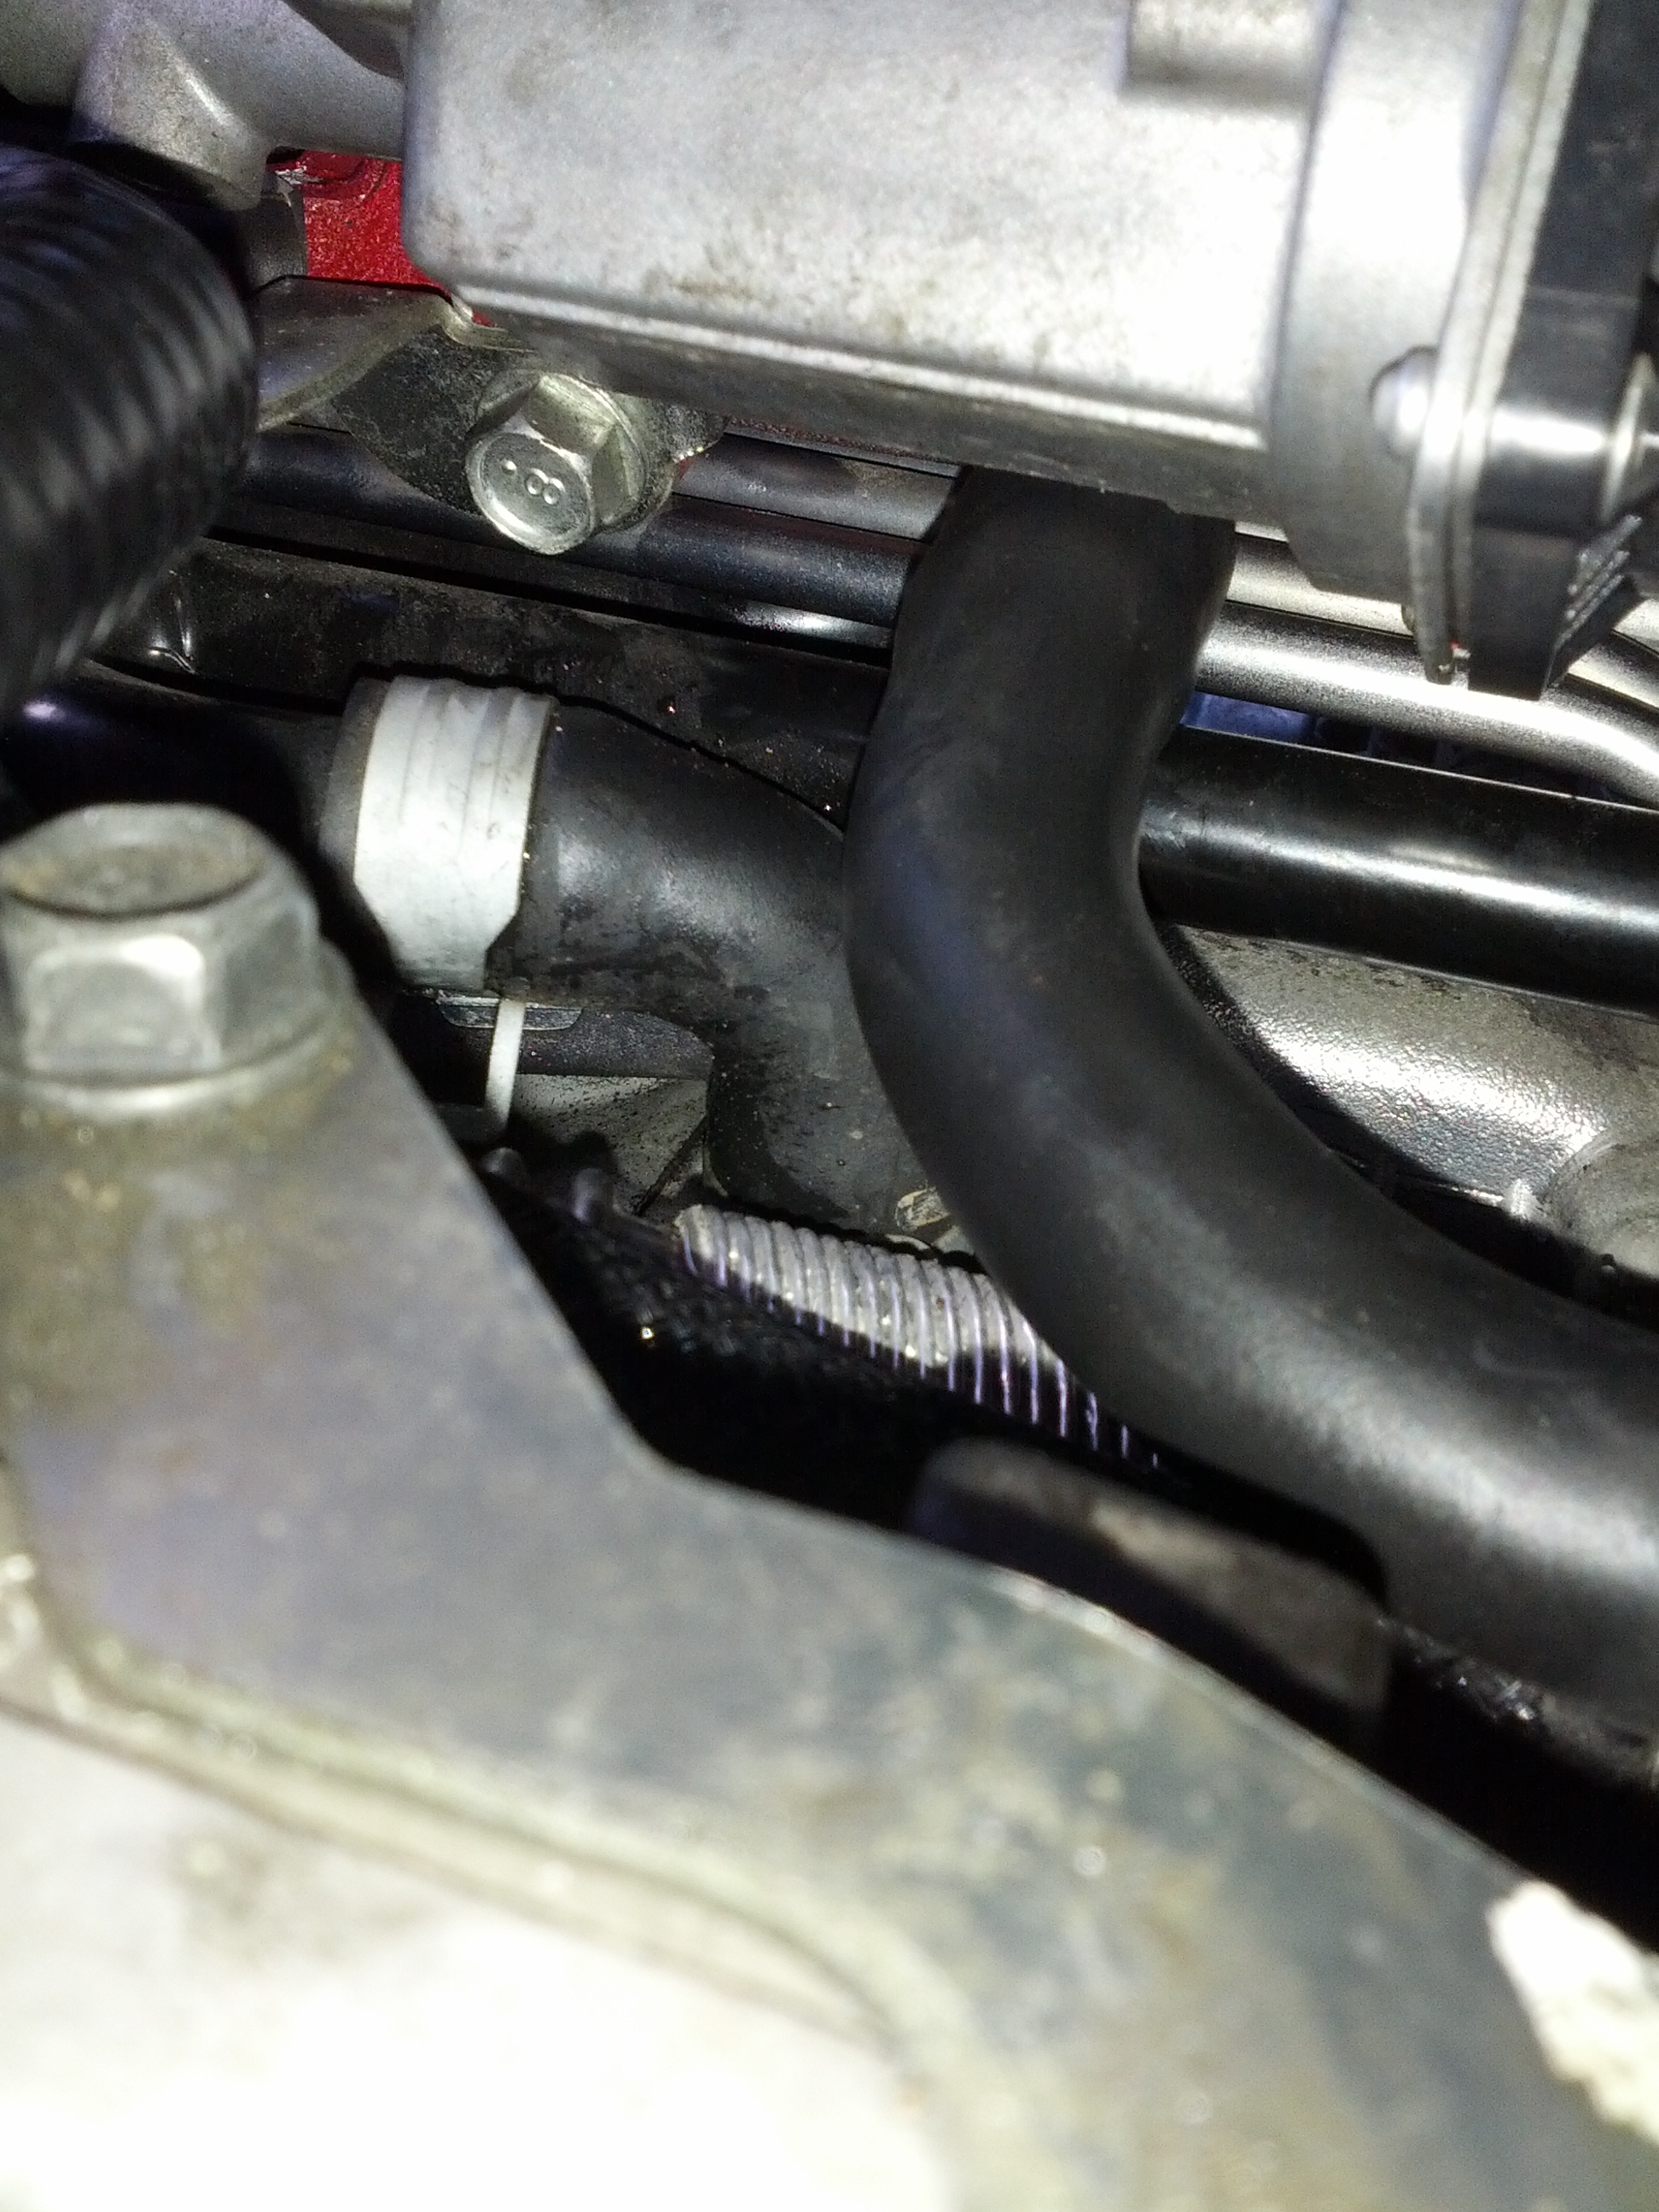
Make sure the PCV valve is connected back (easy to forget as it is right under the throttle body):

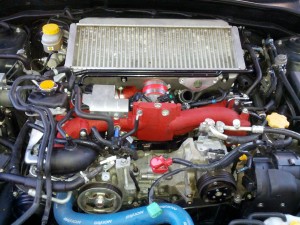
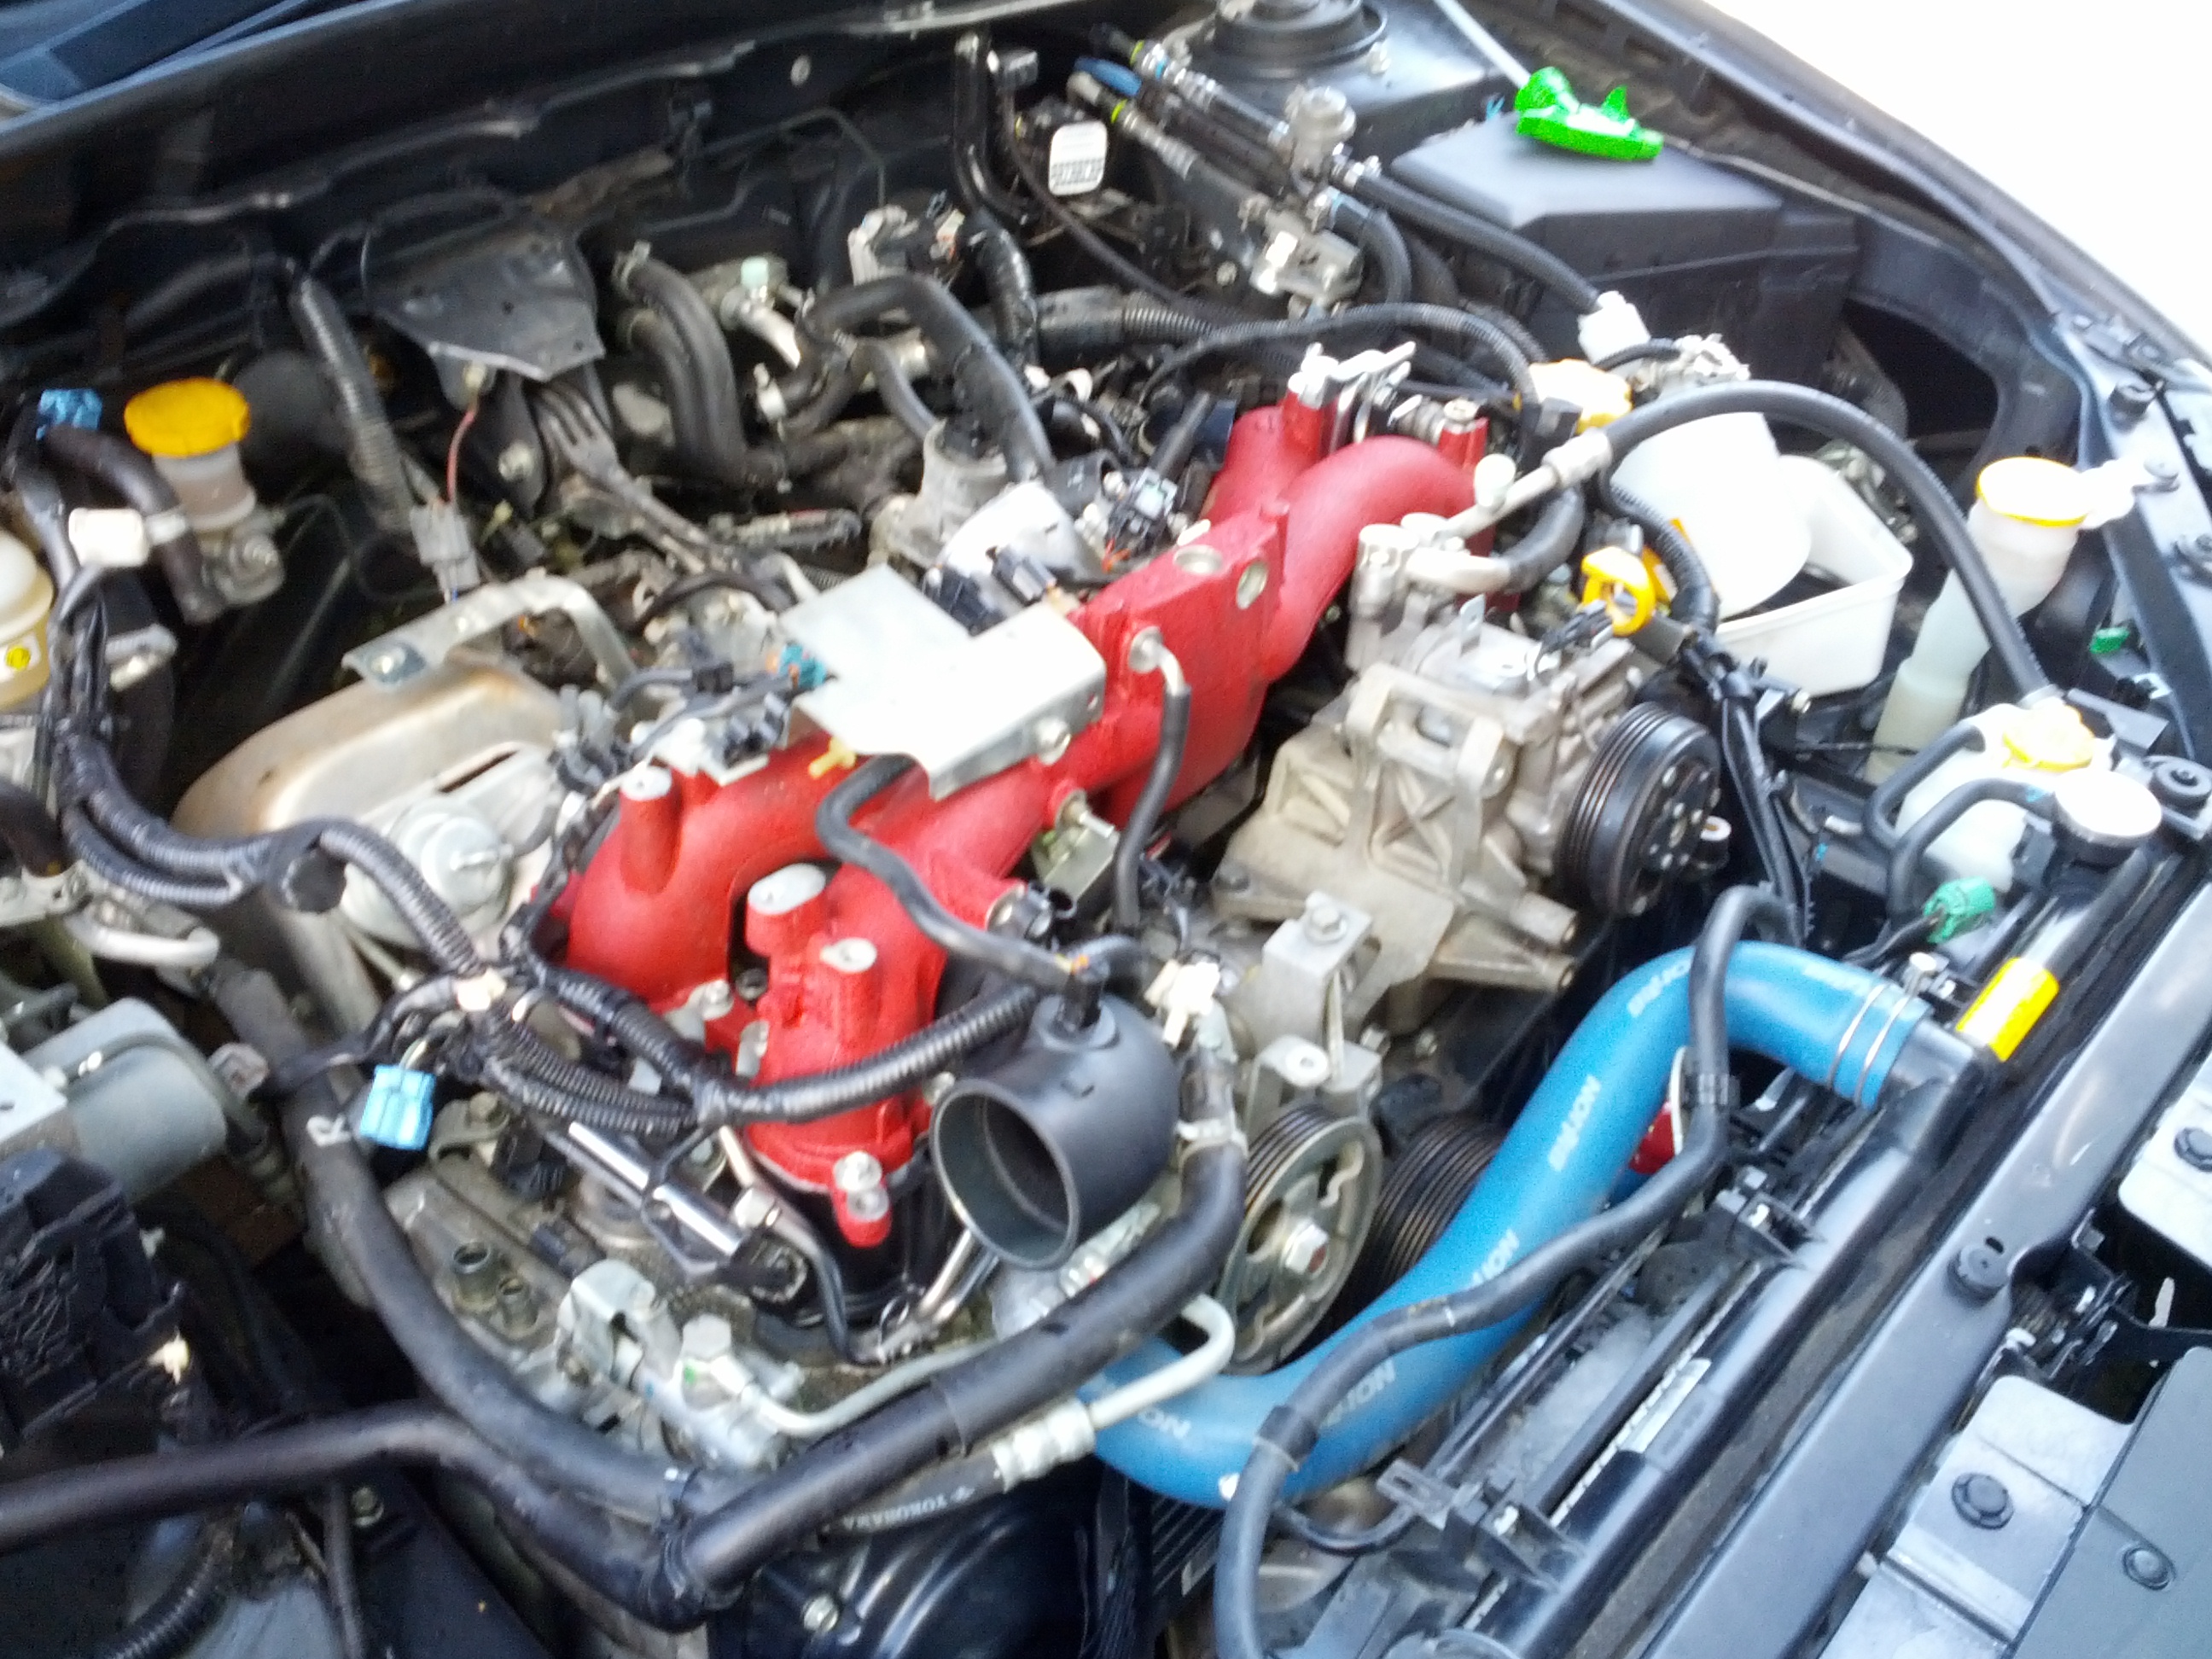
All together (bar alternator):
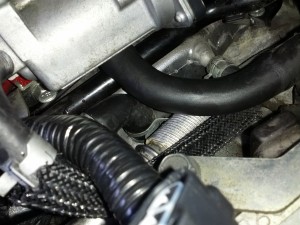
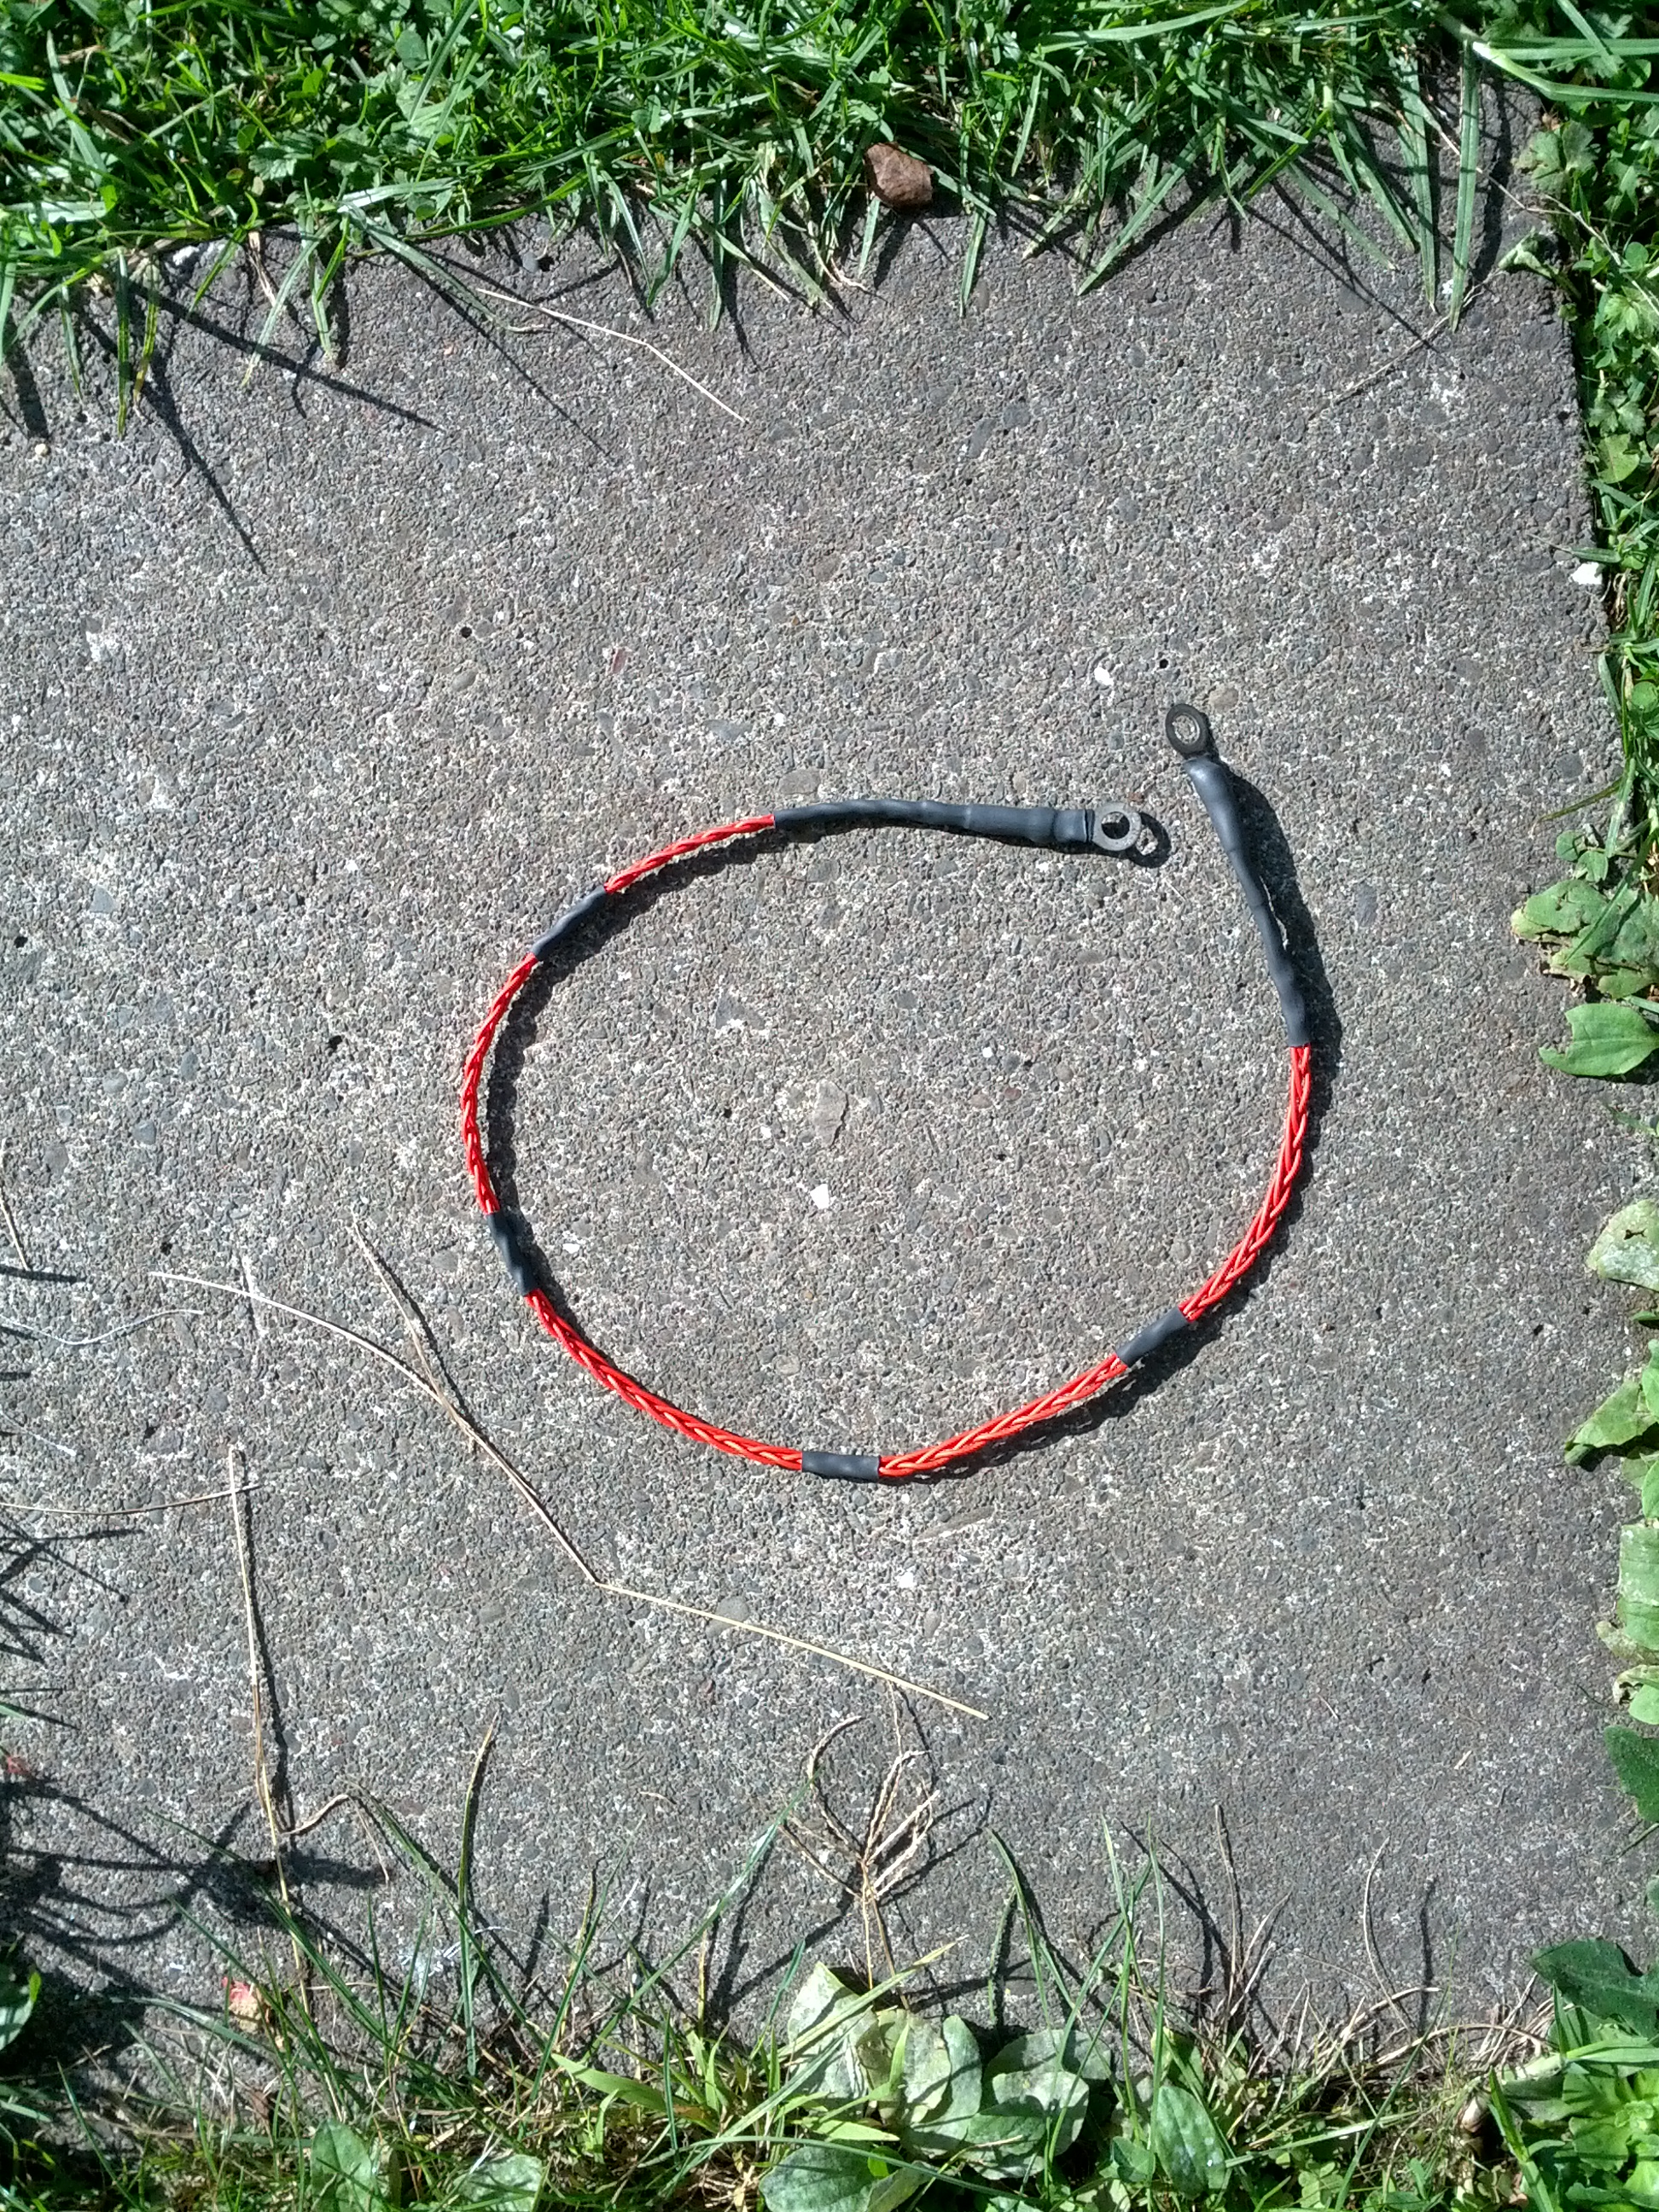
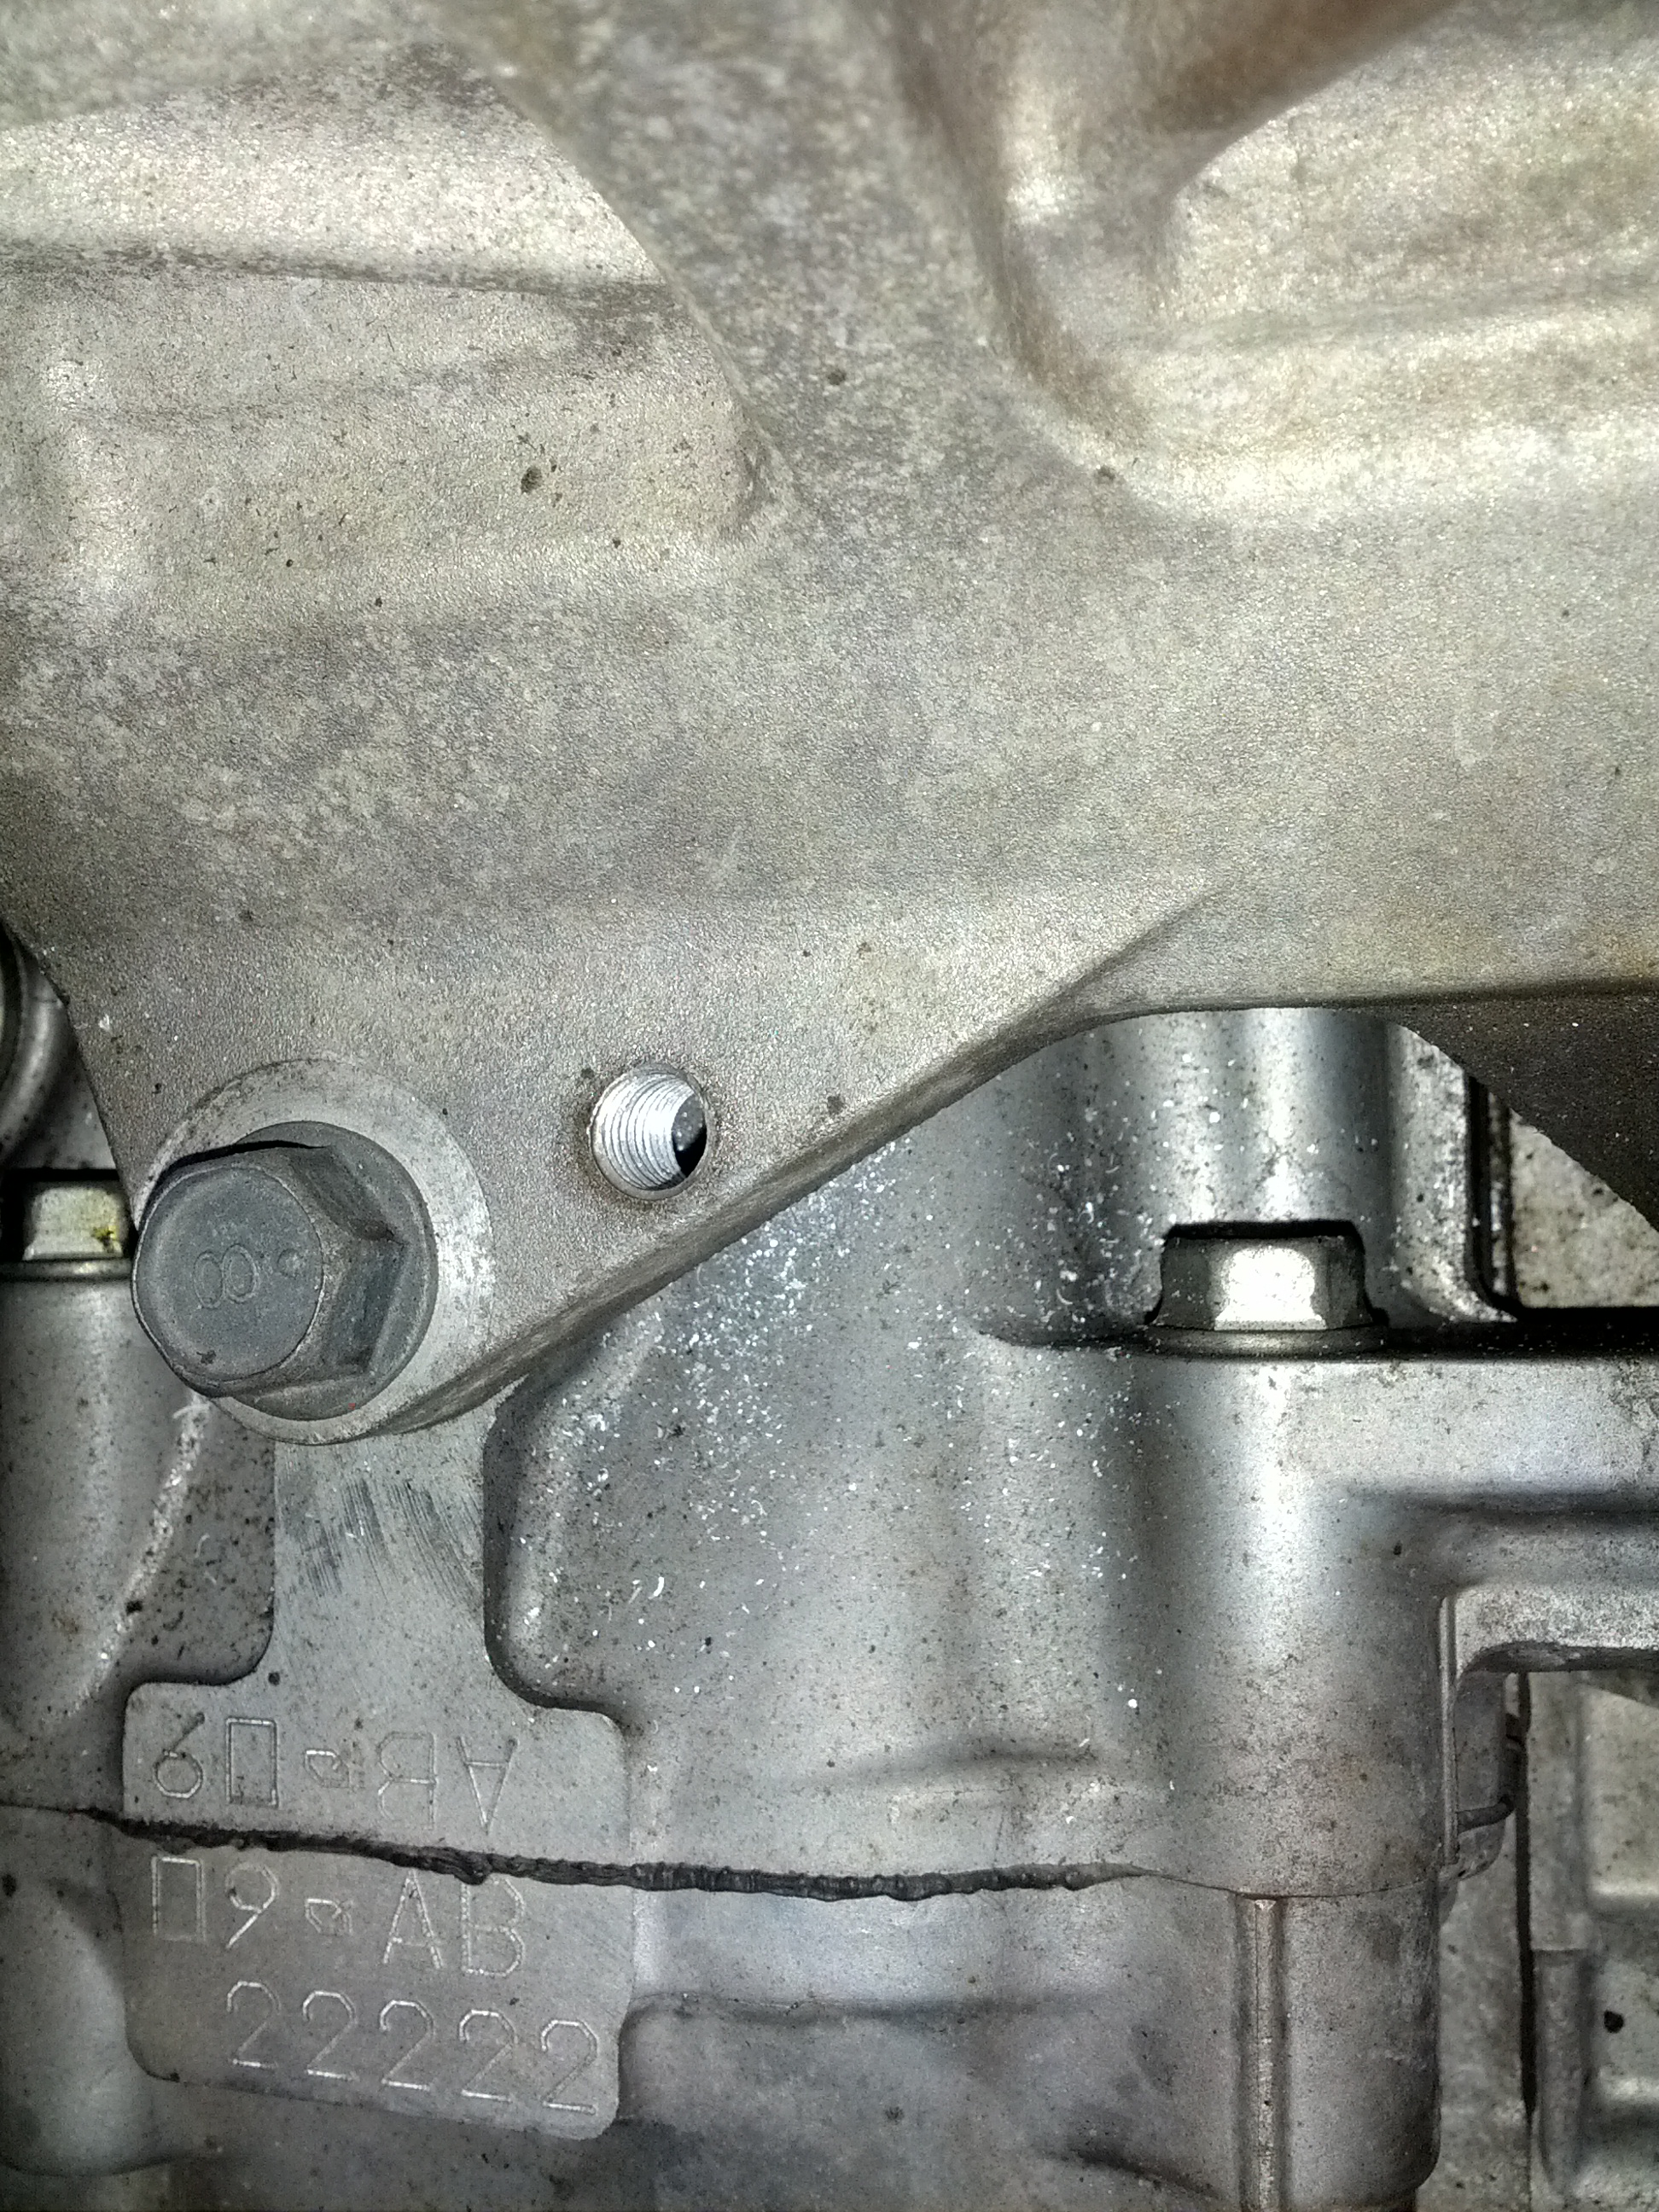
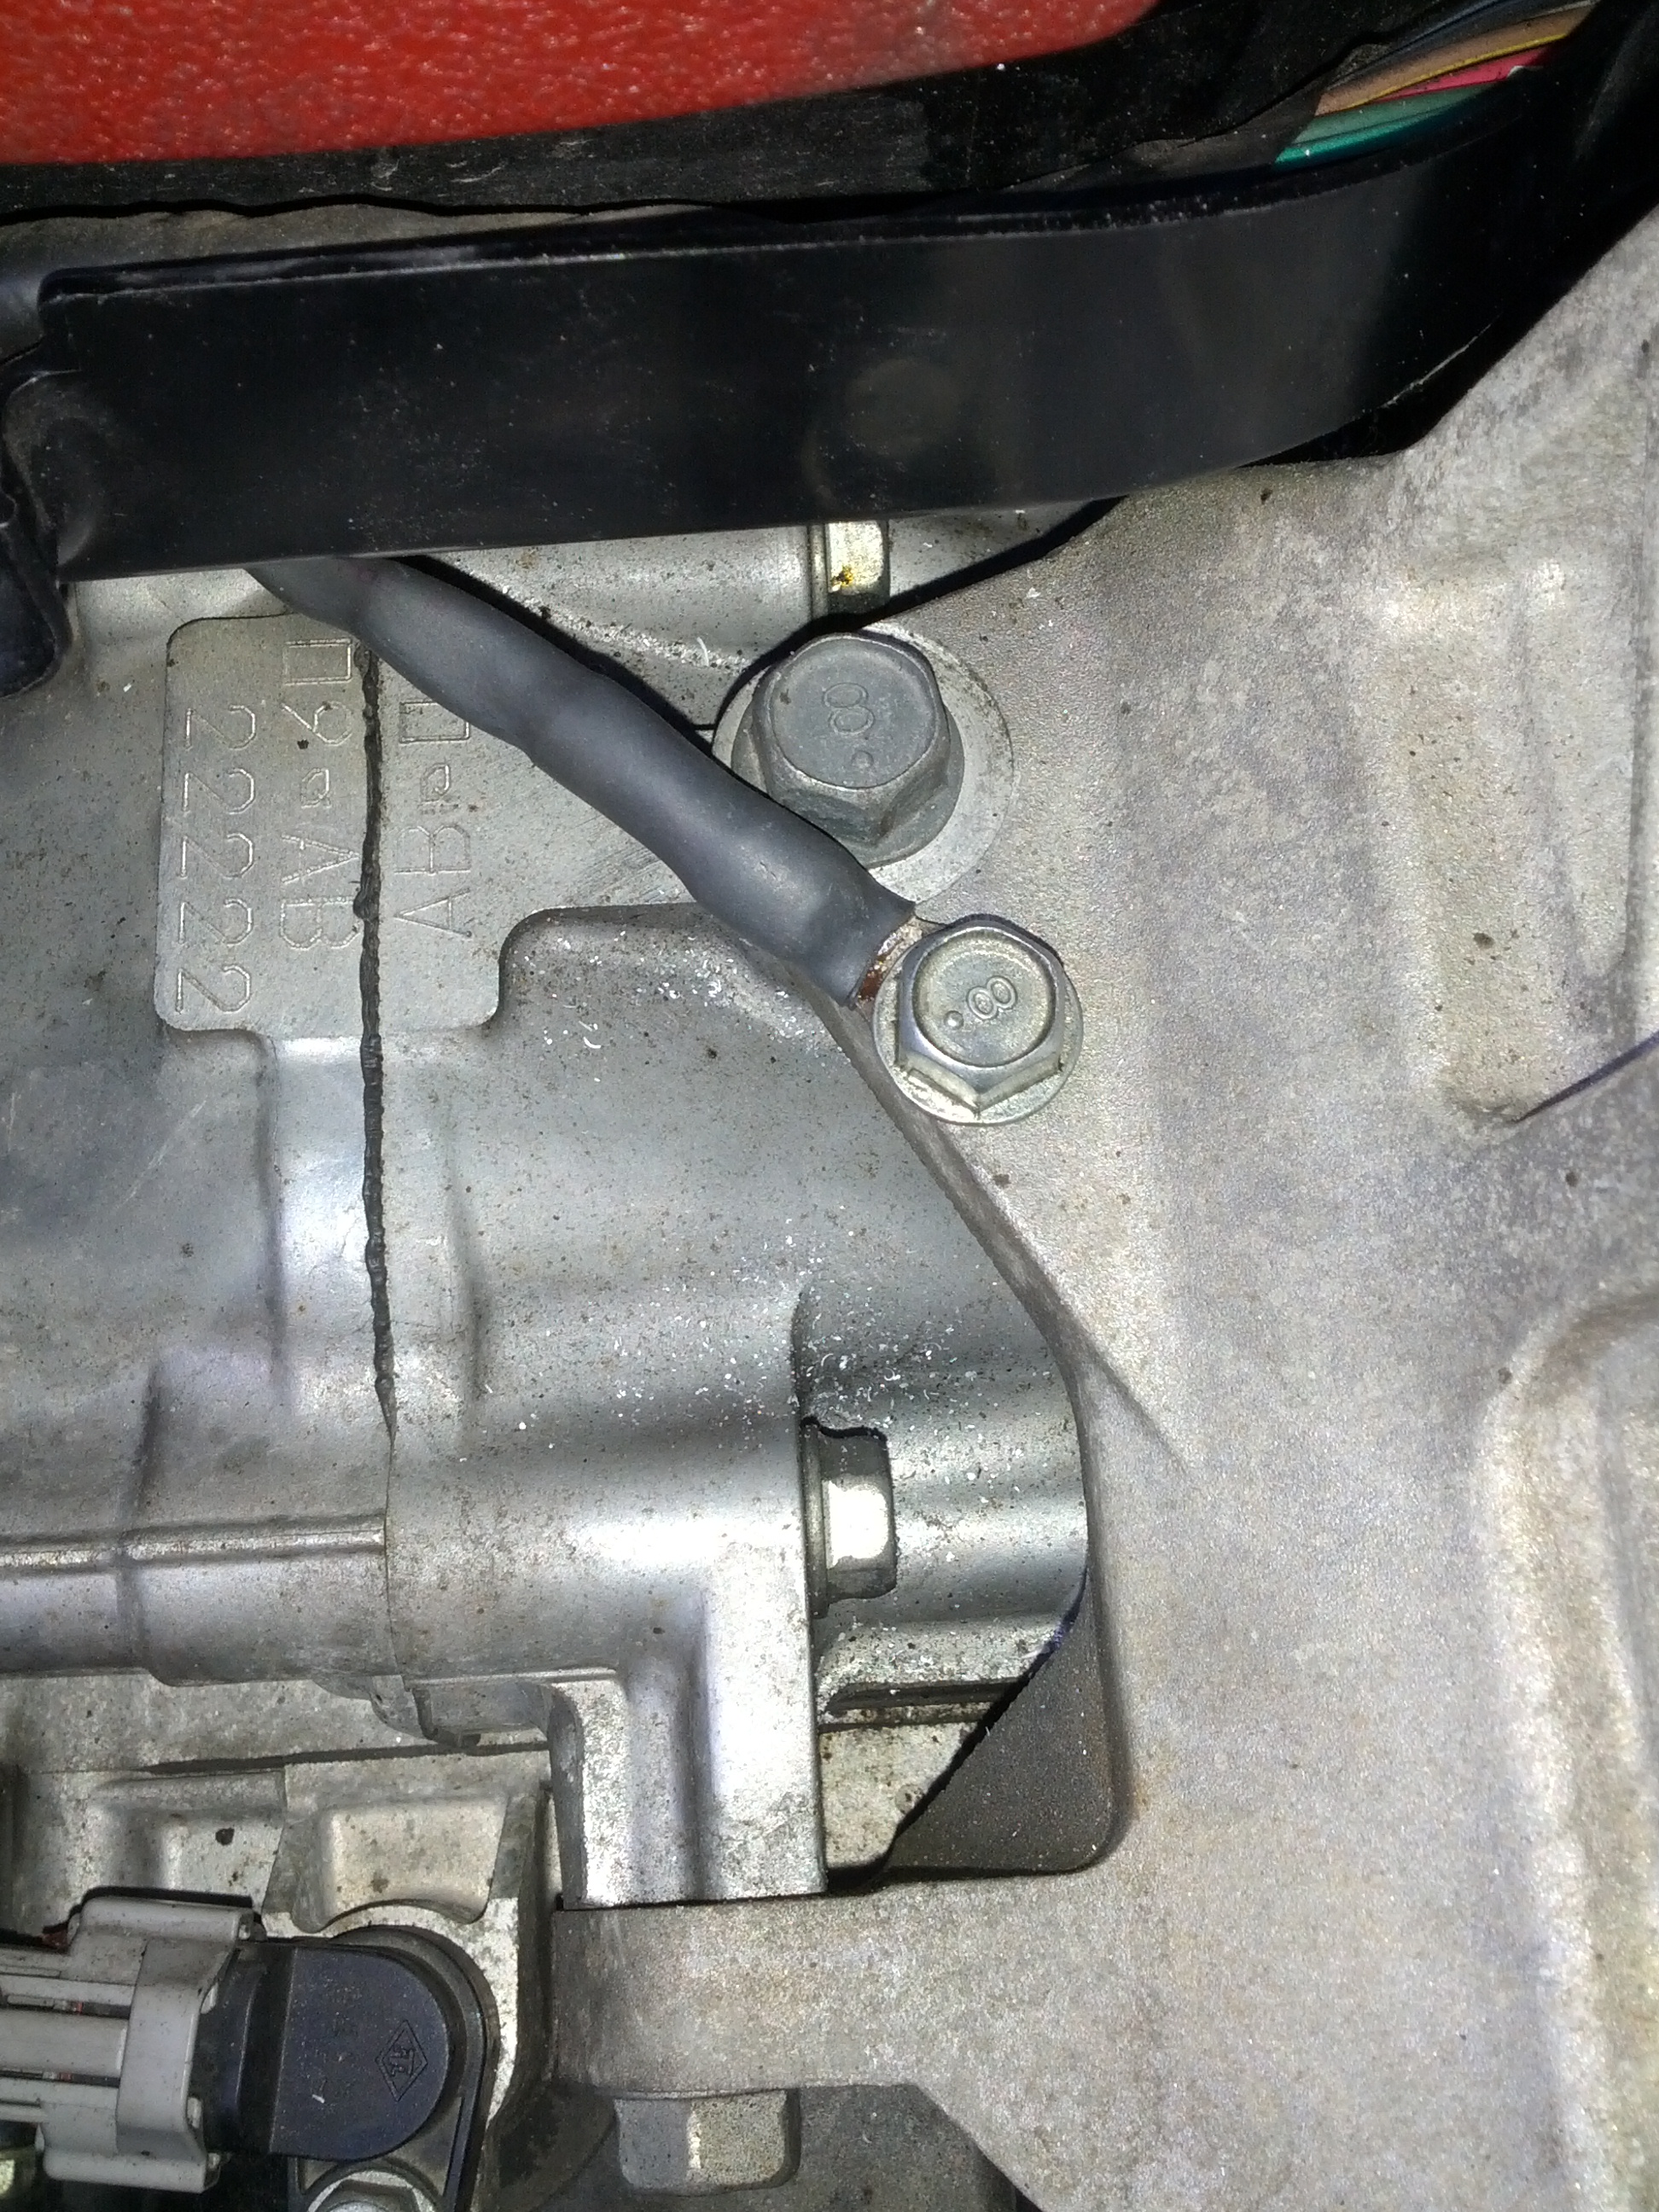
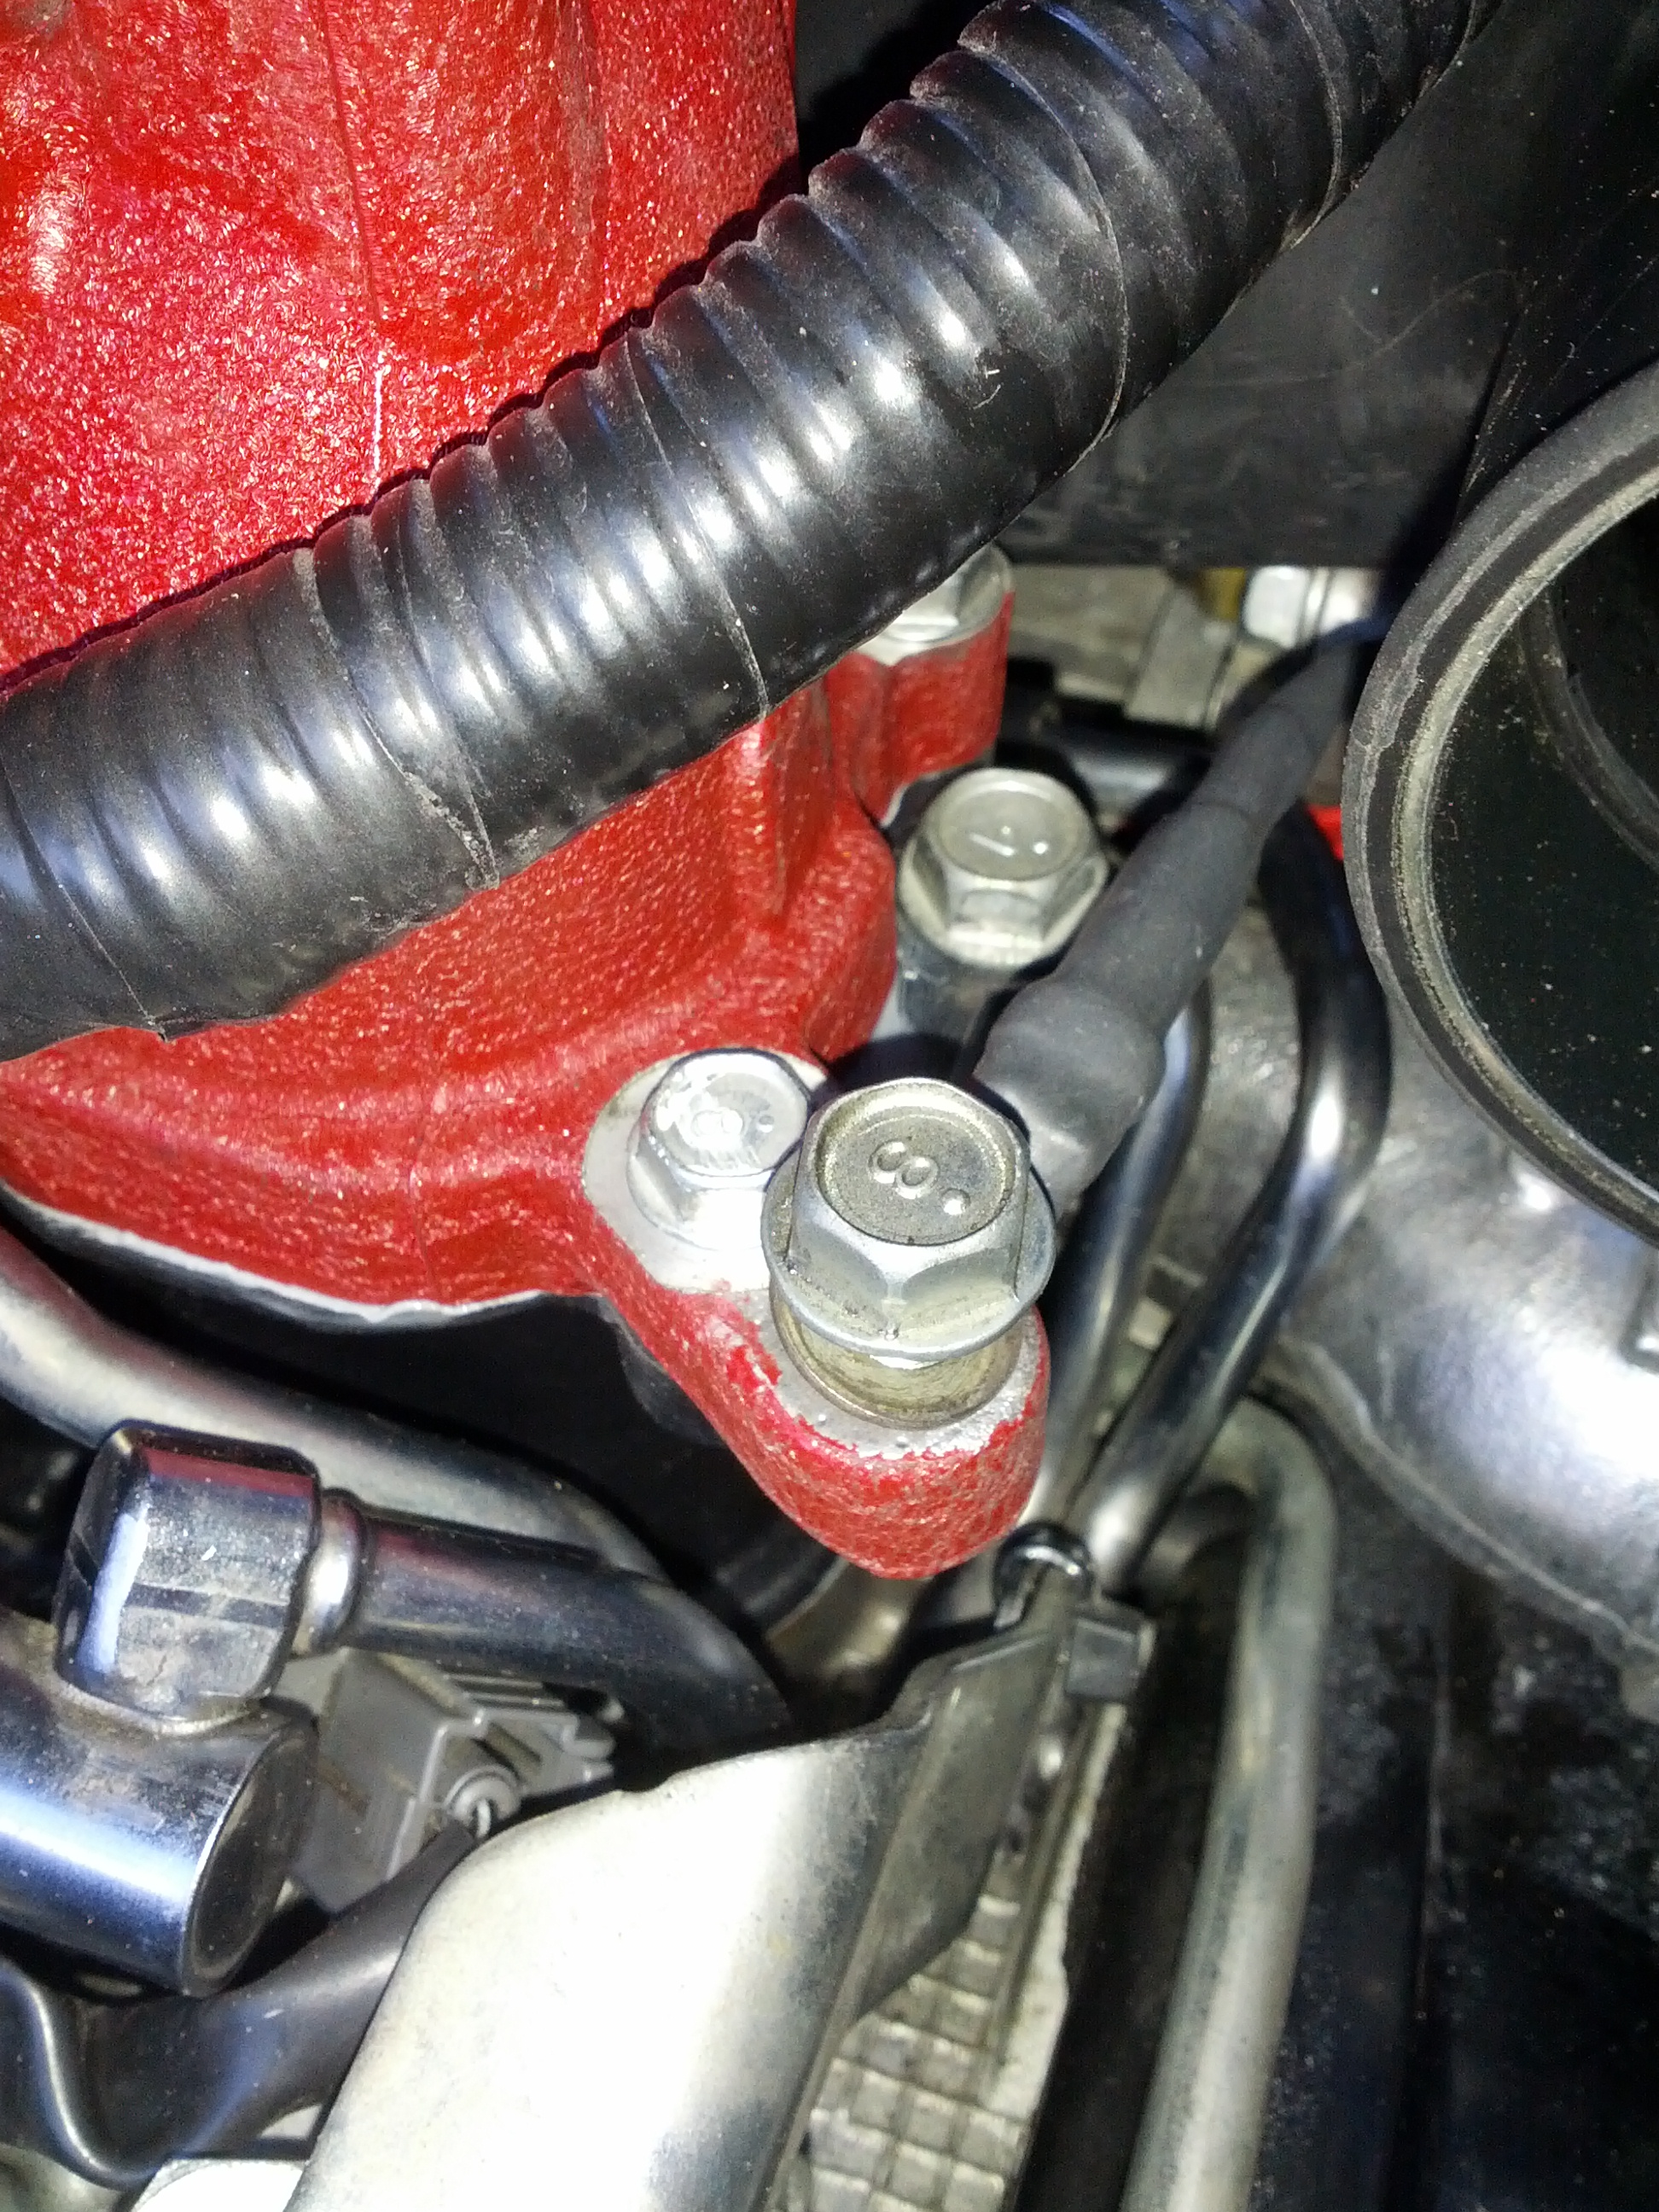
Since spacers are plastic I decided to add an earthing wire. I have also moved original earthing wire to the head (just on top of the AVS solenoid). I had to drill a hole on the A/C pump bracket and cut thread as I found no suitable place for the new earth wire:


Starting the car without TGV brought up numerous non-TGV related error codes. To test that they are false positives I have connected the original spacers back:
It turns out that they definitely were false positives. Interesting that ECU would only trigger TGV error codes if TGV was partially missing.
To get it ready for new tune I had to drain the fuel tank. The reason for draining as it was filled up with 98 RON, and I needed for tune to be safe for 95 RON. Unfortunately I found the hard way that you cannot simply remove the return line and run the car until it stops, due to shape of the tank. It would only empty the fuel pump side this way (there is a siphon between sections which is feed by return line).
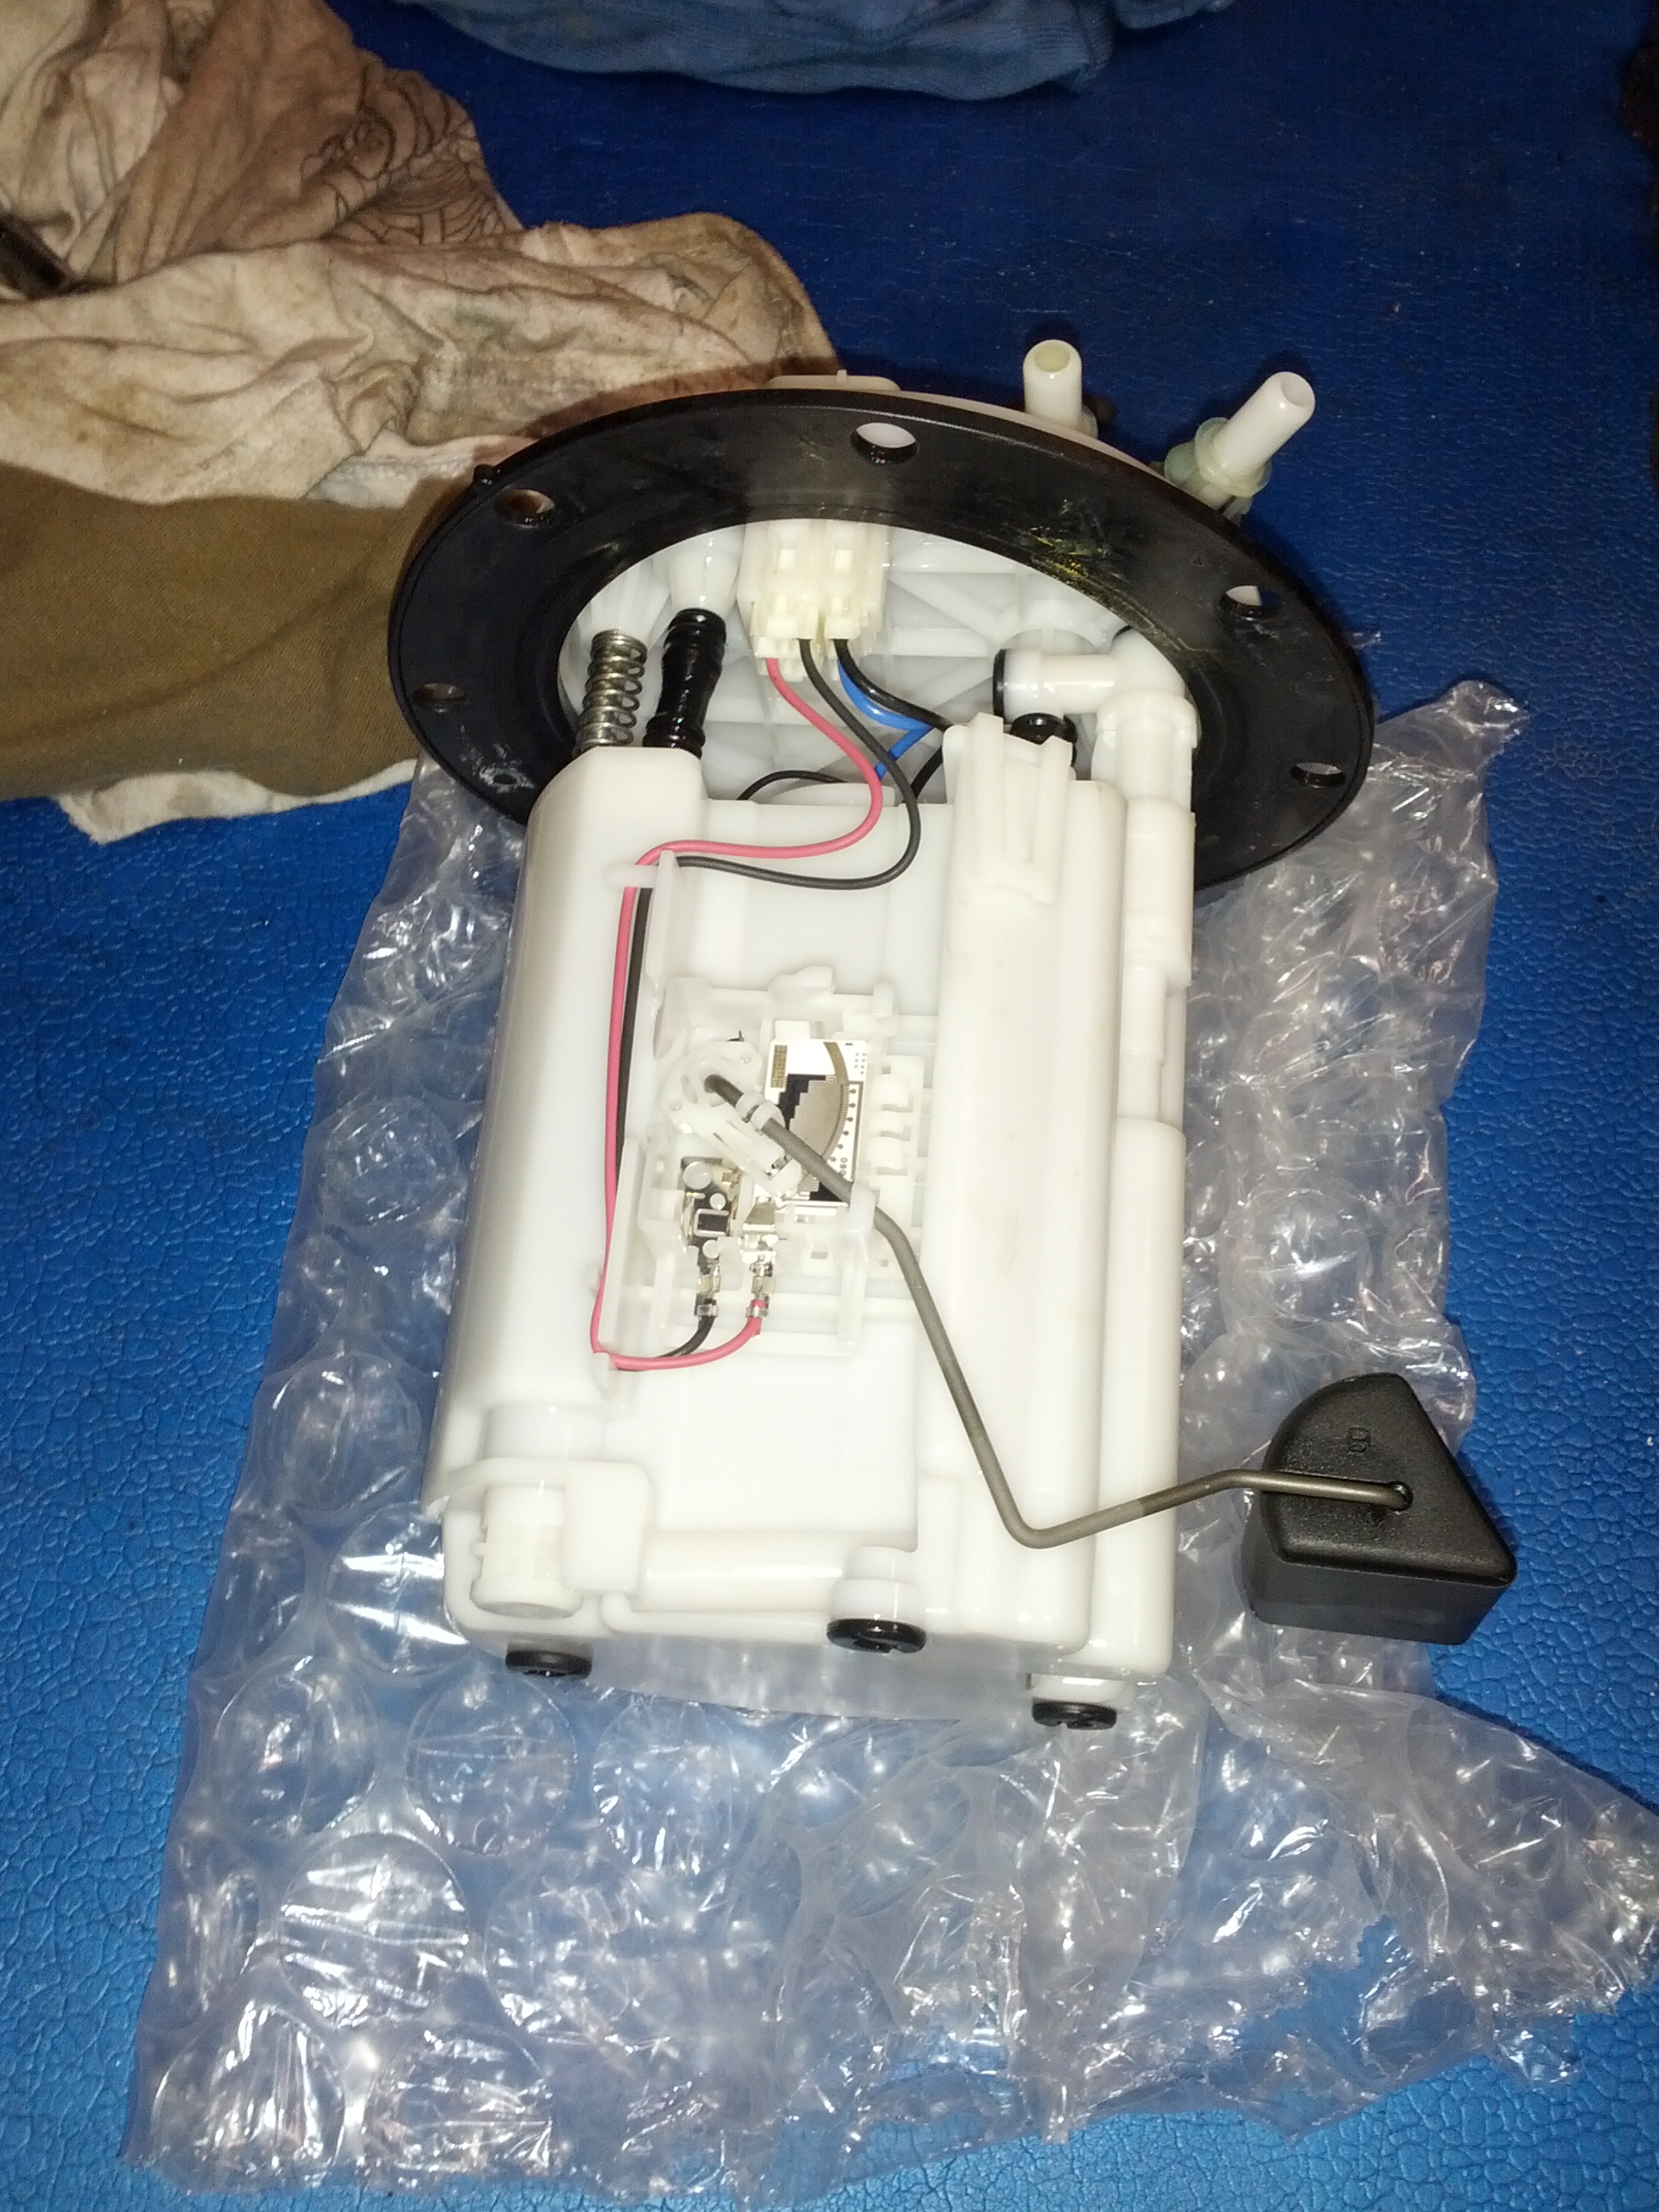
To drain the tank completely I had to remove fuel pump and the cover on other side. Then I had to siphon both sides (very difficult on such low car), as GRB is missing drain plug on the fuel tank.
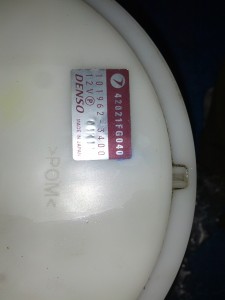
Here is what fuel pump (housing) looks like:


Leave a Reply